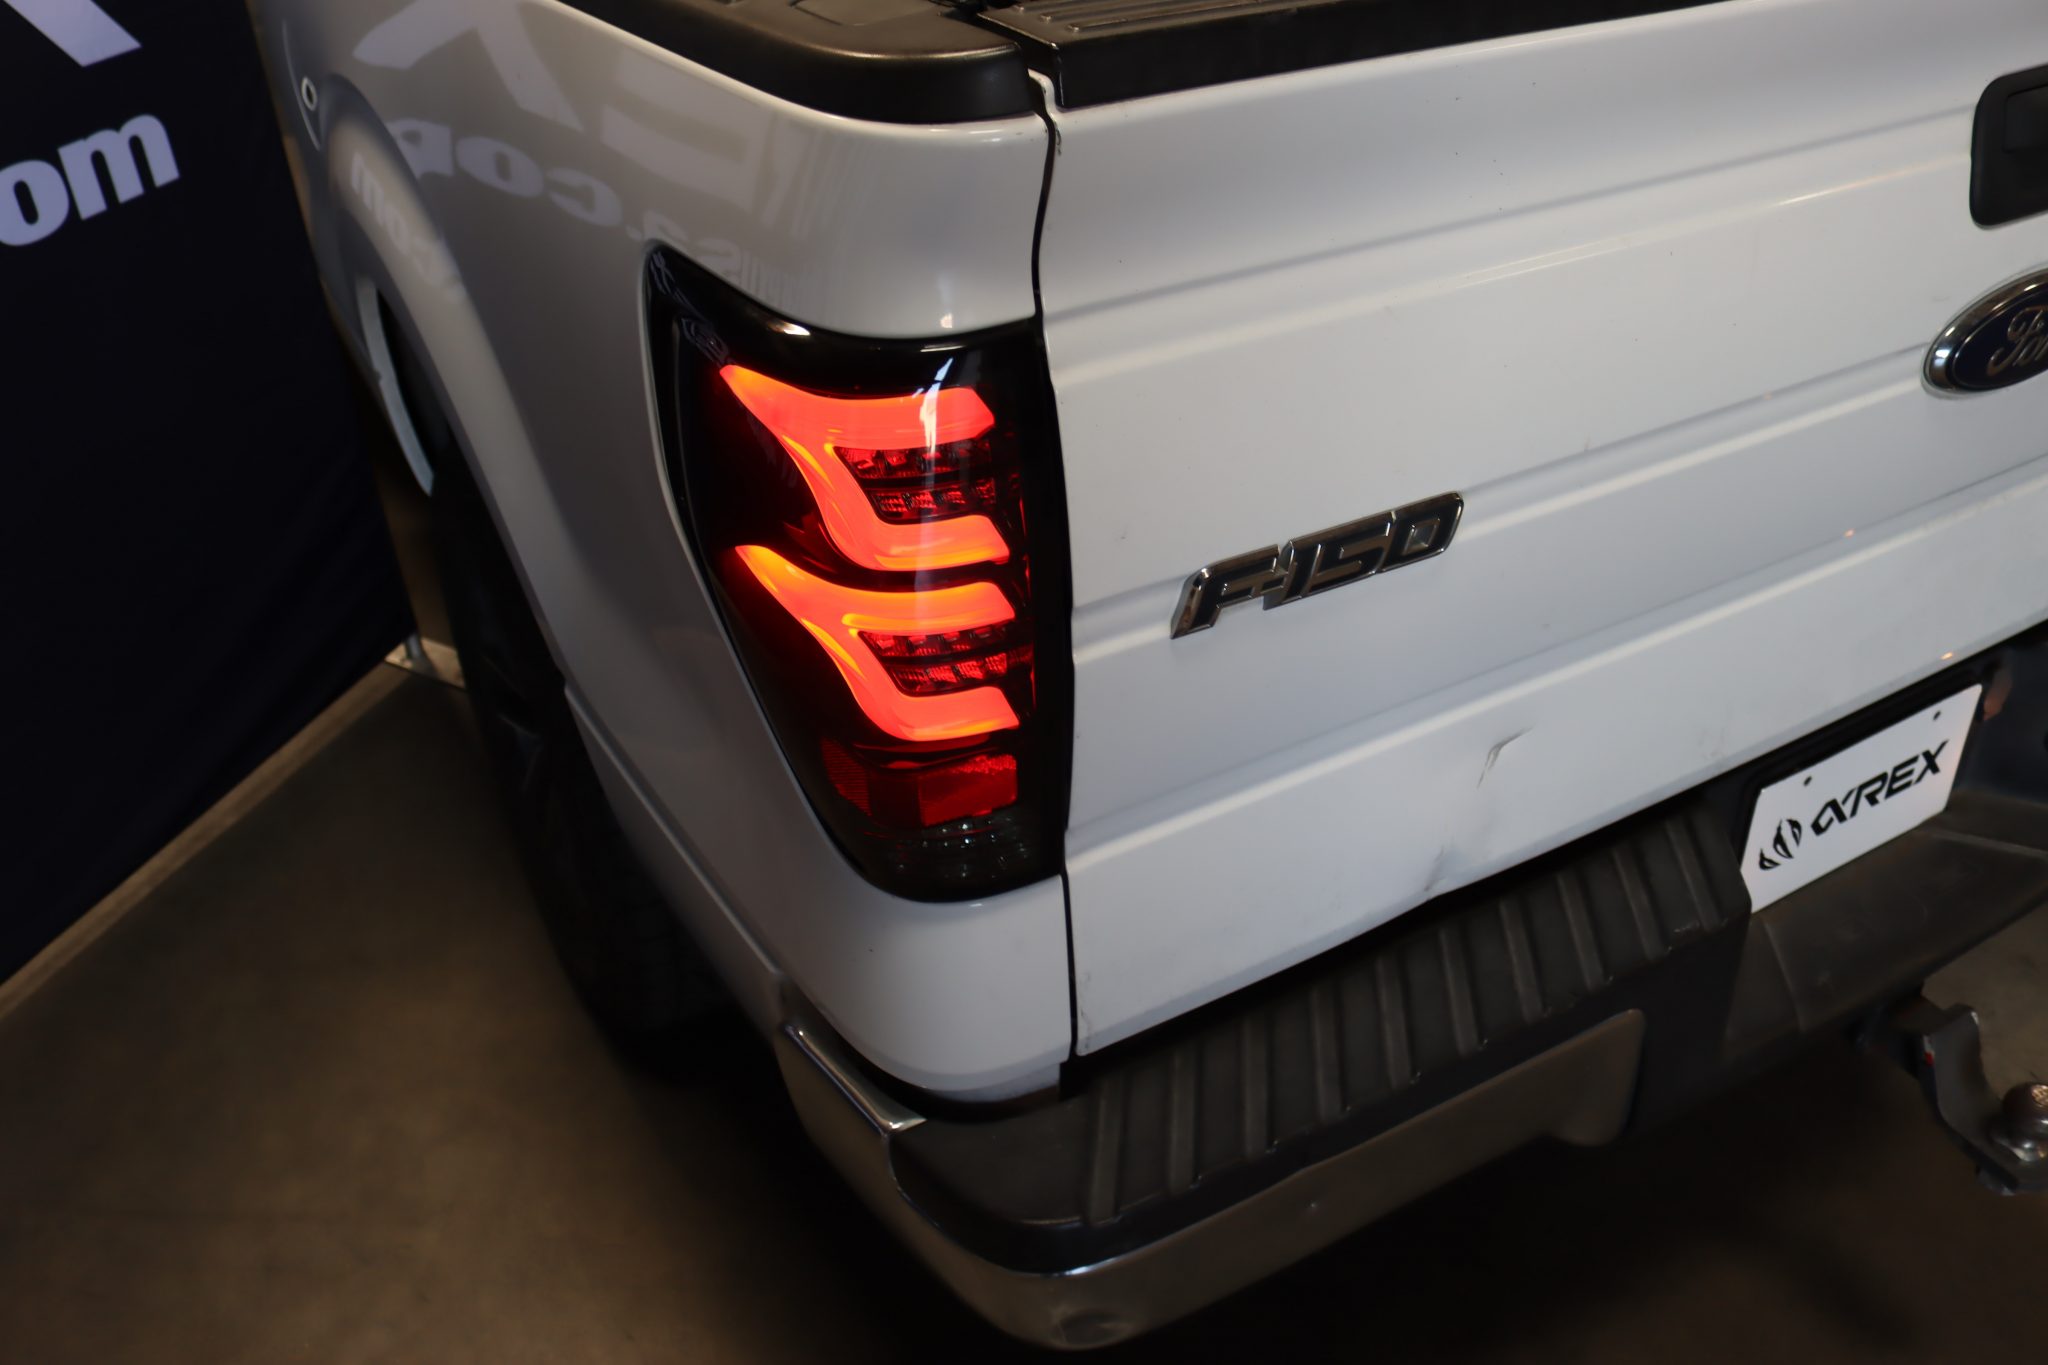
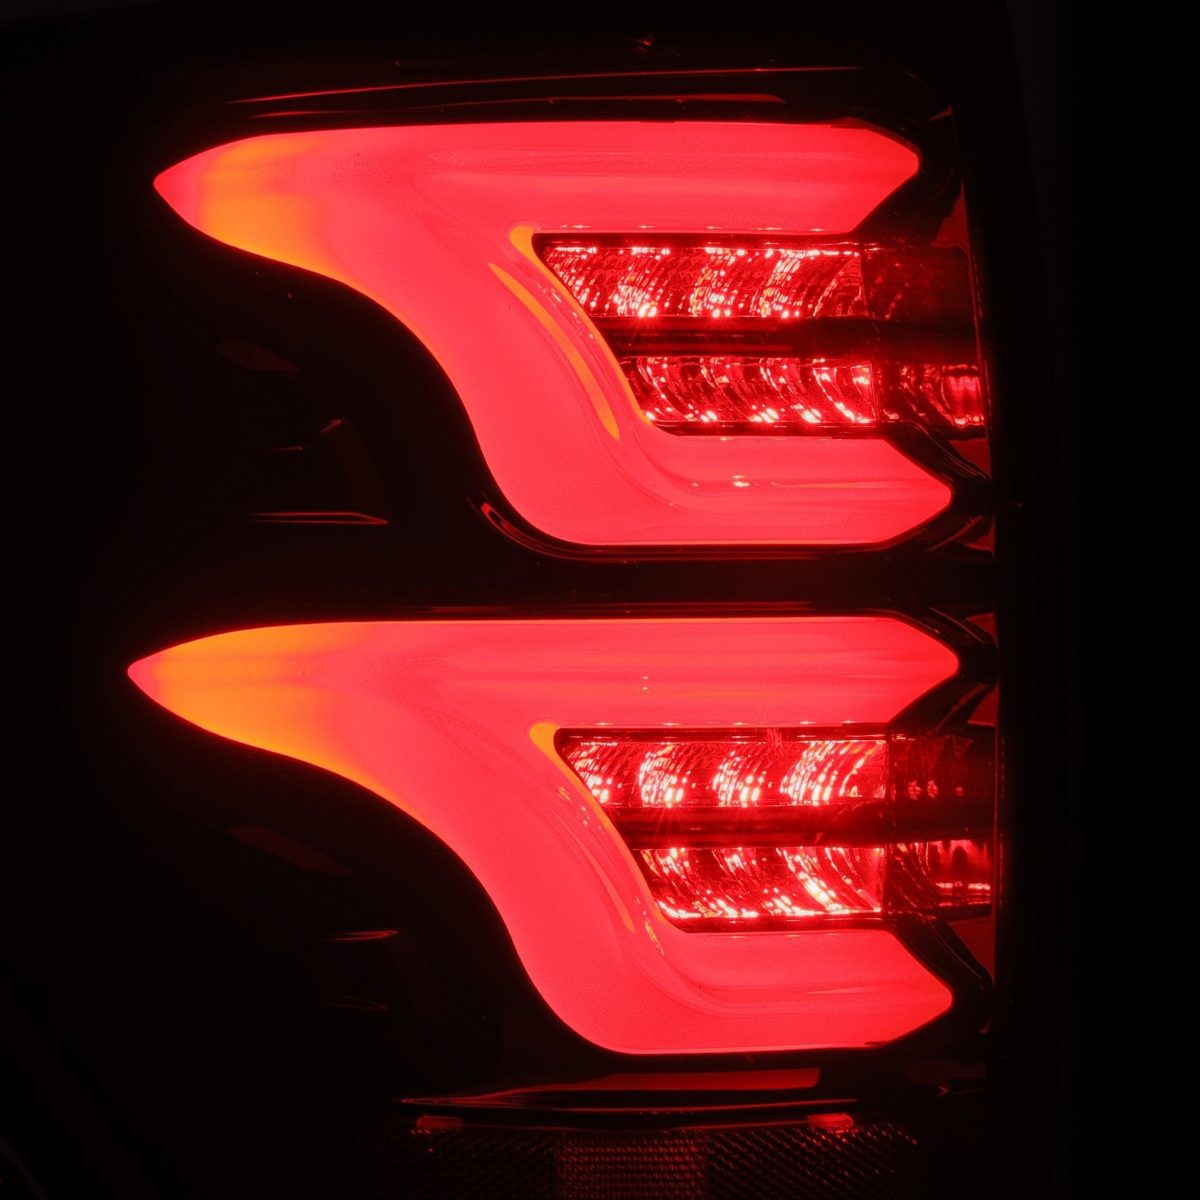
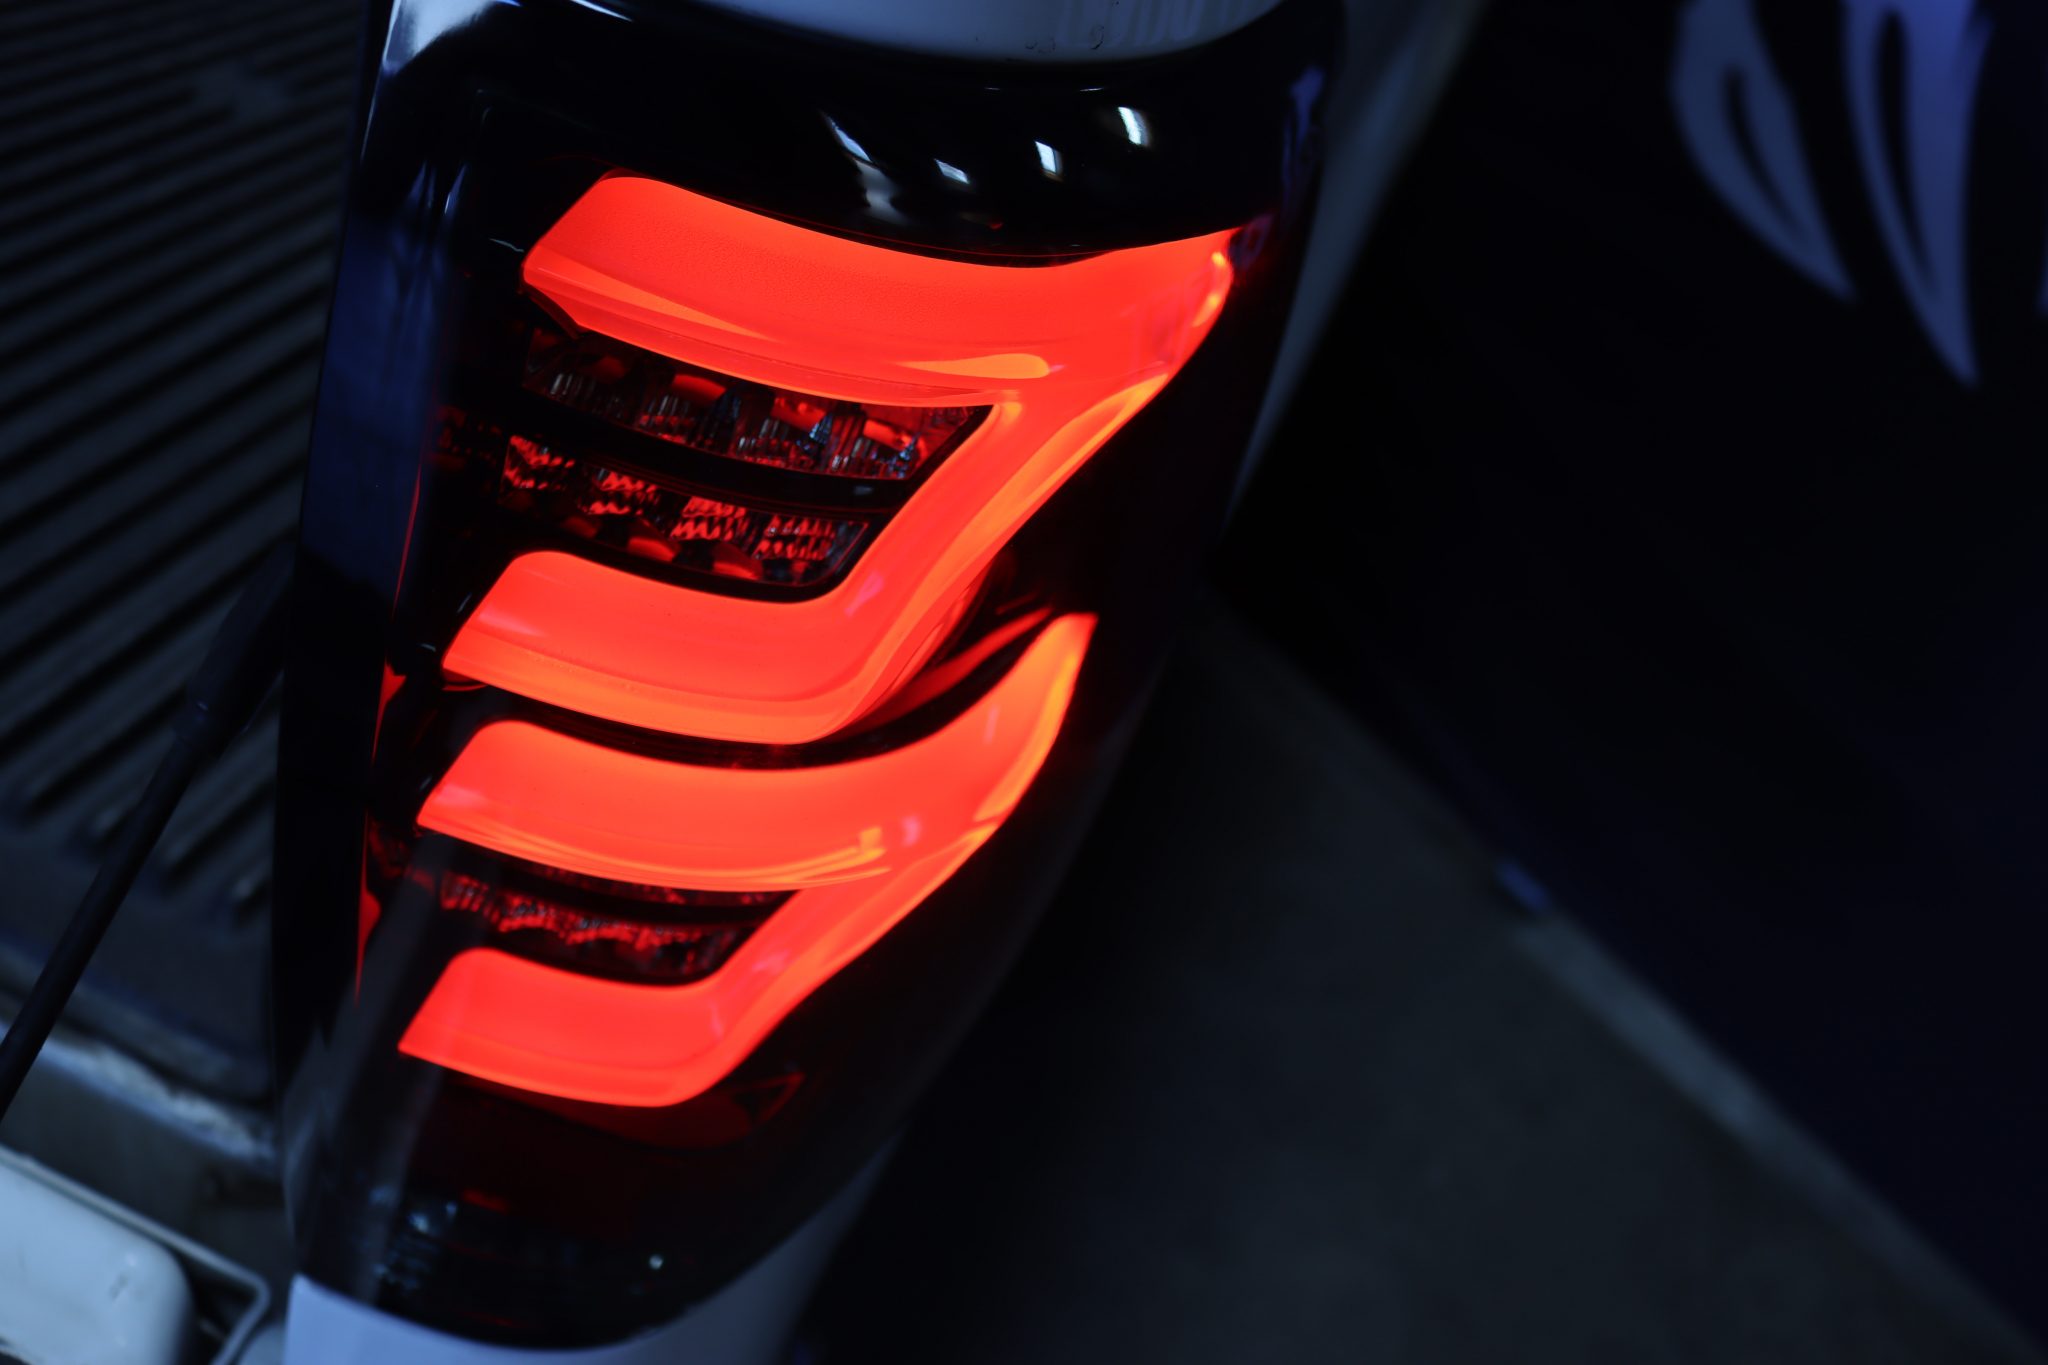
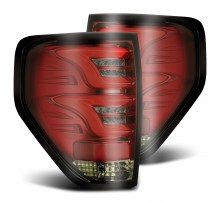
ALPHAREX specializes in designing and producing superior and uniquely stylish aftermarket automotive performance lighting with unrival innovative technology. The following installation guide we take you through the installation of your new ALPHAREX TAIL LIGHTS for your 09-14 Ford F-150 step by step.
Disclaimer: This installation article is a tutorial guide. By reading this article, you agree it is for reference only and AlphaRex USA and its distributors make no guarantee on the finished results. Under no circumstances whatsoever shall AlphaRex USA nor its distributors be liable for any damage, misuse or personal injuries. If you do not fully understand the installation procedure, it is highly recommended that you seek help from professional mechanics to do the installation.
Whenever working on your vehicle
always make sure your vehicle is parked with the ignition off.
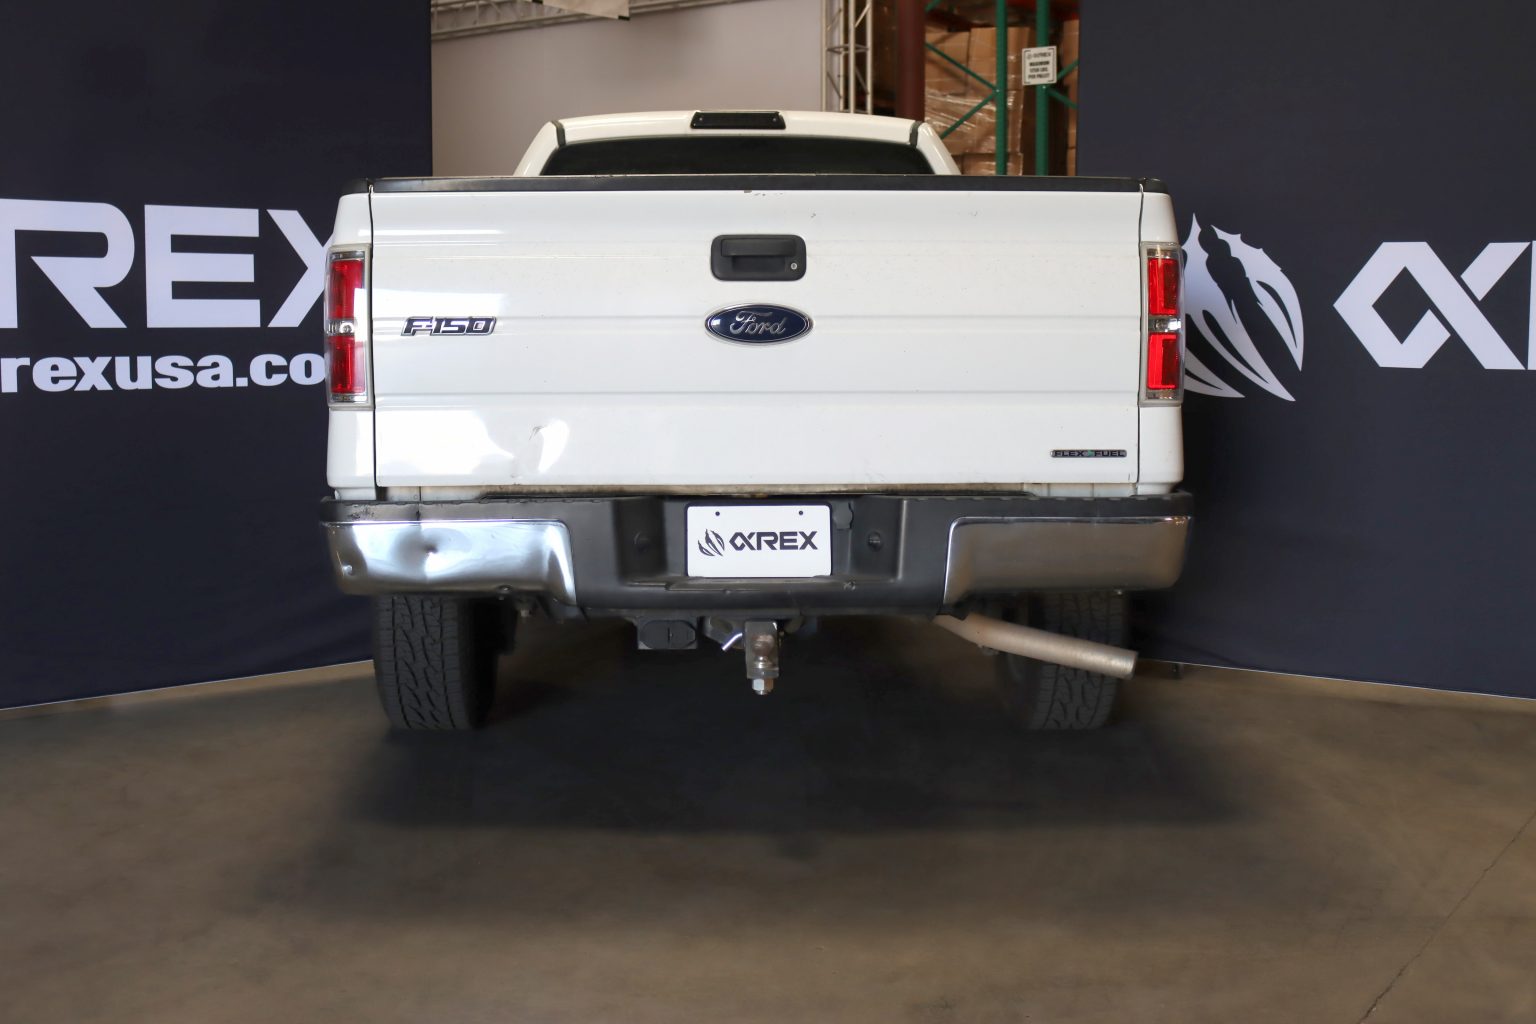
Step 1: REMOVE TAIL LIGHTS BOLTS
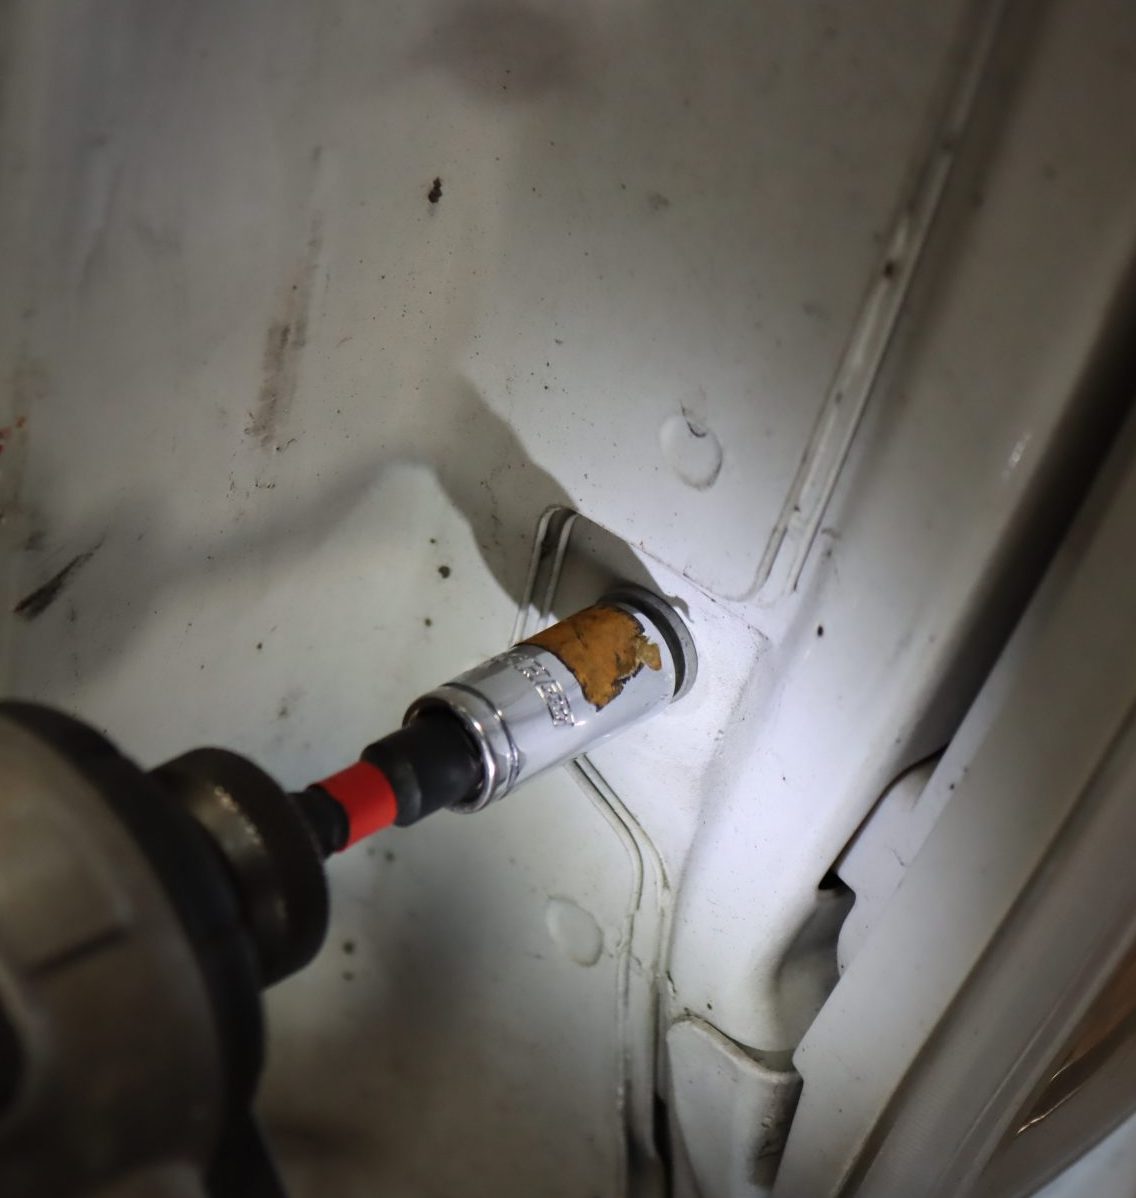
Open the trunk gate and start by removing the tail light’s bolts.
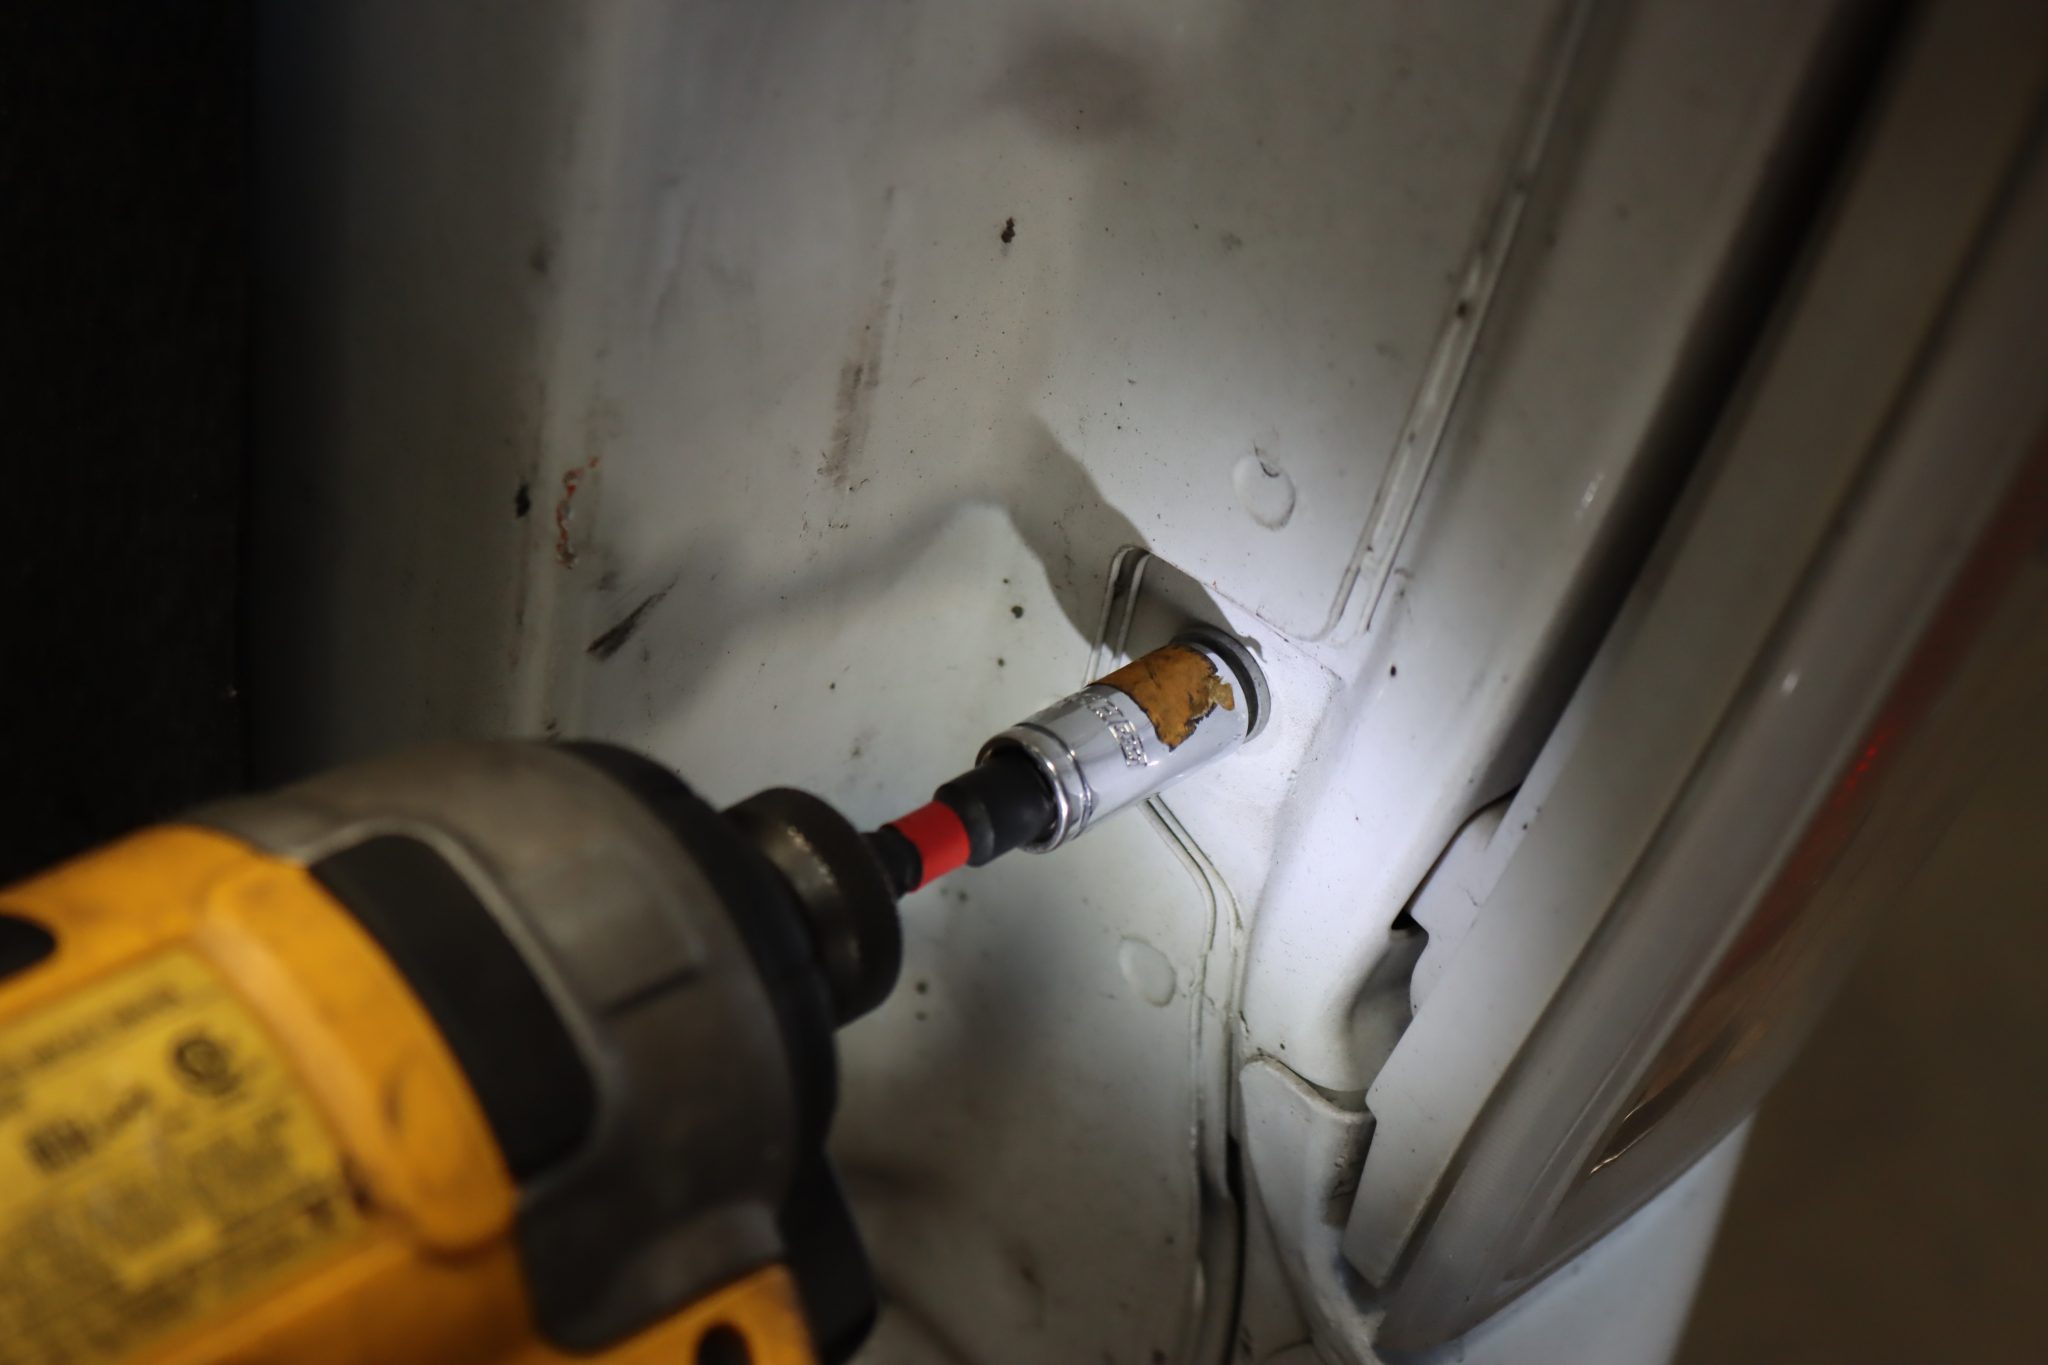
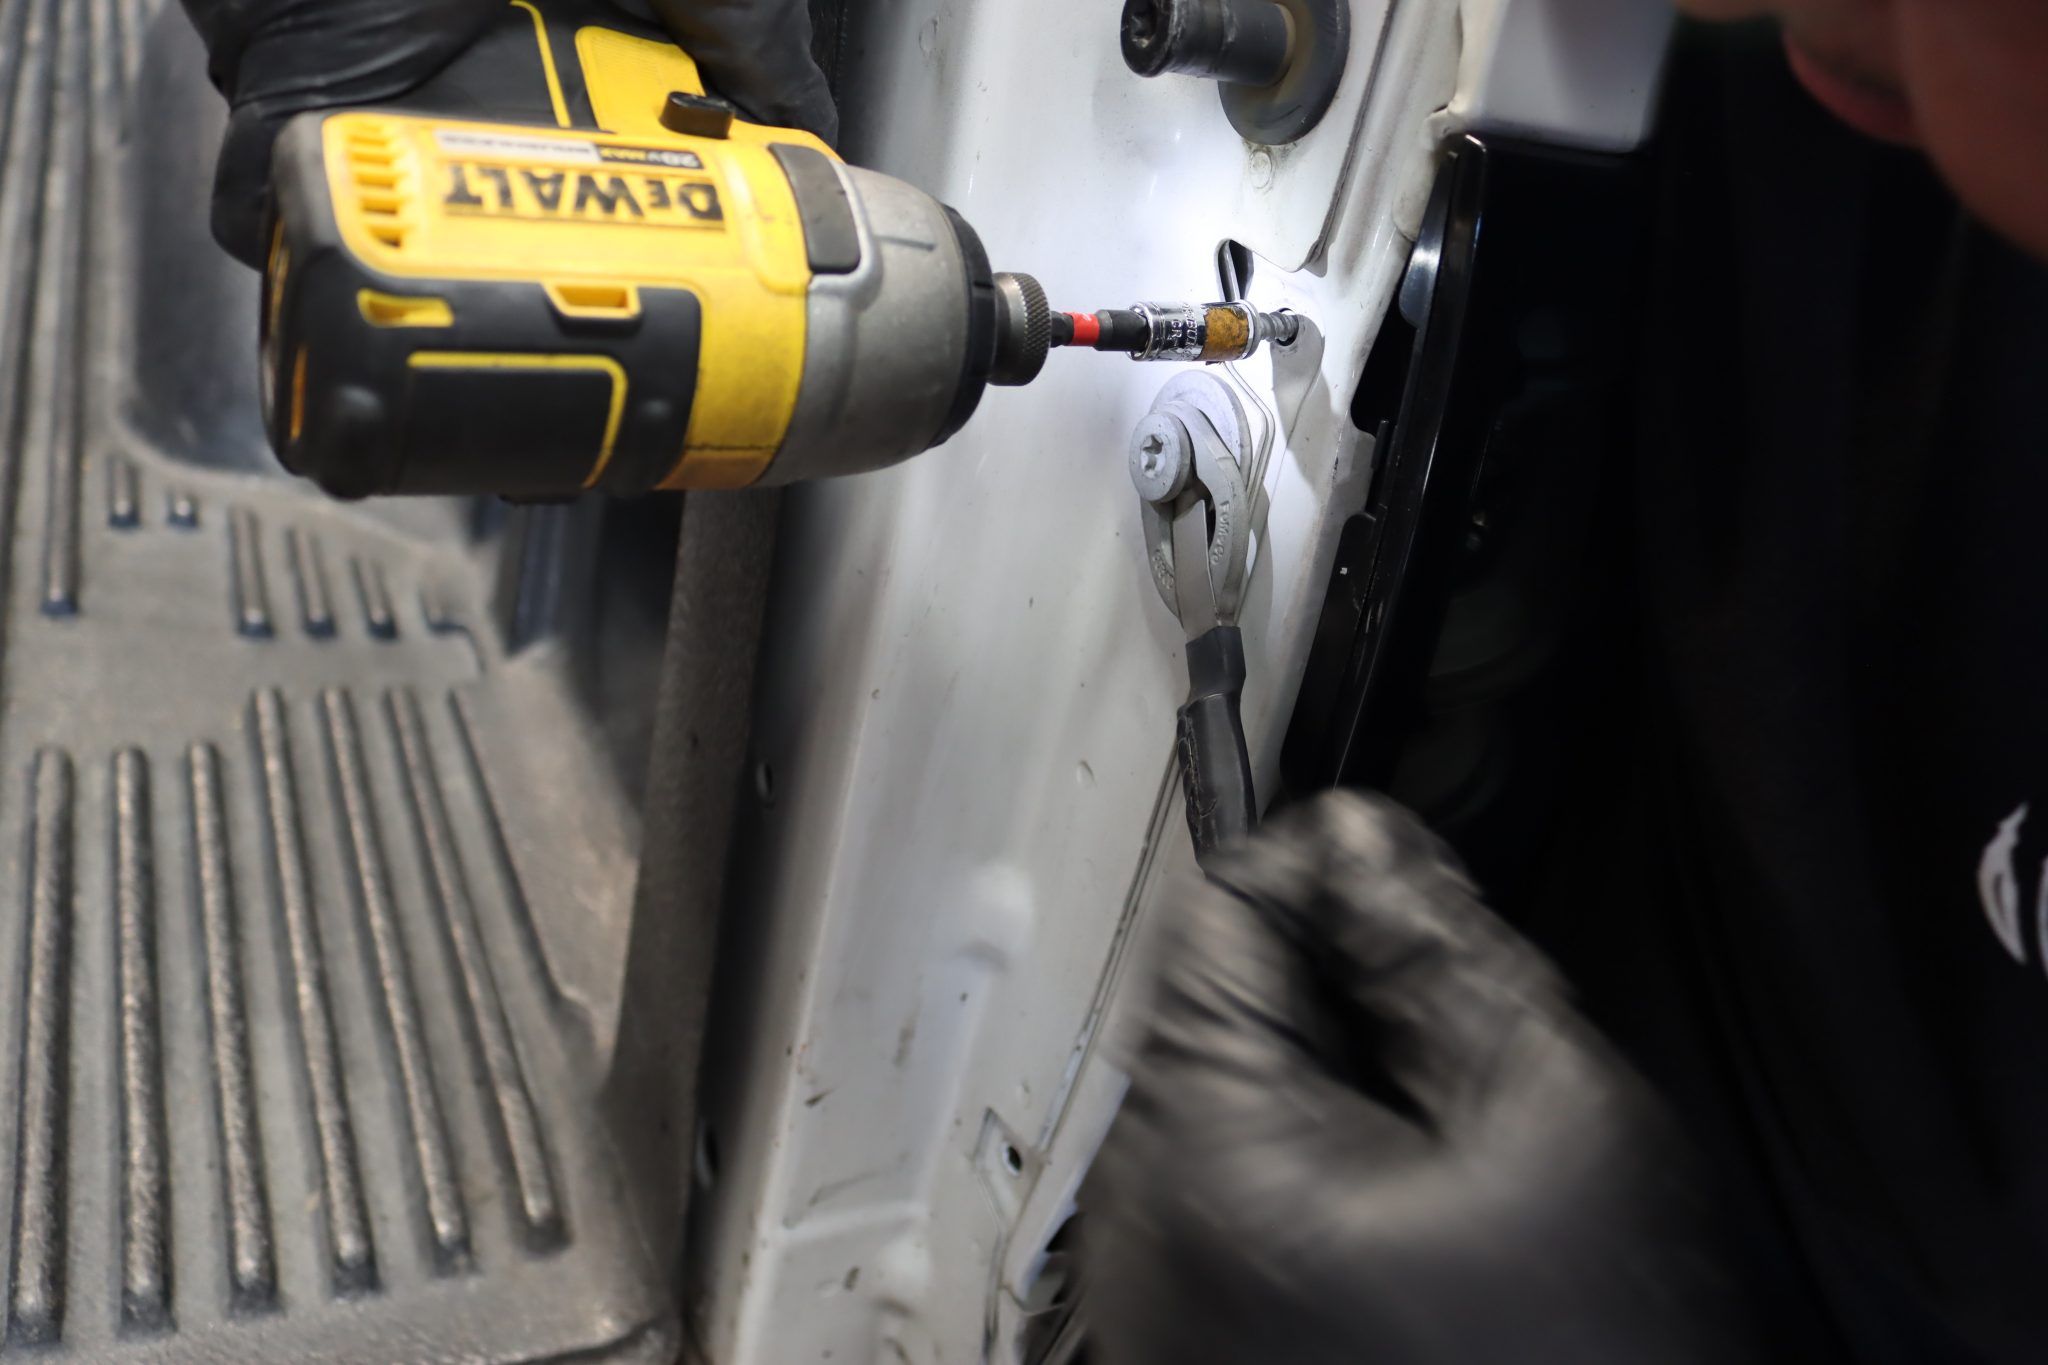
Remove the top and bottom 8mm bolts from each side of the tail lights.
NOTE: Whenever using a power wrench, please make sure do not overtighten the bolts.
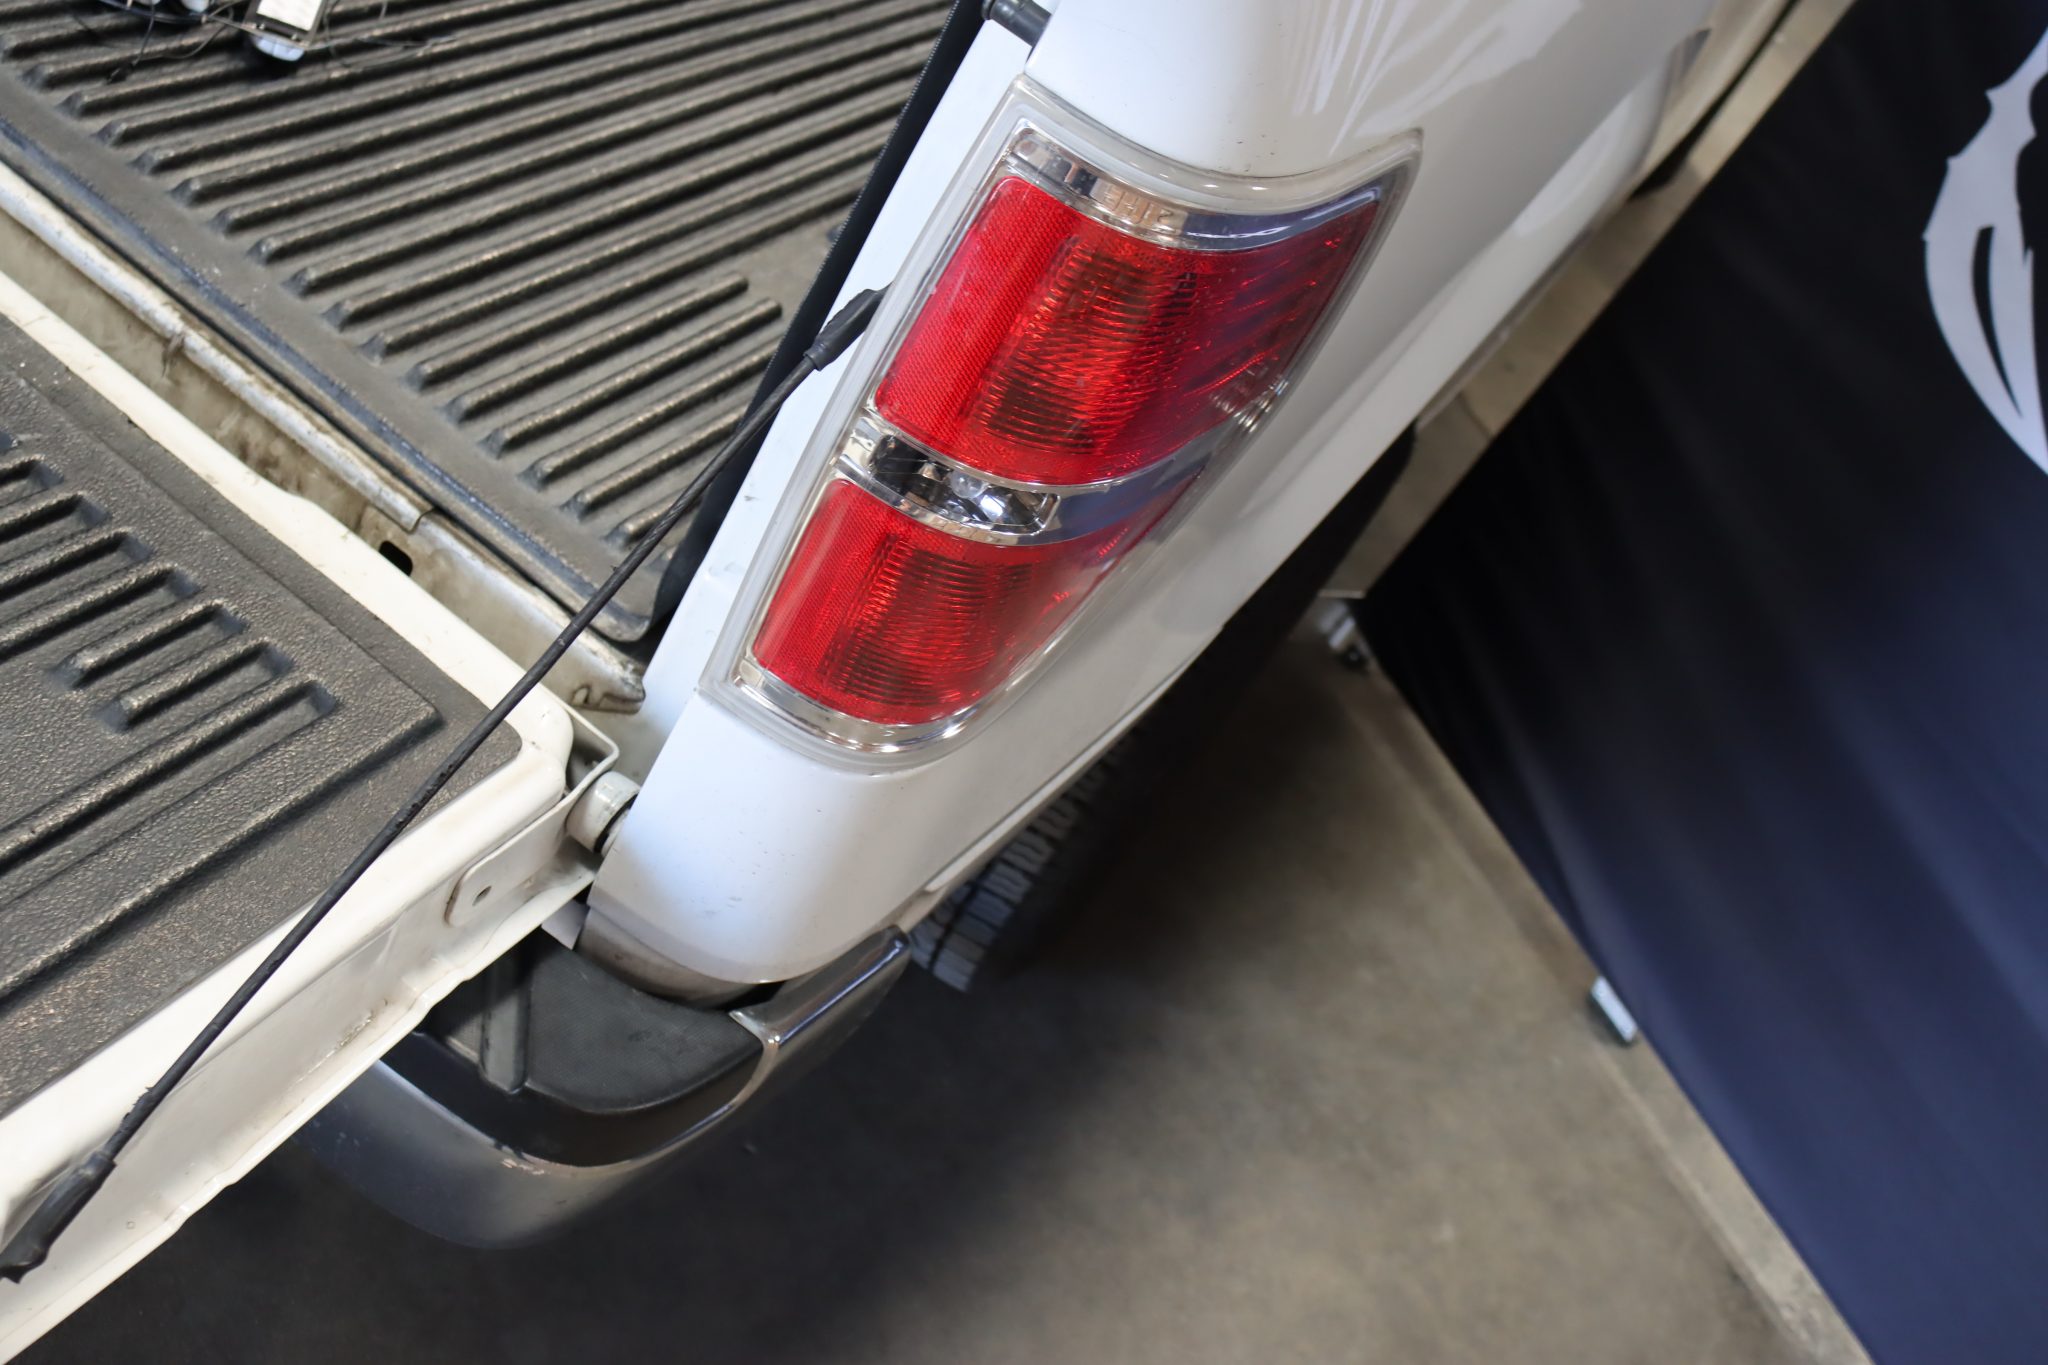
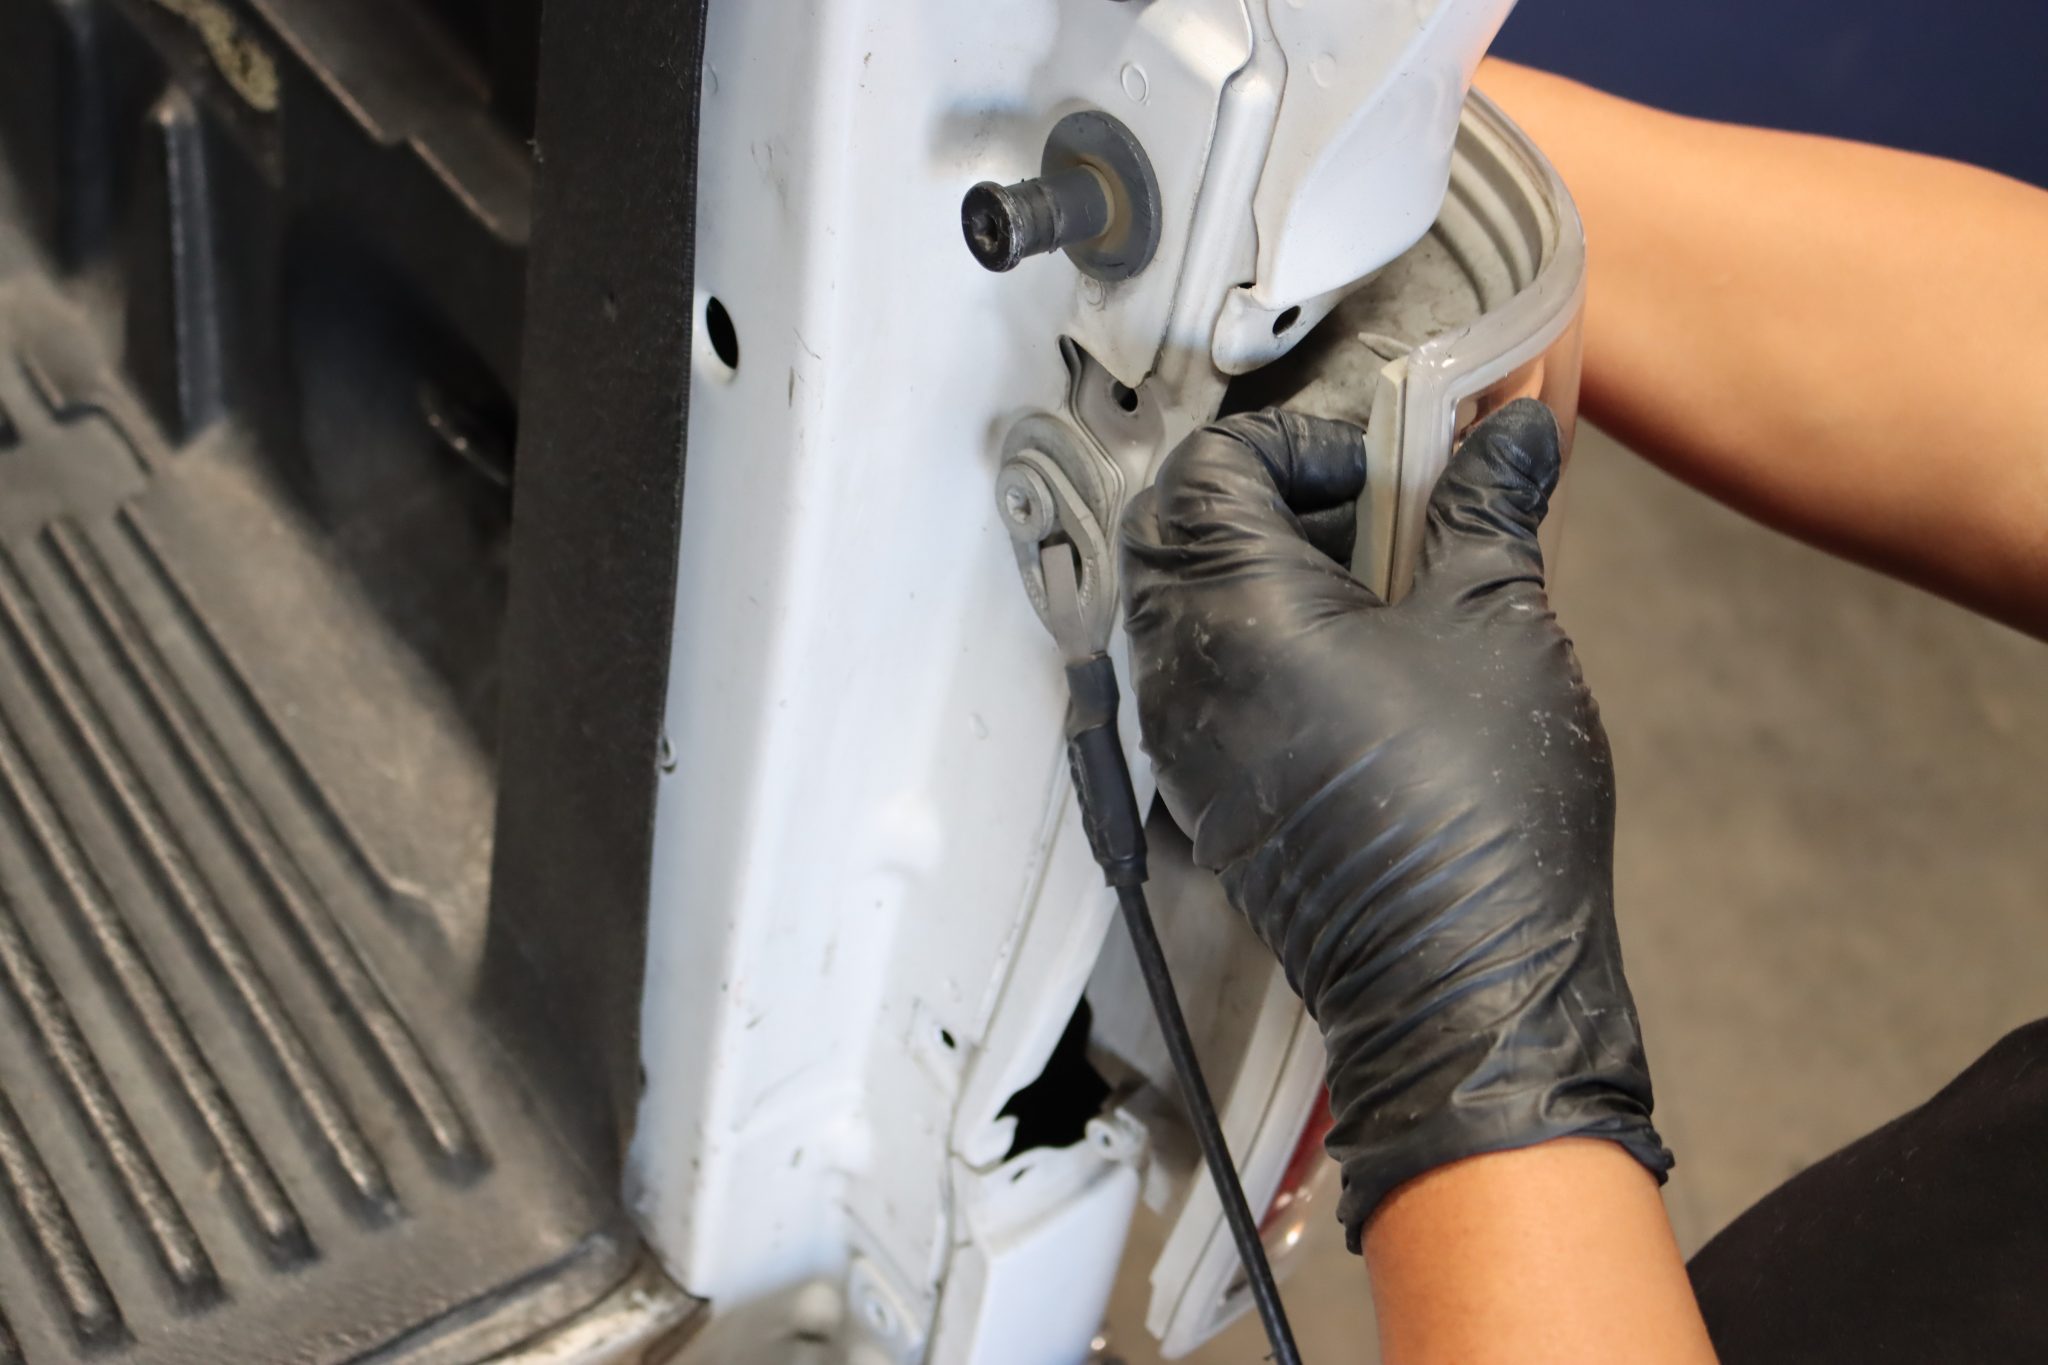
Gently remove the tail light by pulling outward.
Step 2: REMOVE SOCKETS AND UNPLUG THE LIGHT BULB
Remove the sockets and uninstall the factory tail light.
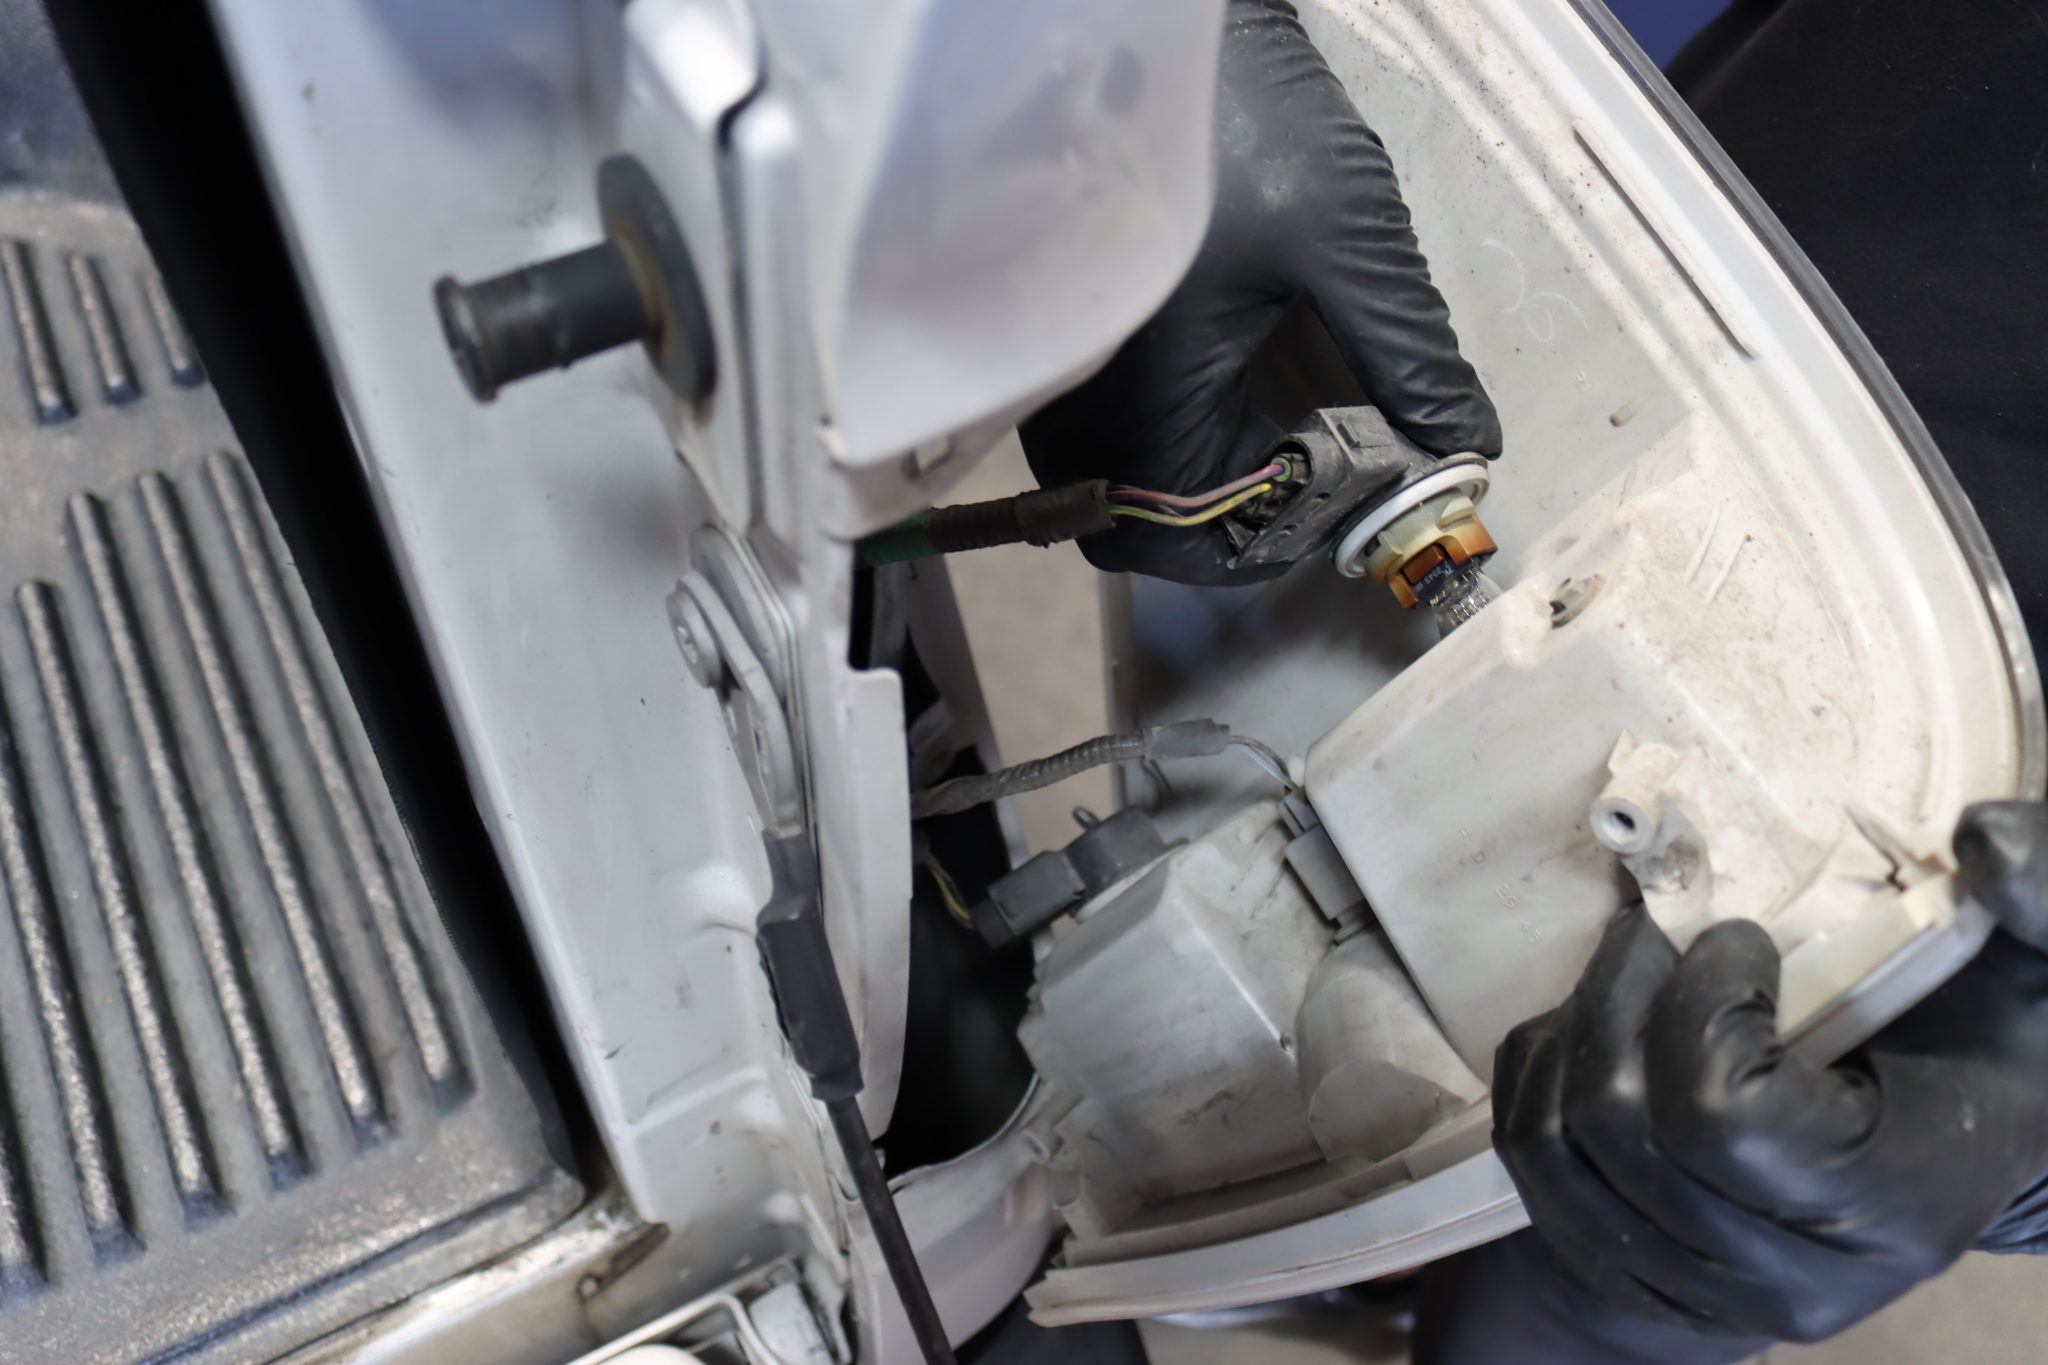
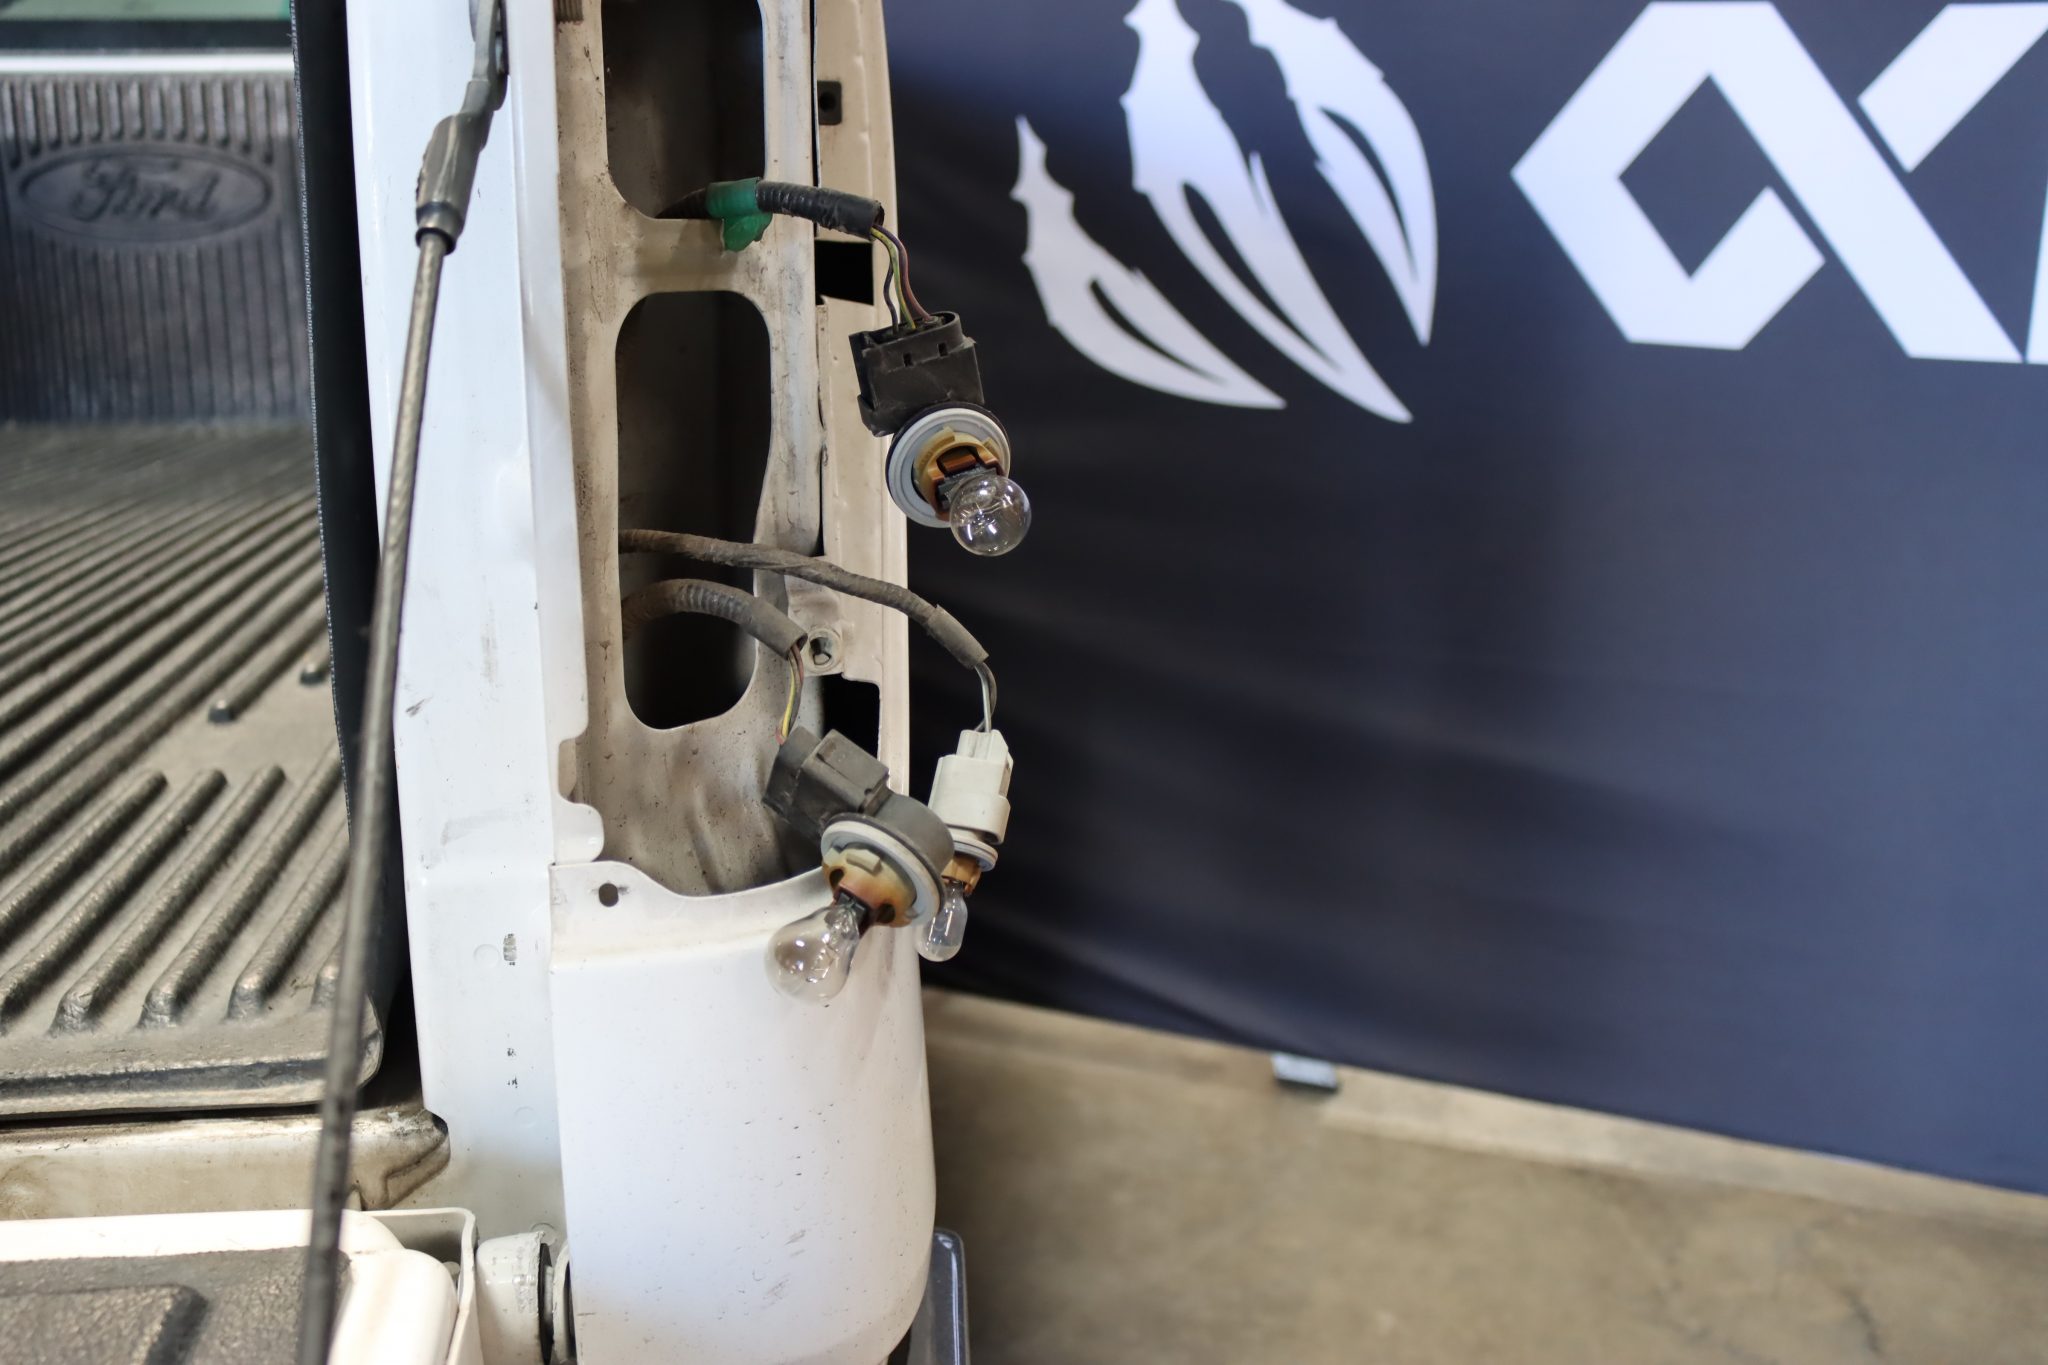
Step 3: REMOVE LIGHTBULBS FROM THE SOCKETS
Remove the lightbulbs from the socket except the reverse bulb.
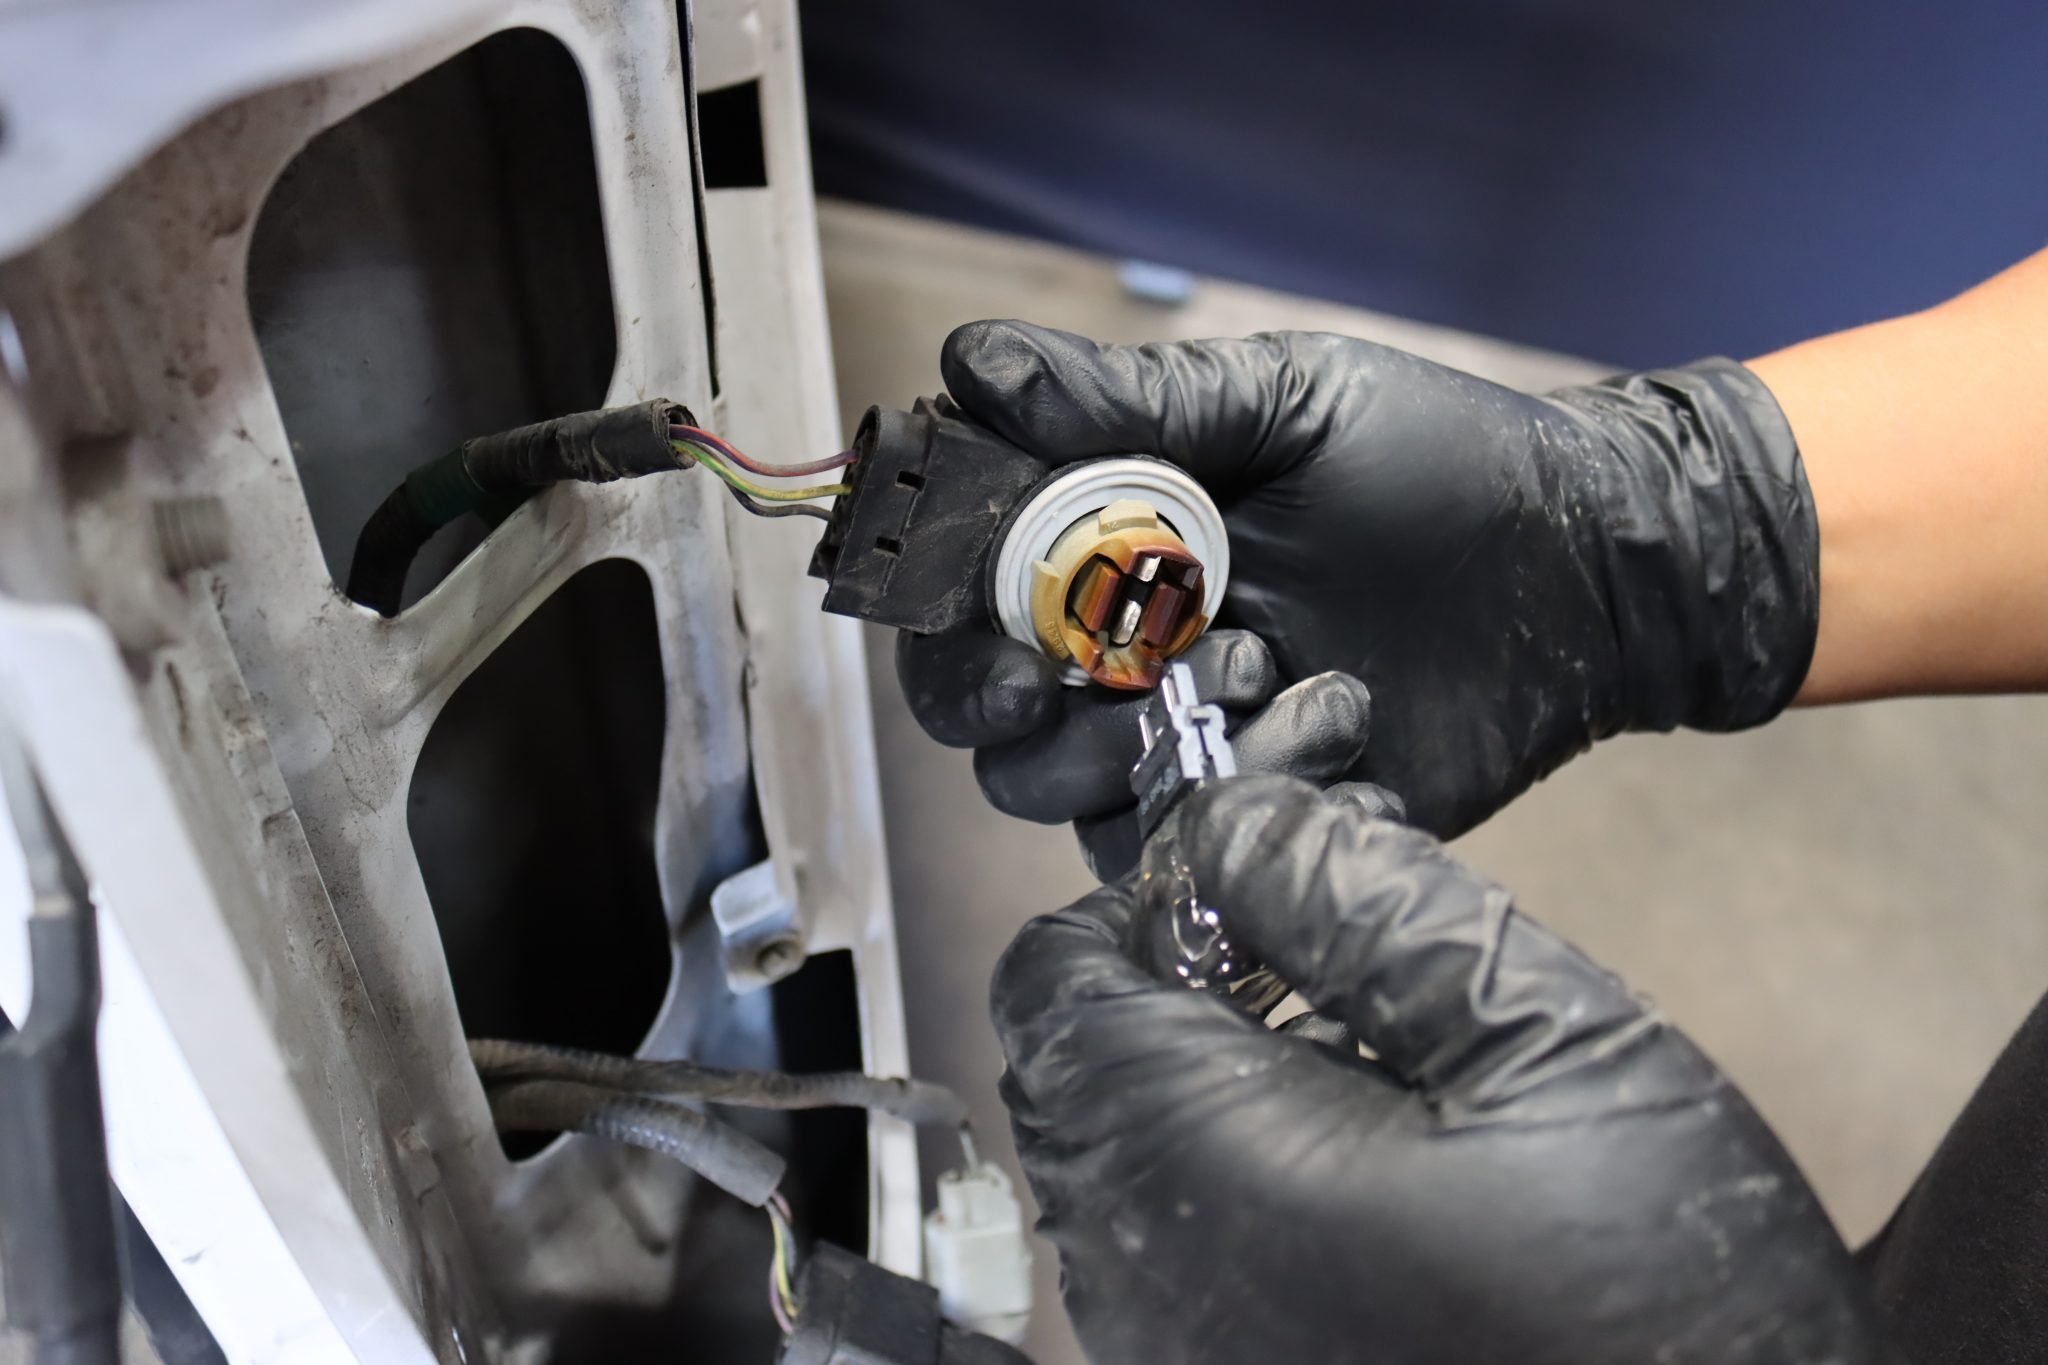
Repeat the steps for the other side to remove the tail lights completely.
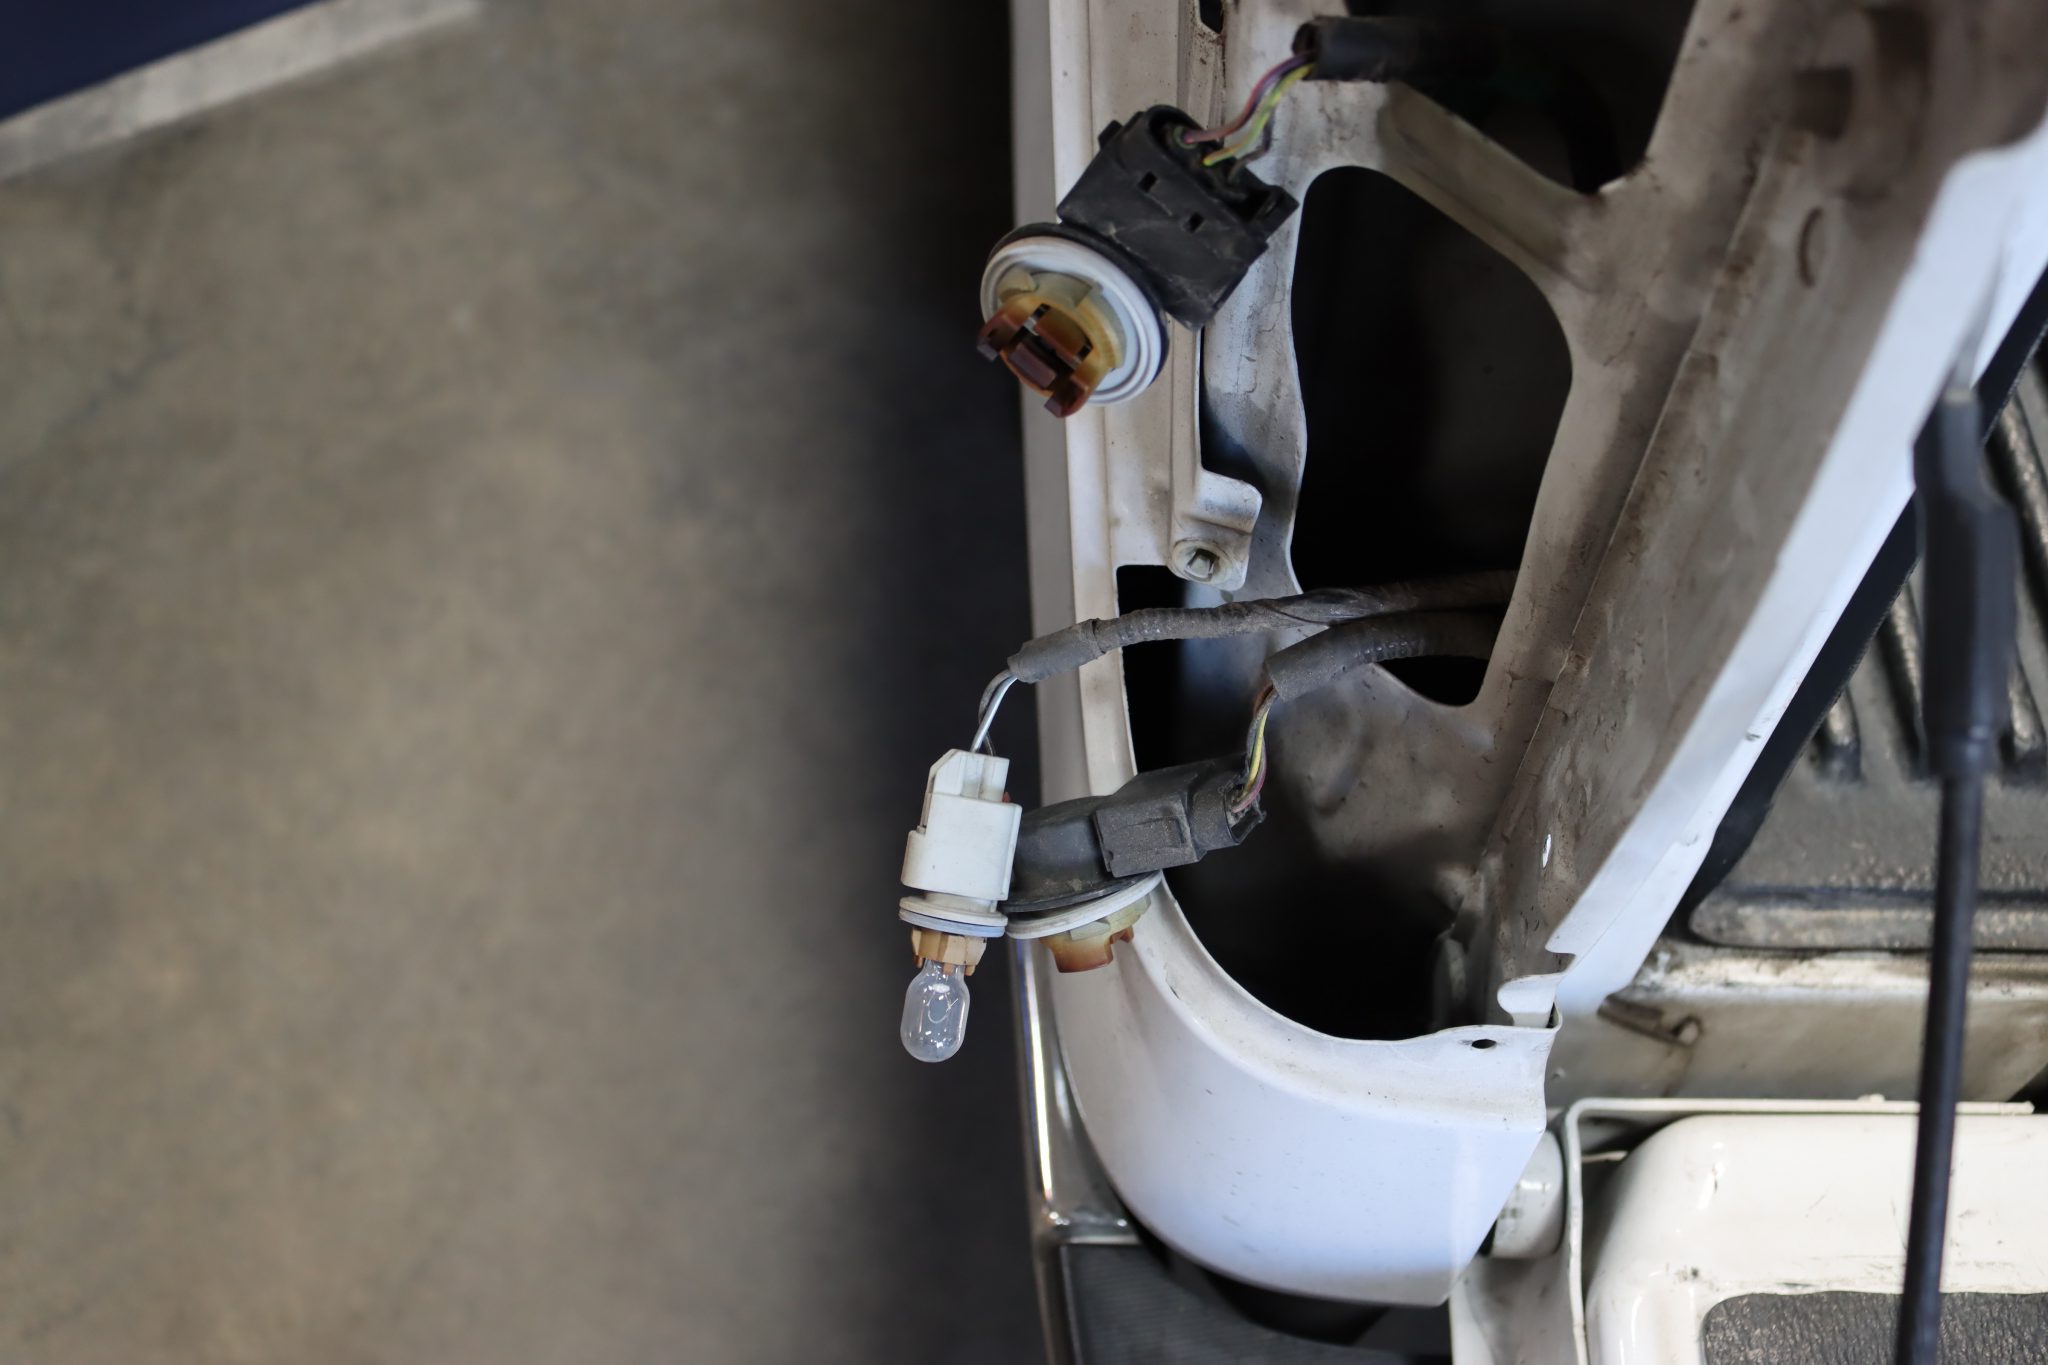
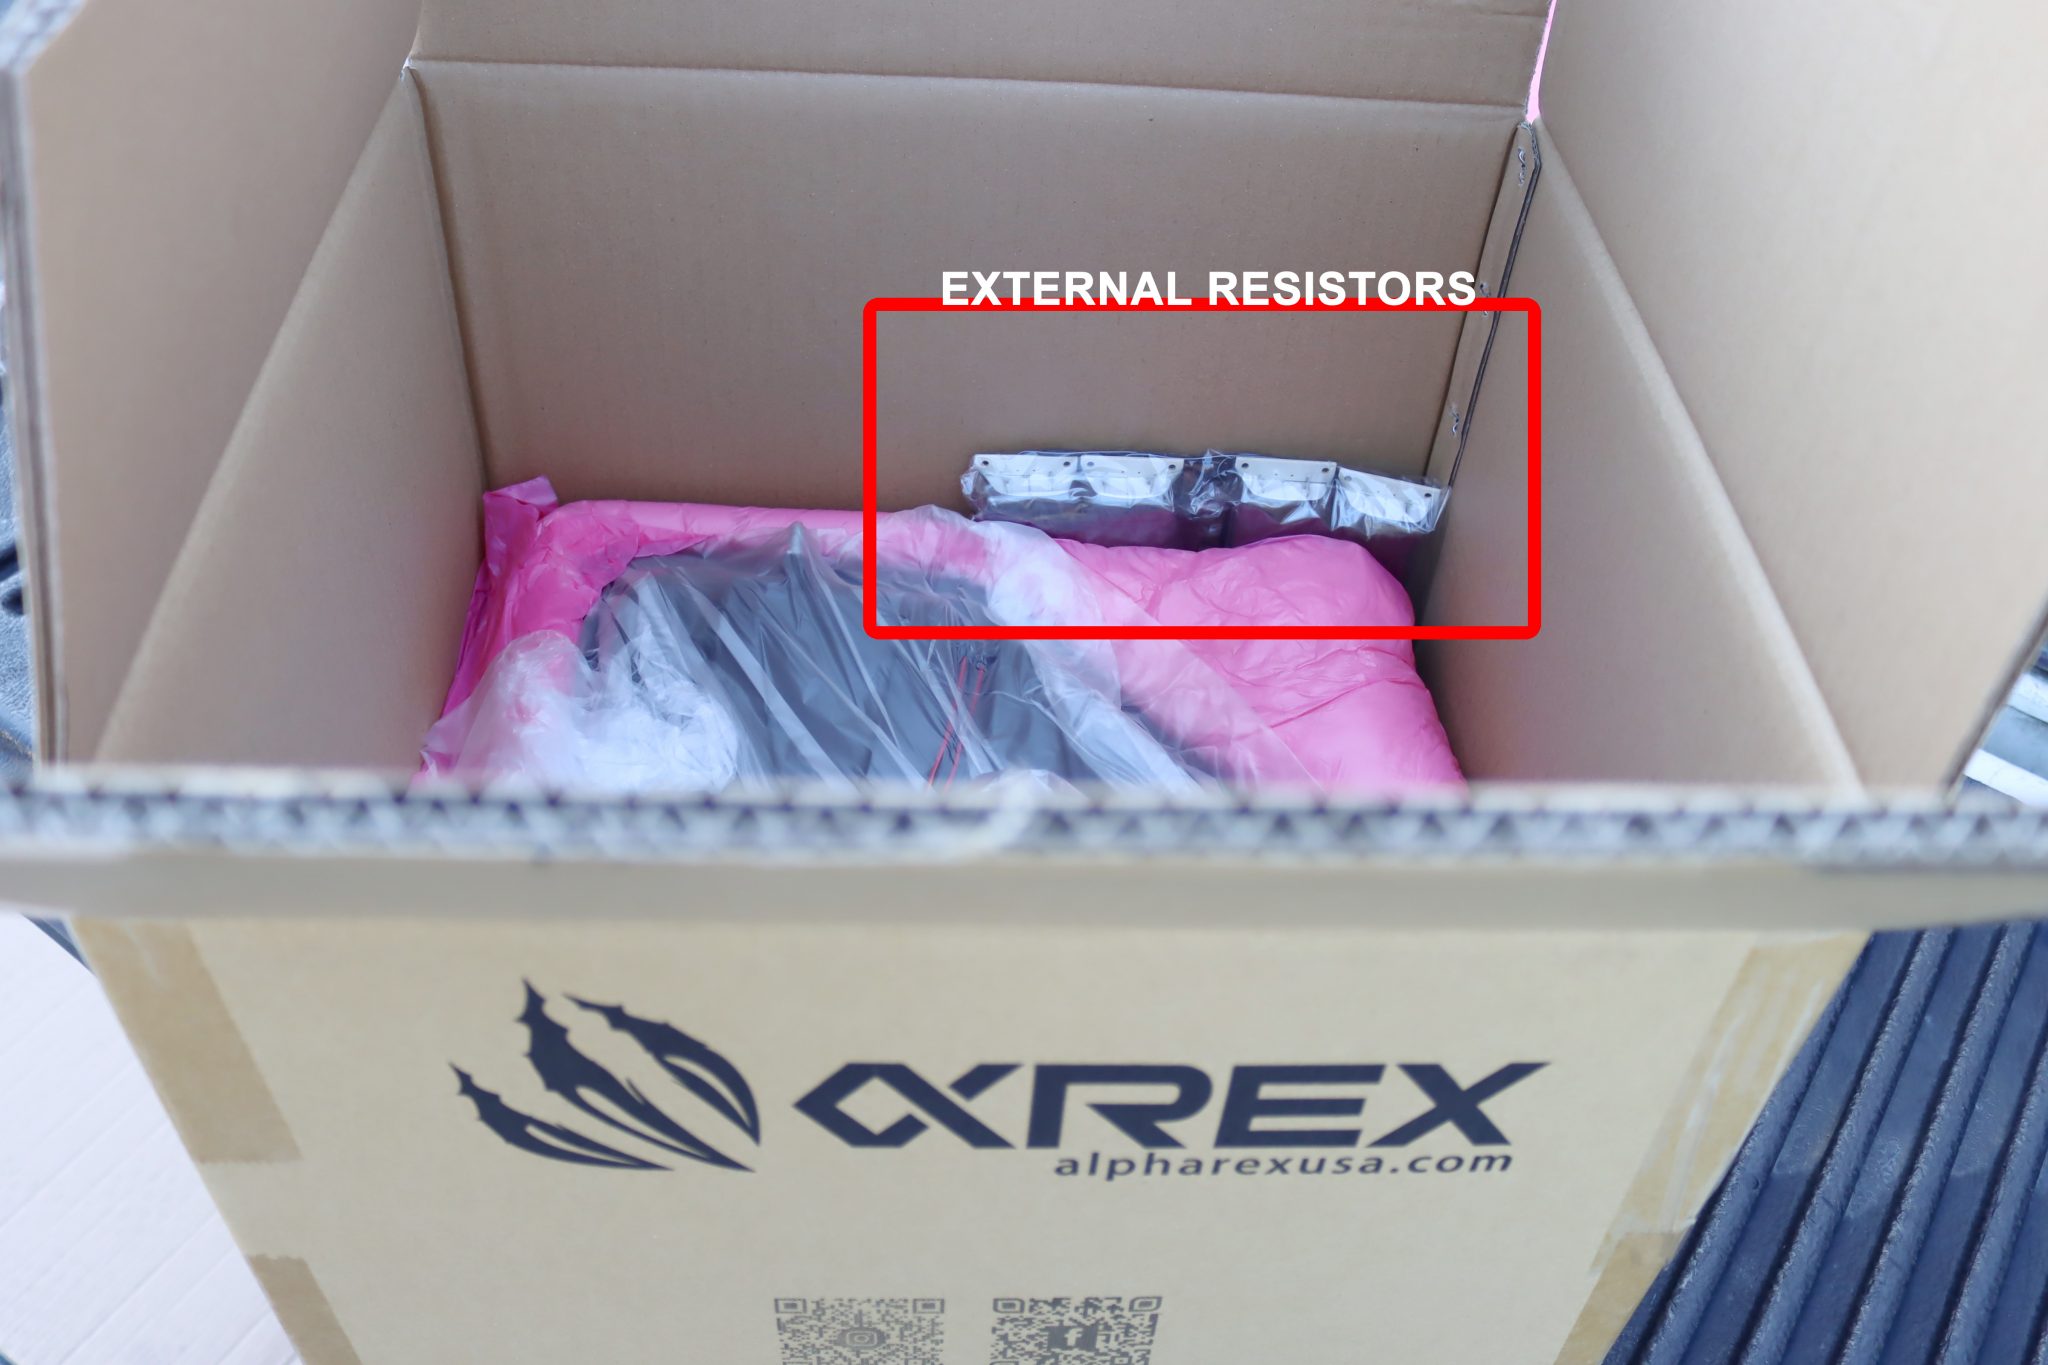
Step 4: INSTALL EXTERNAL RESISTORS
First, locate the (4) external resistors inside the package.
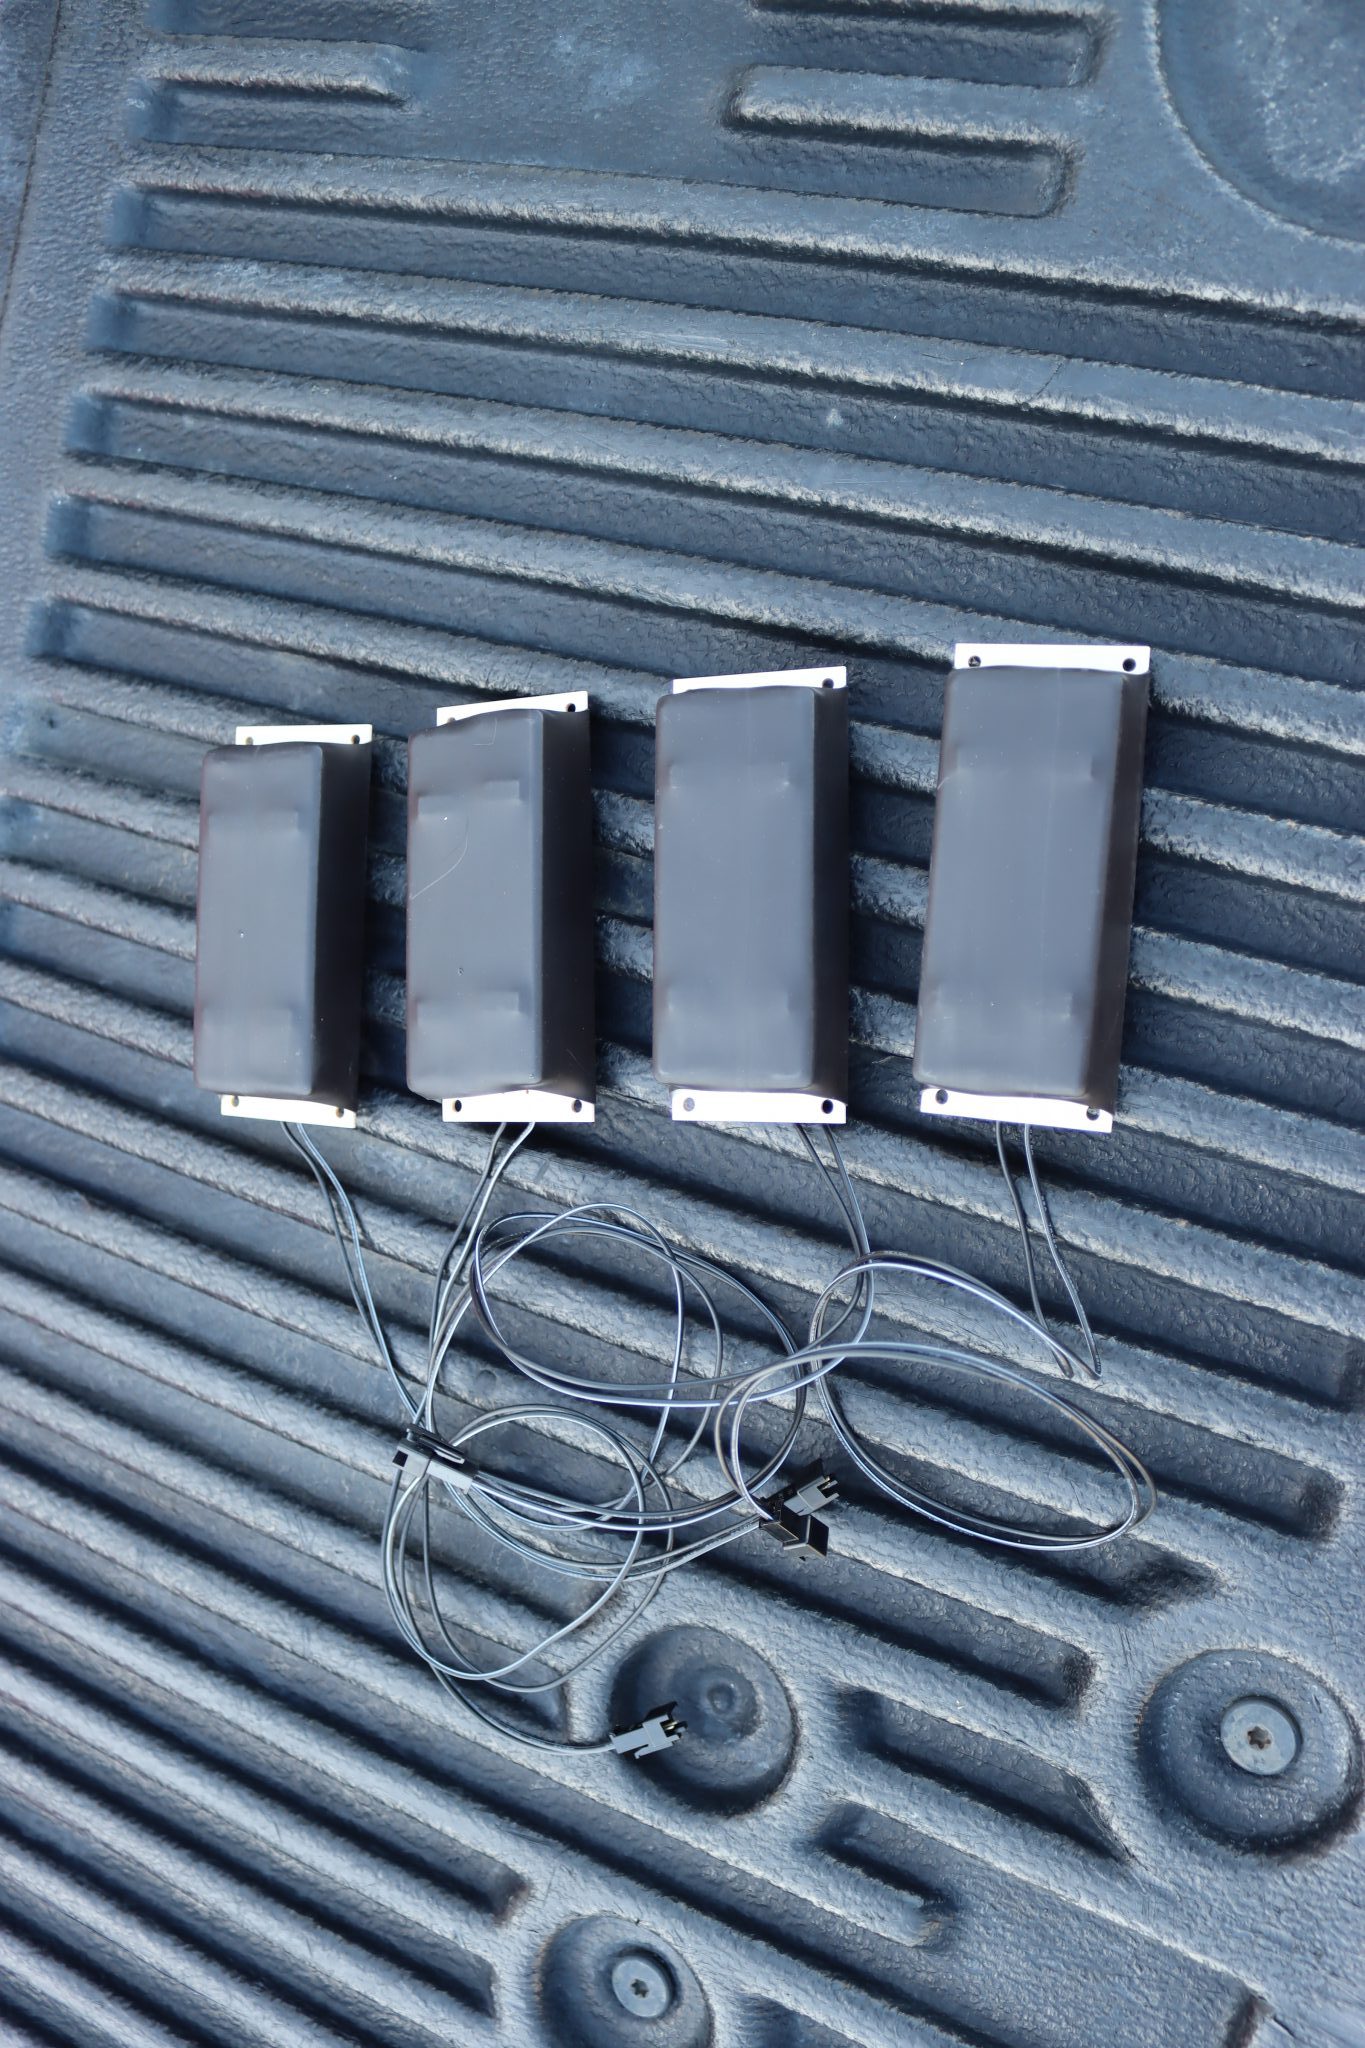
From the back of the rear bumper (under the vehicle) install 2 external resistors for each new ALPHAREX tail lights.
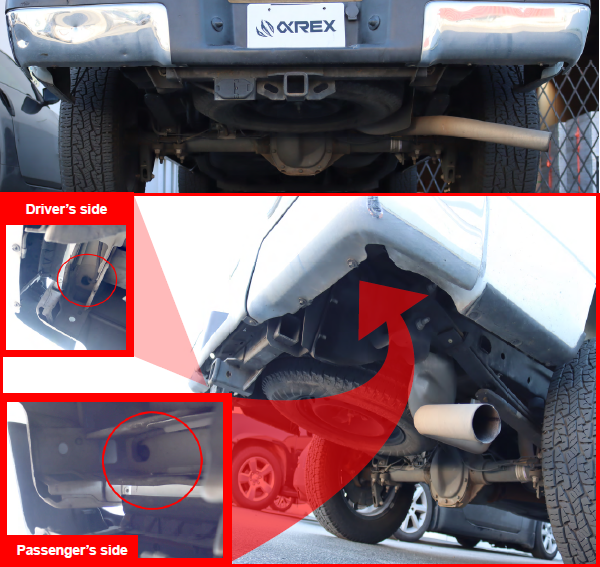
Route the connector plugs and wire through the firewall hole and install the 2 external resistors on the flat surface.
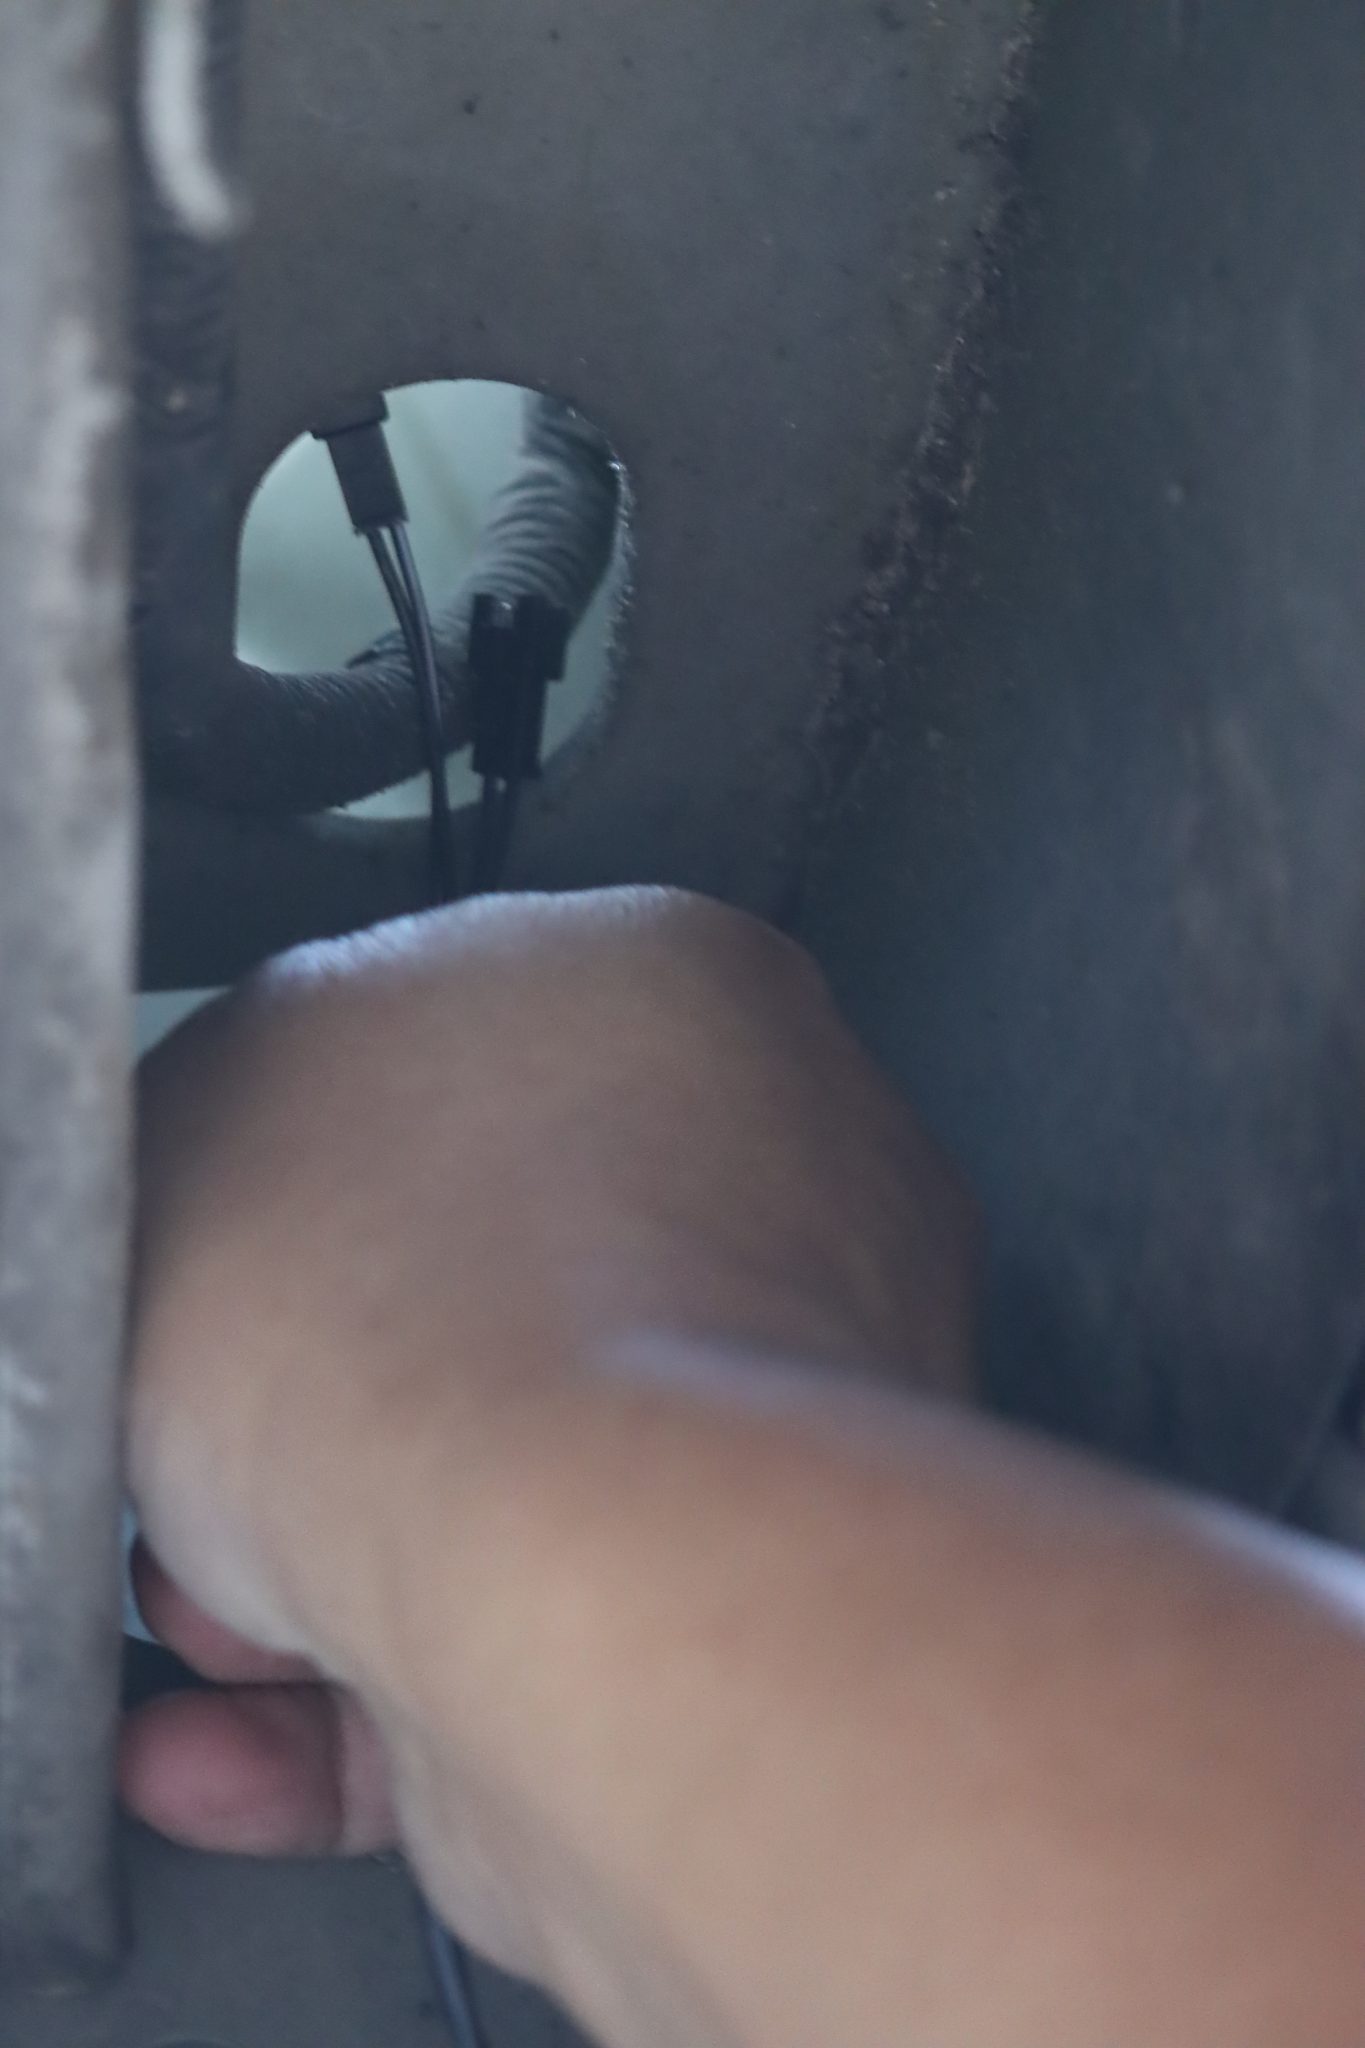
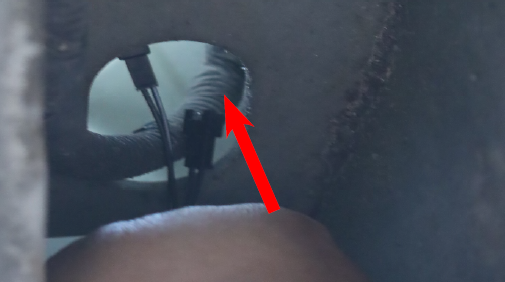
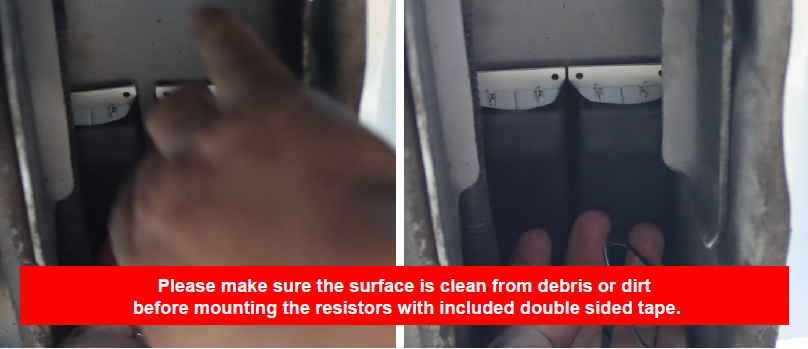
Next, pull out the connector plugs and get ready for the new ALPHAREX tail lights installation. Please follow the same steps for the other side.
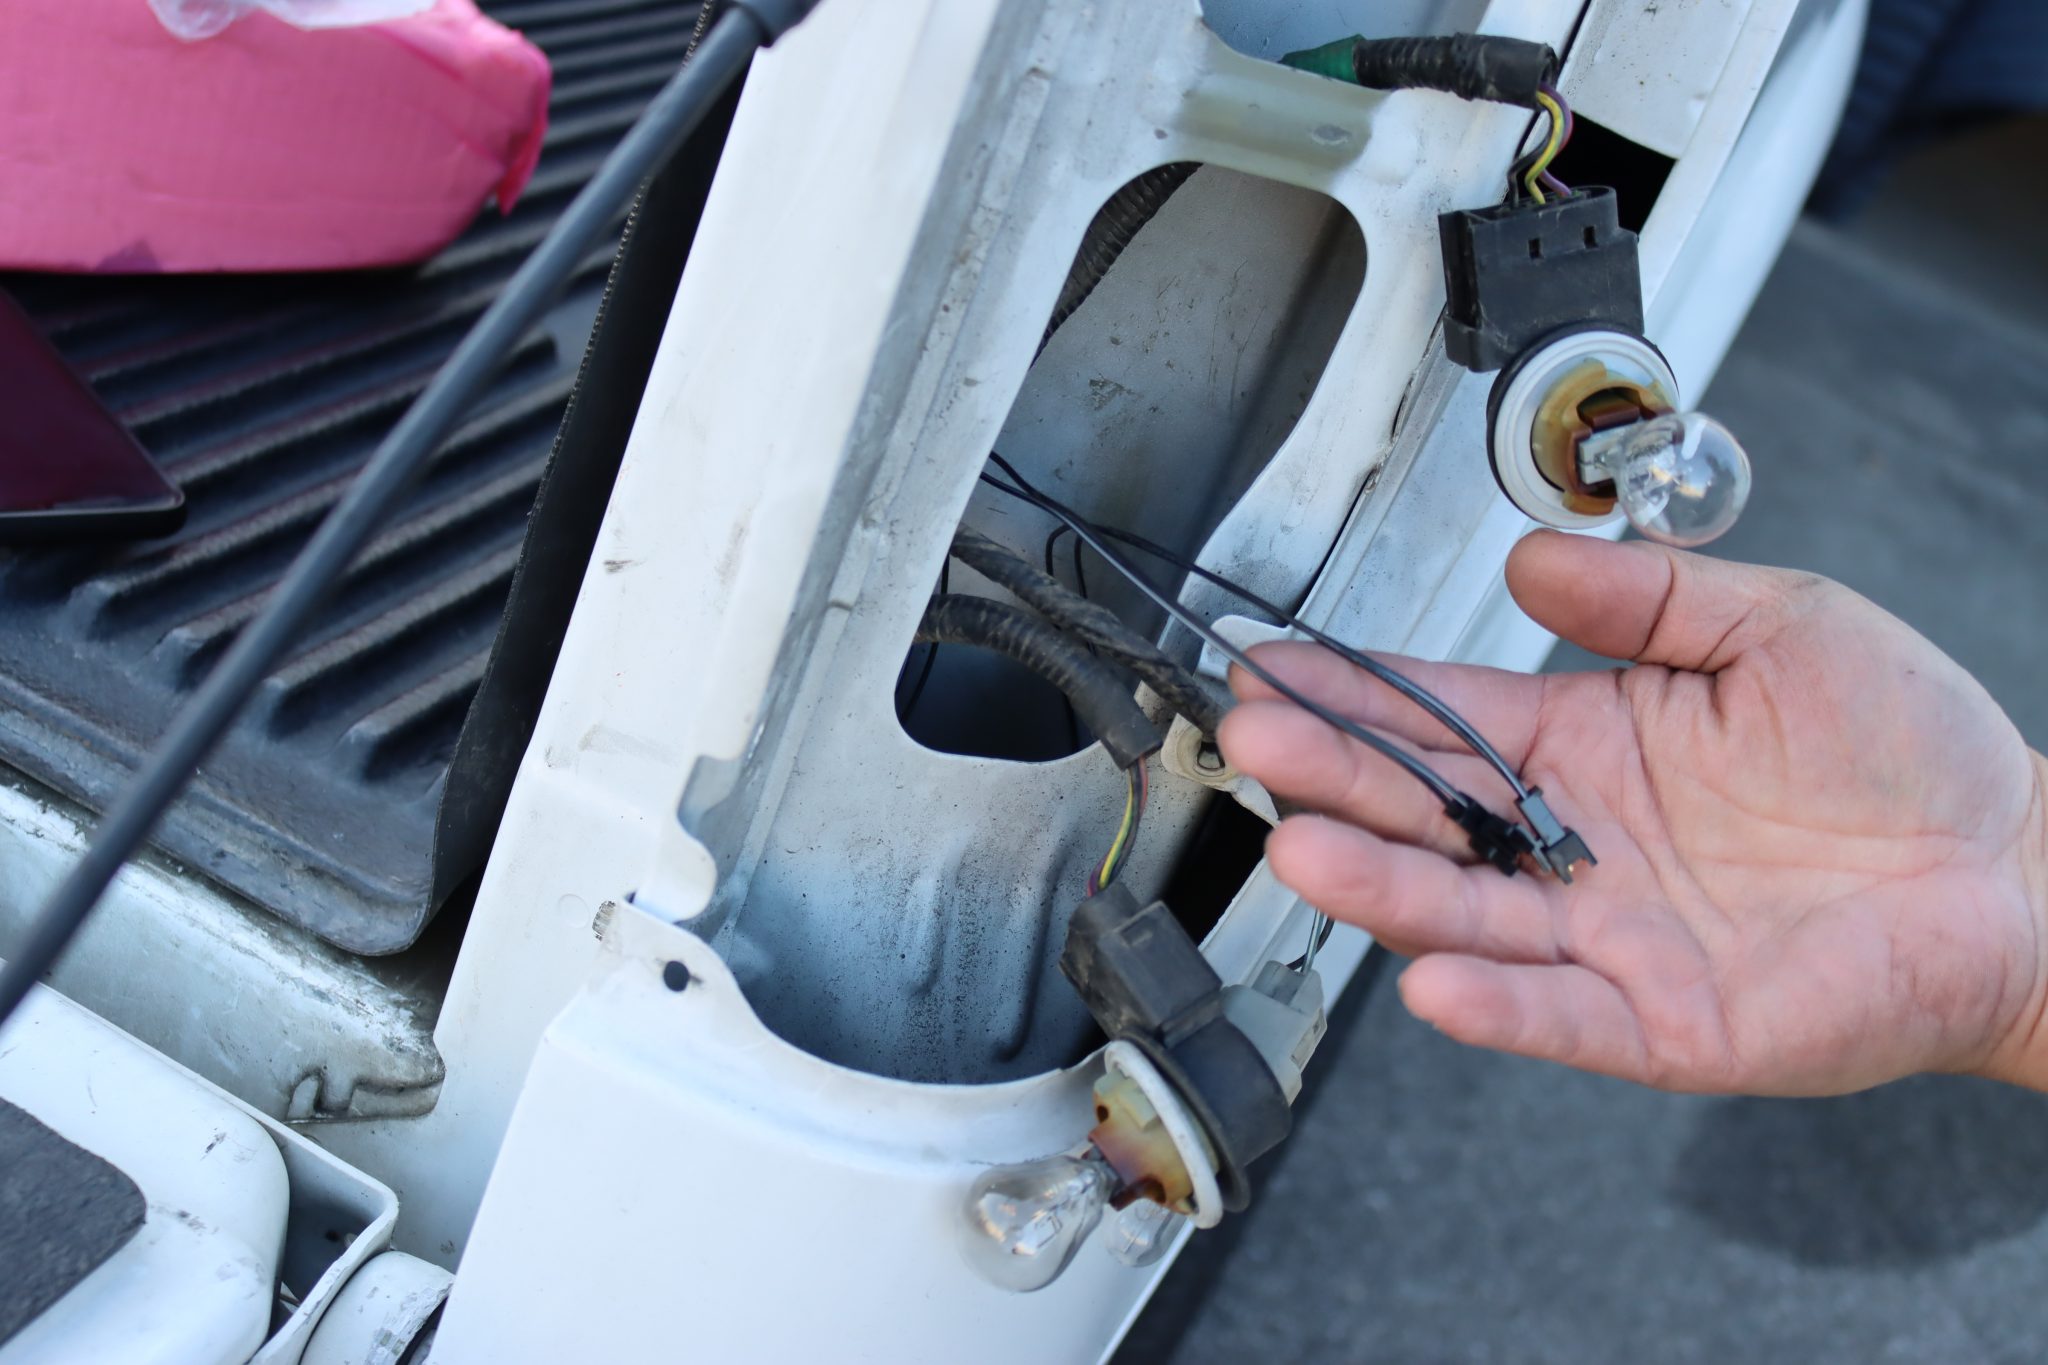
Step 5: PLUG THE CONNECTORS AND THE SOCKETS
Plug the external resistors to the new Alpharex tail light.
DO NOT USE DIELECTRIC GREASE!
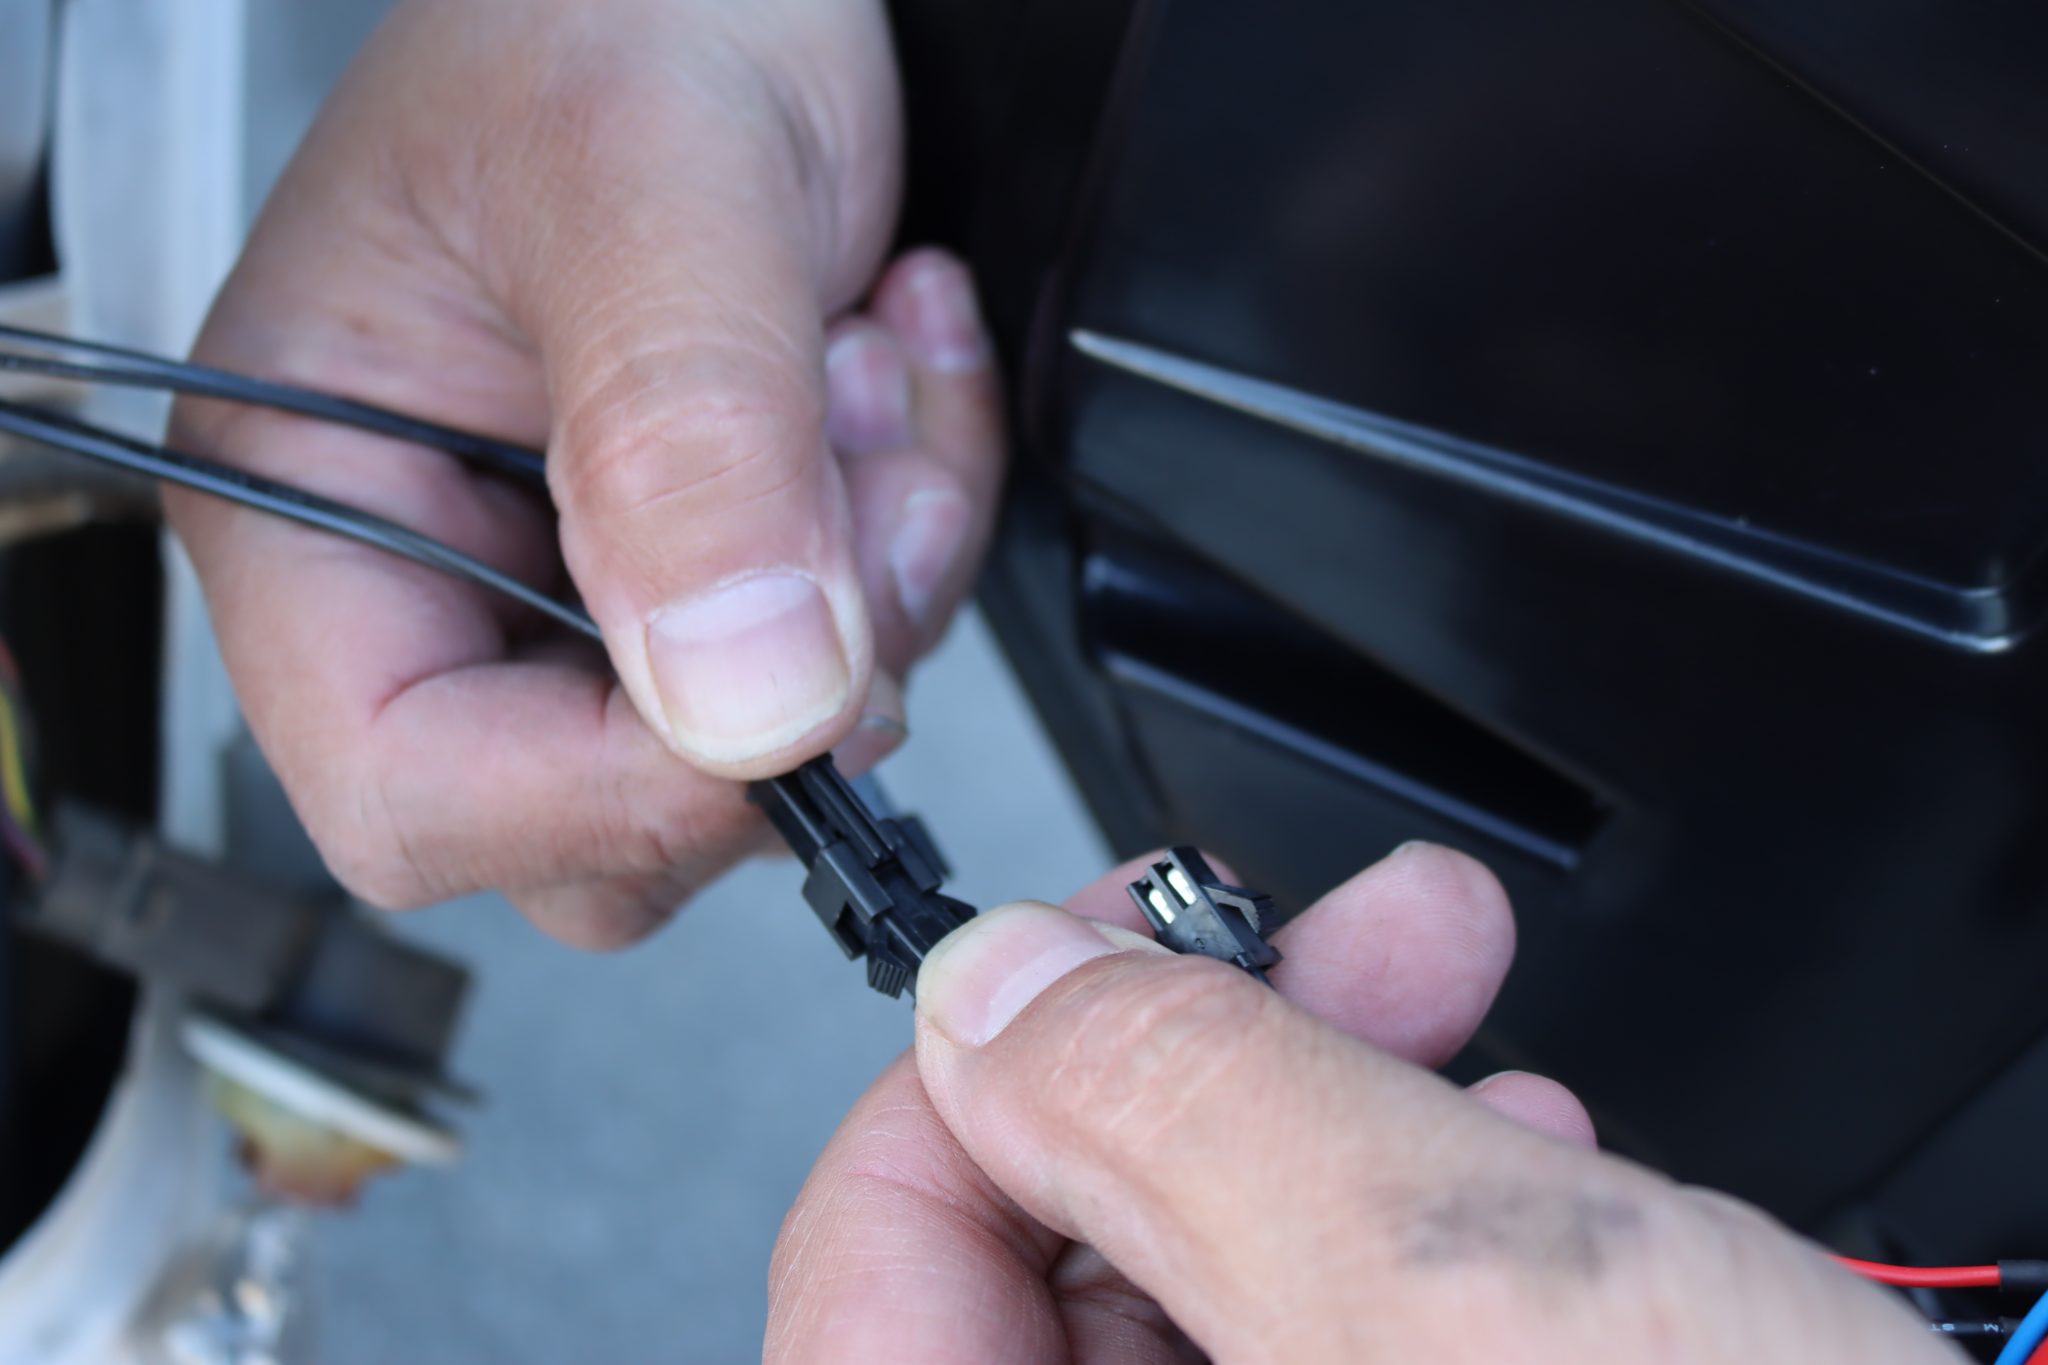
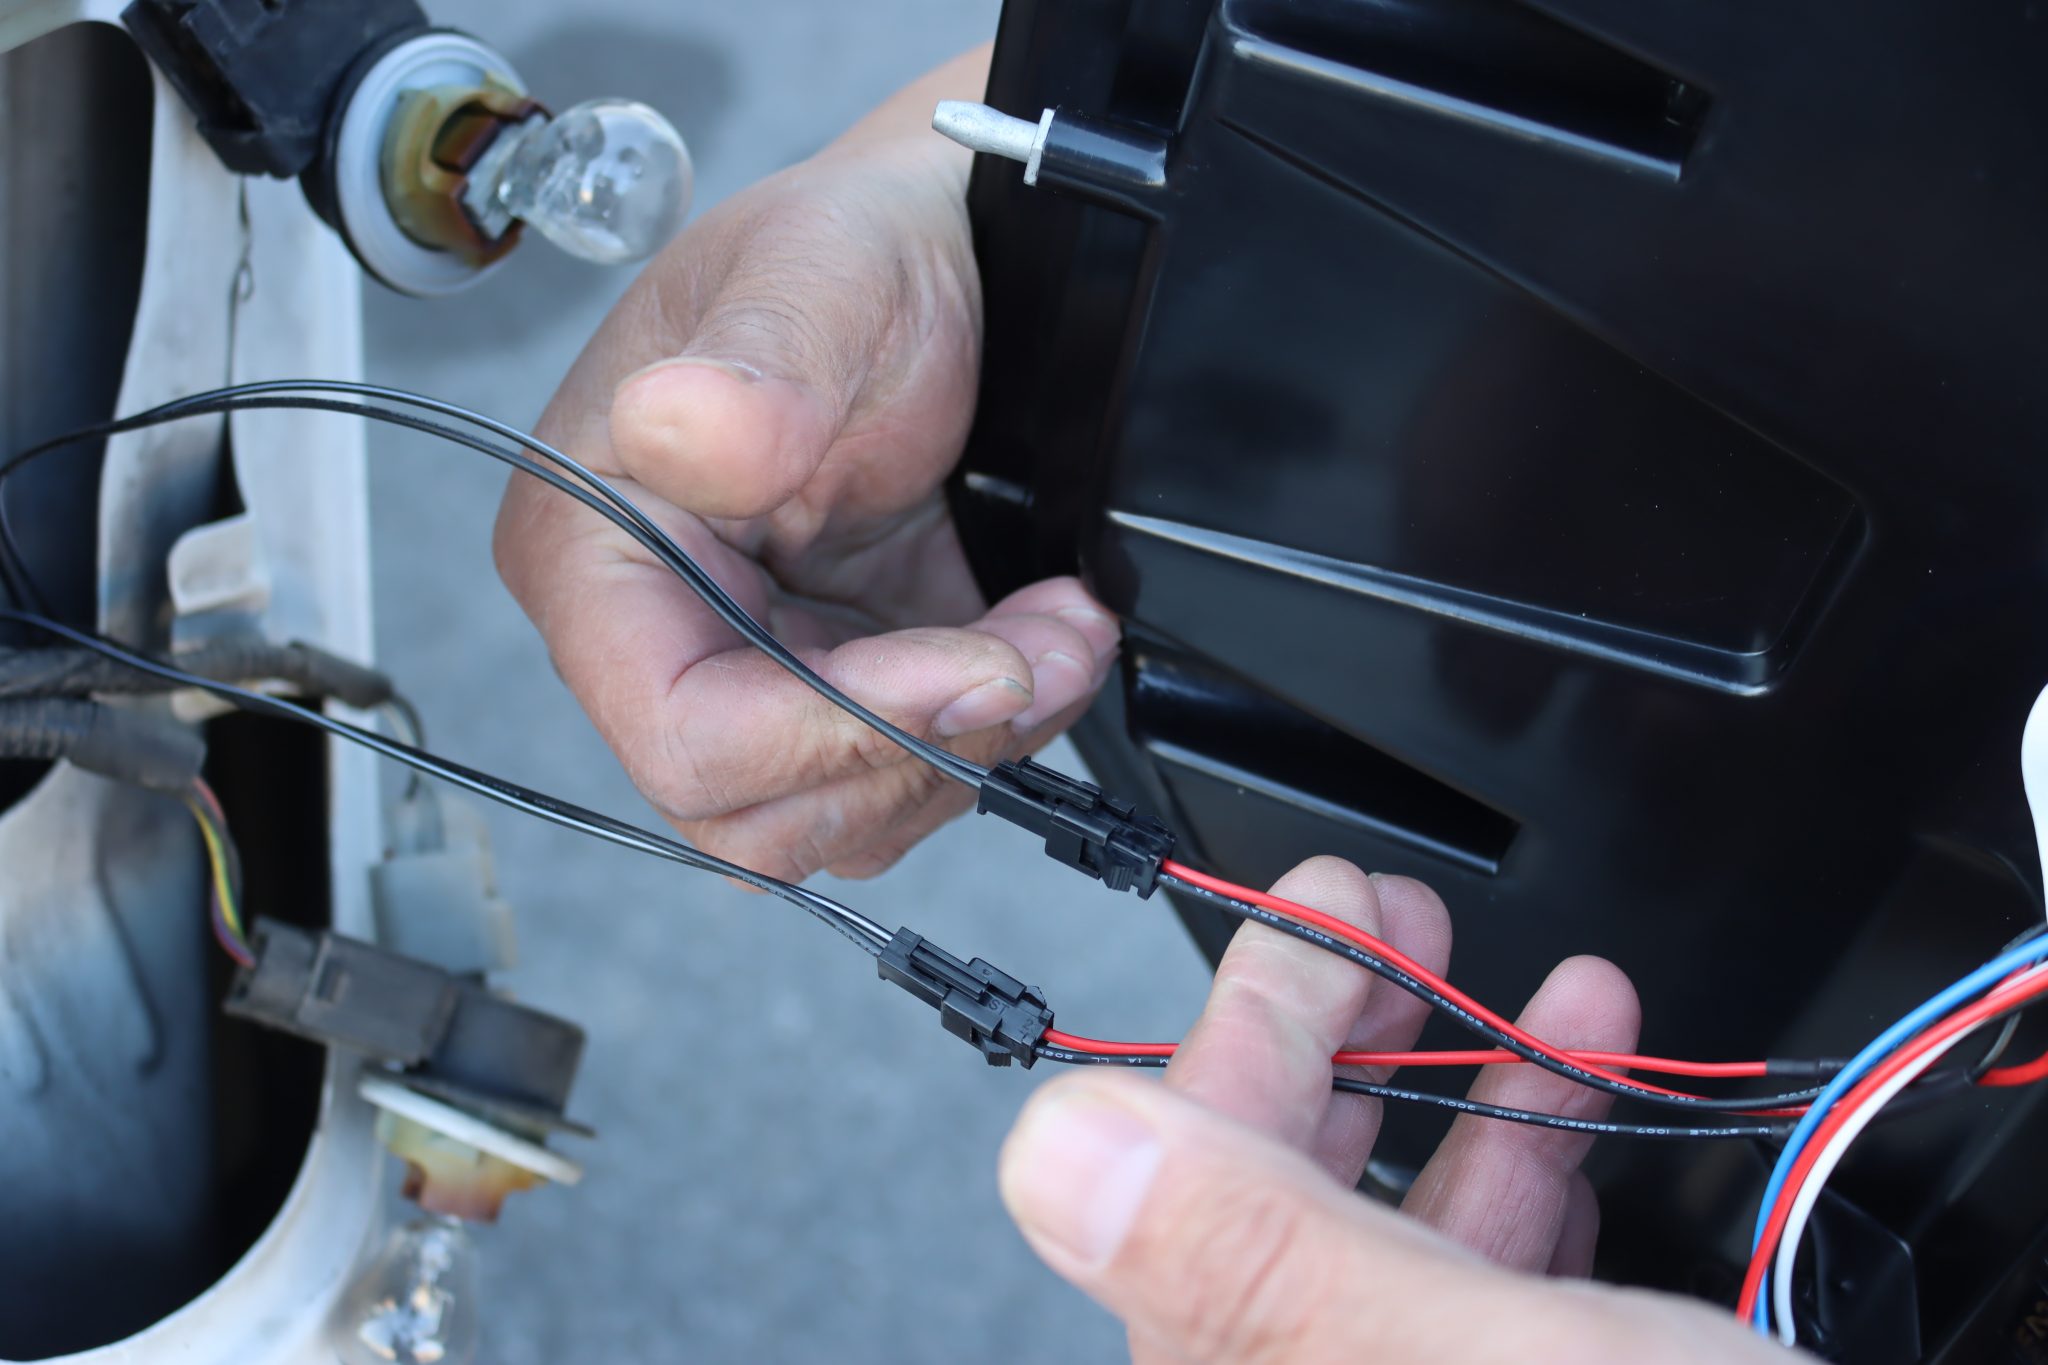
Next, plug and install the reverse light bulb into the new Alpharex tail light.
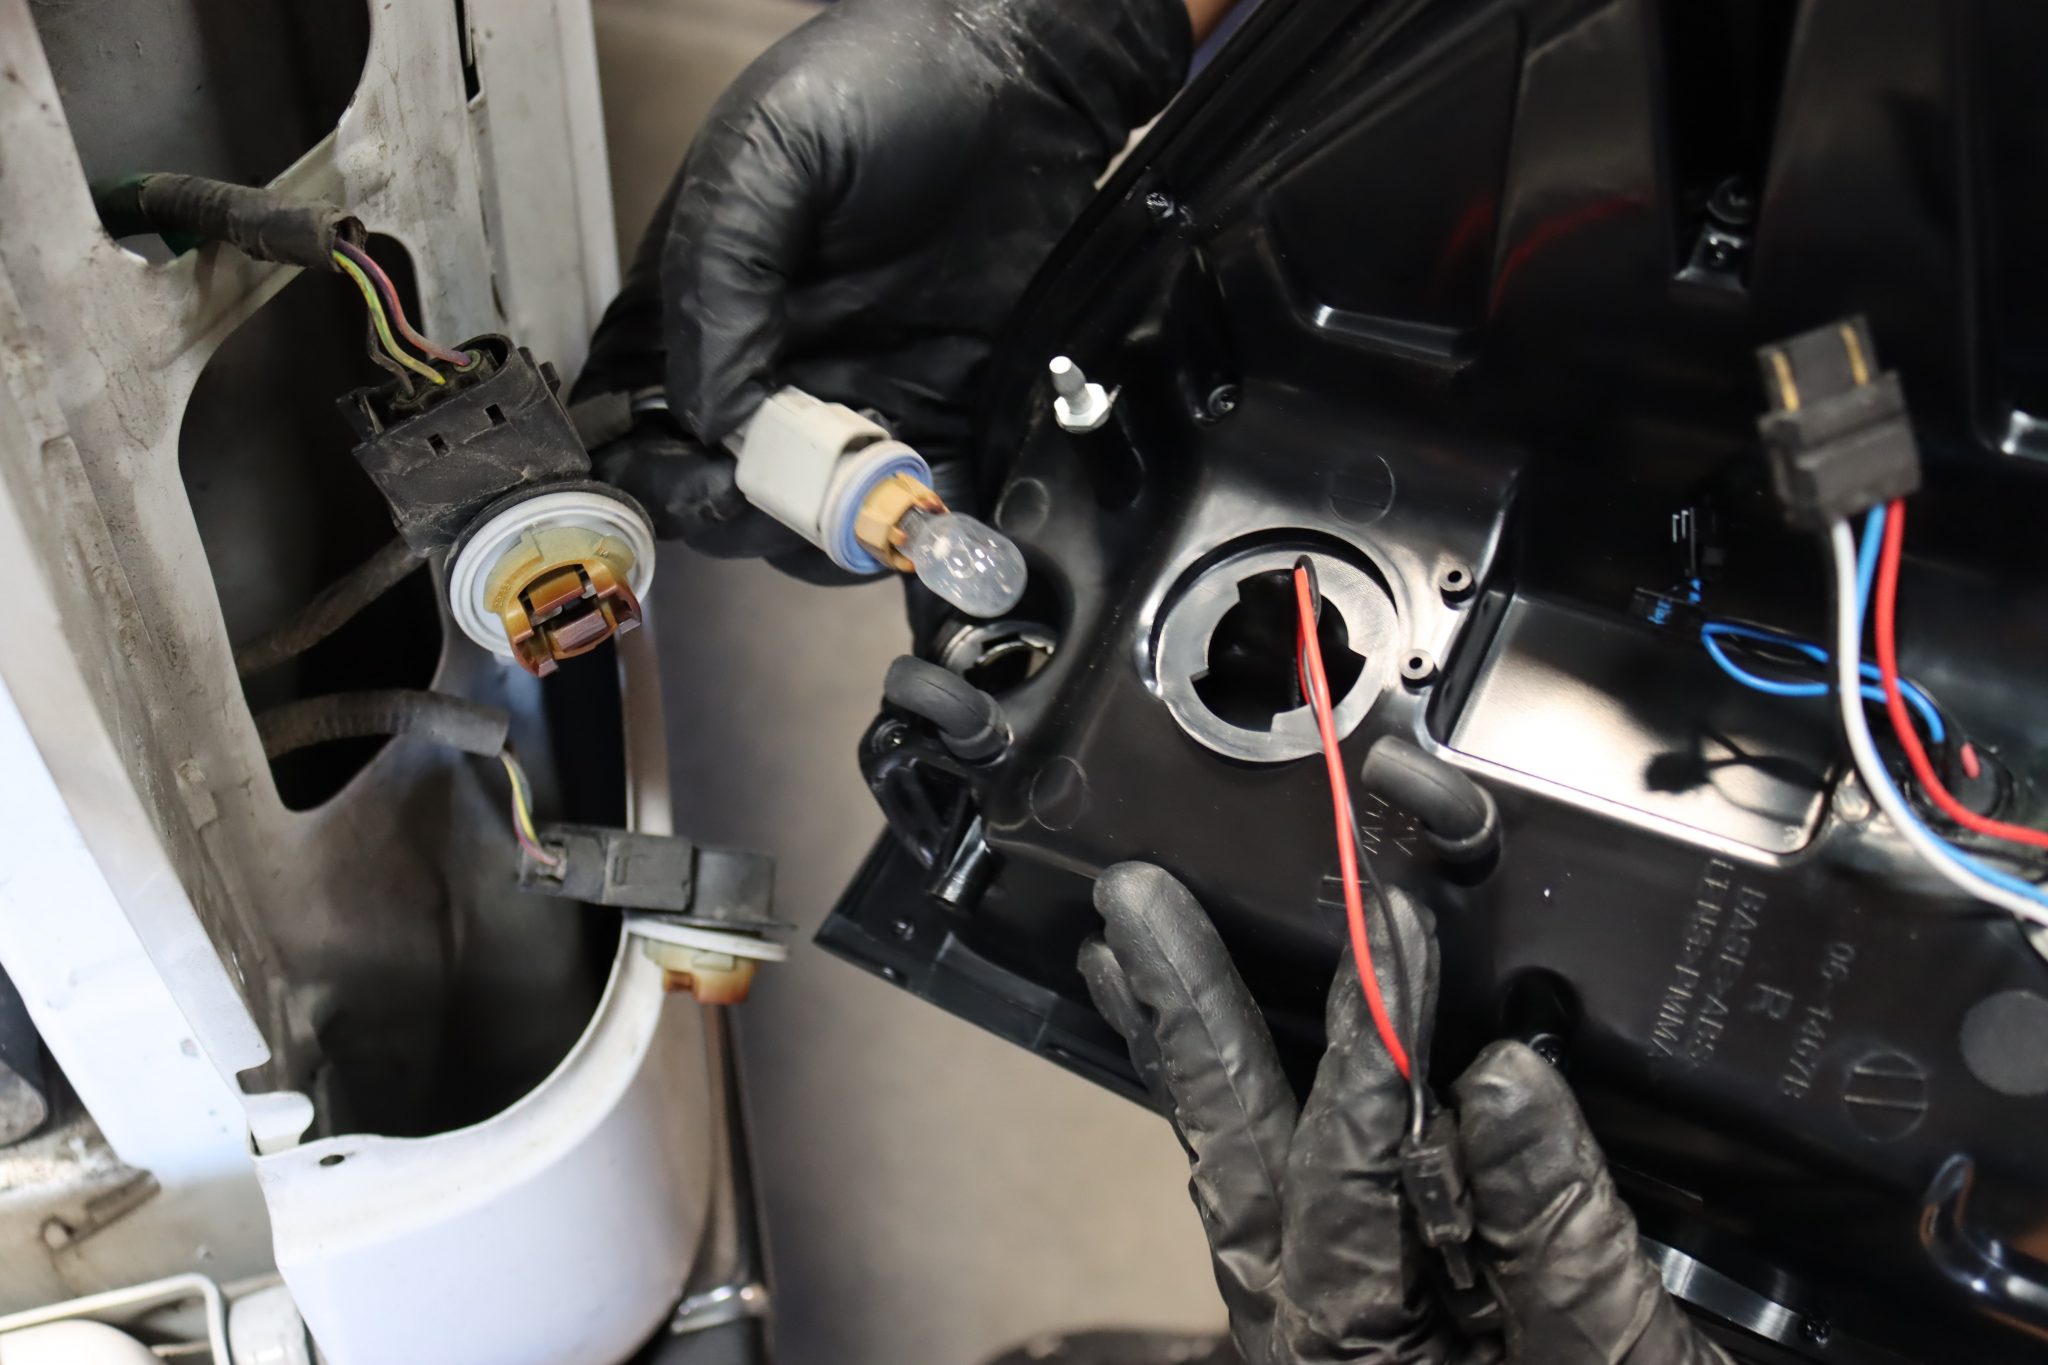
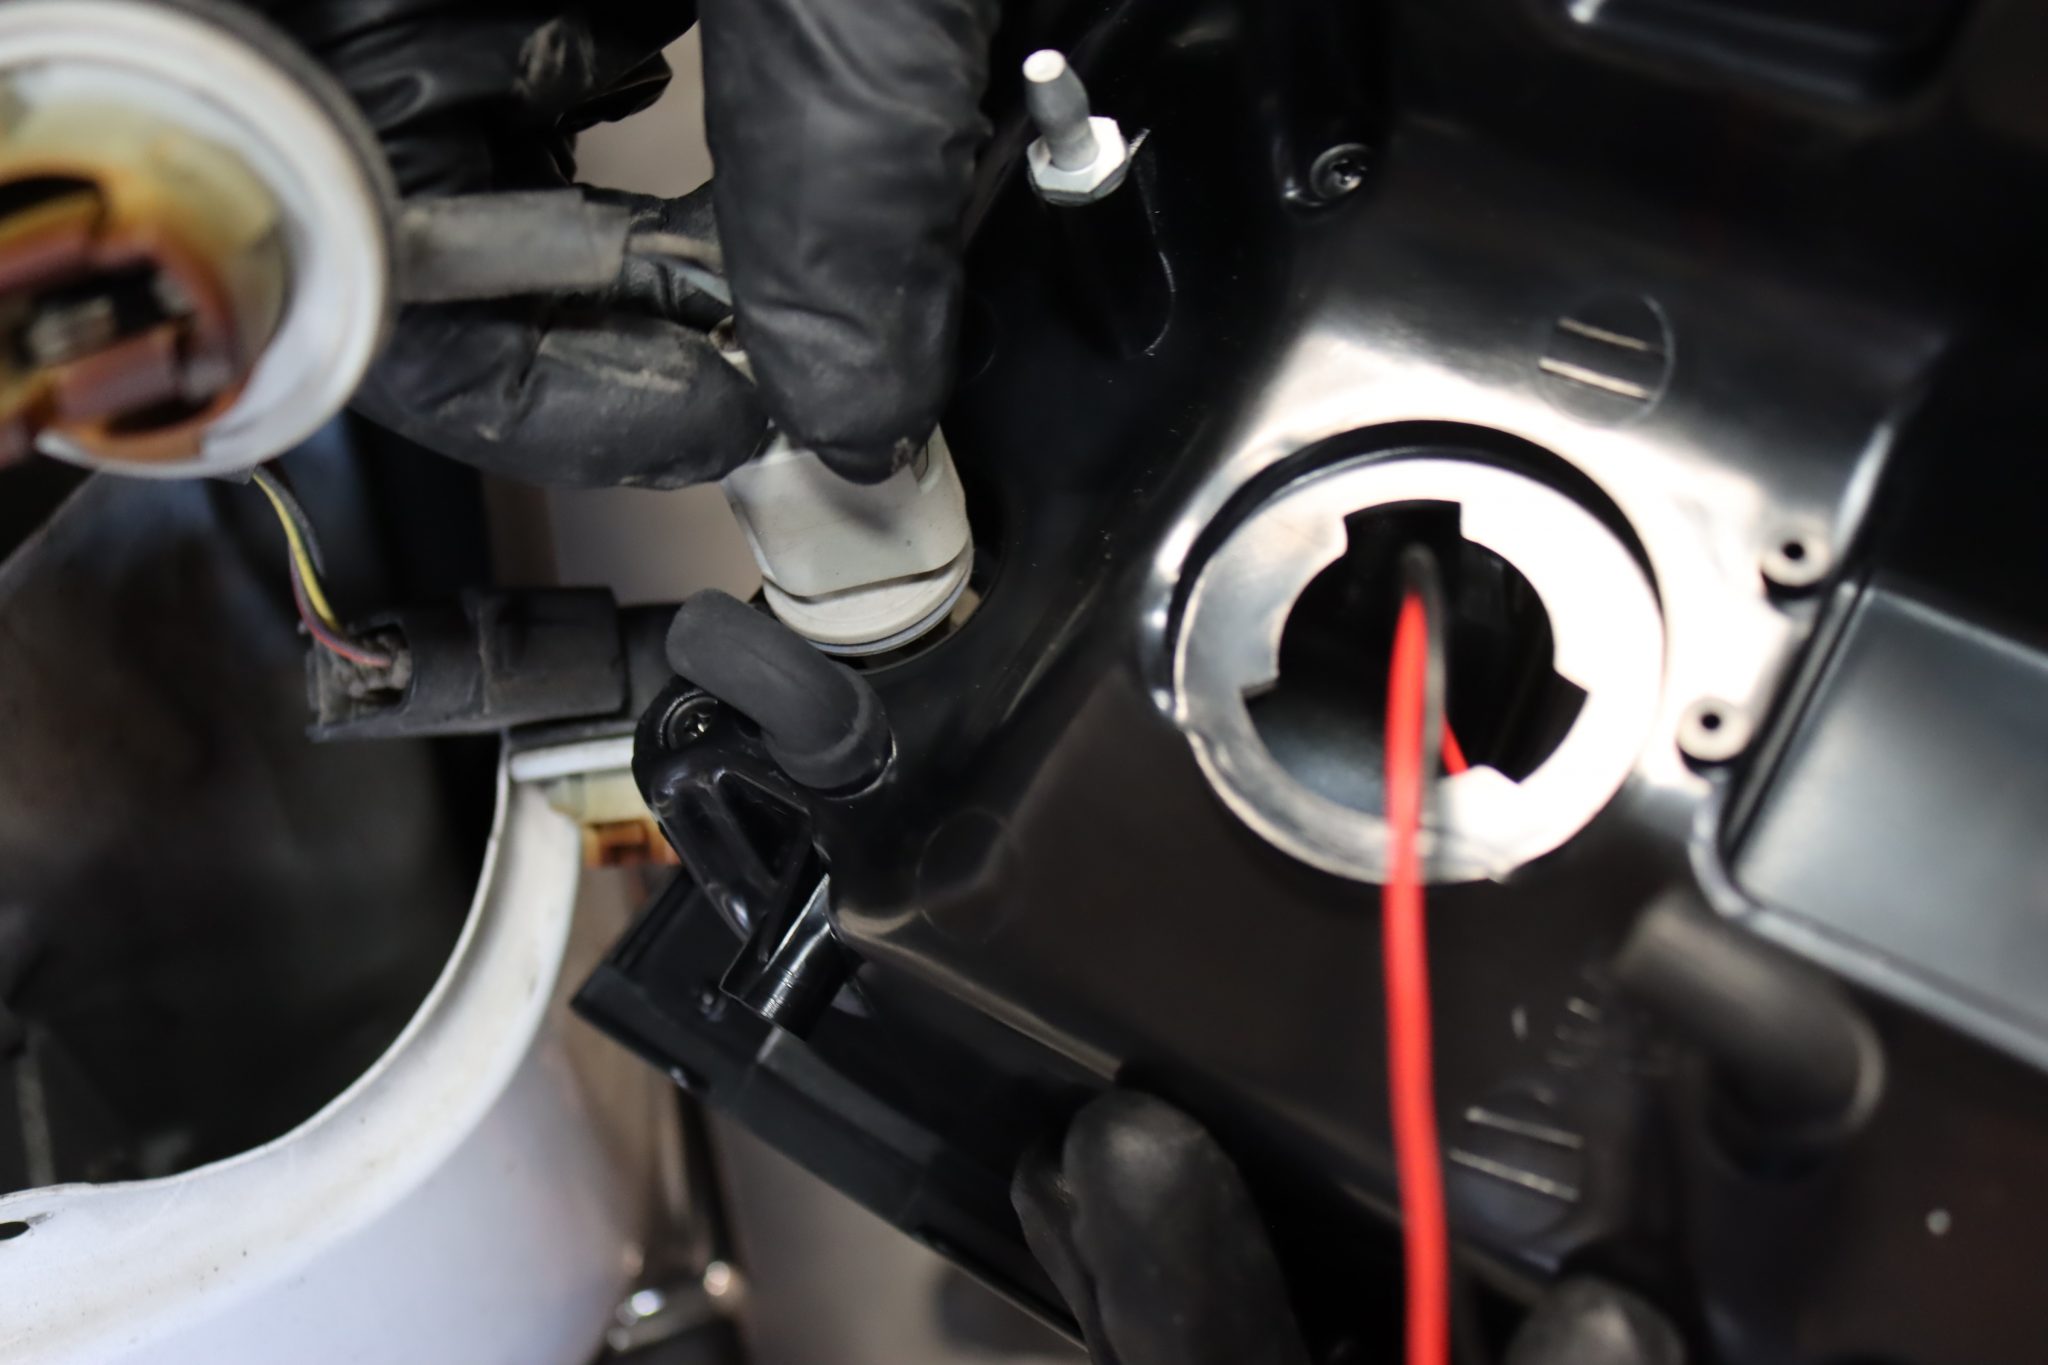
Then, plug the wire connectors into the sockets directly to the new ALPHAREX tail lights.
AGAIN, PLEASE DO NOT USE DIELECTRIC GREASE!
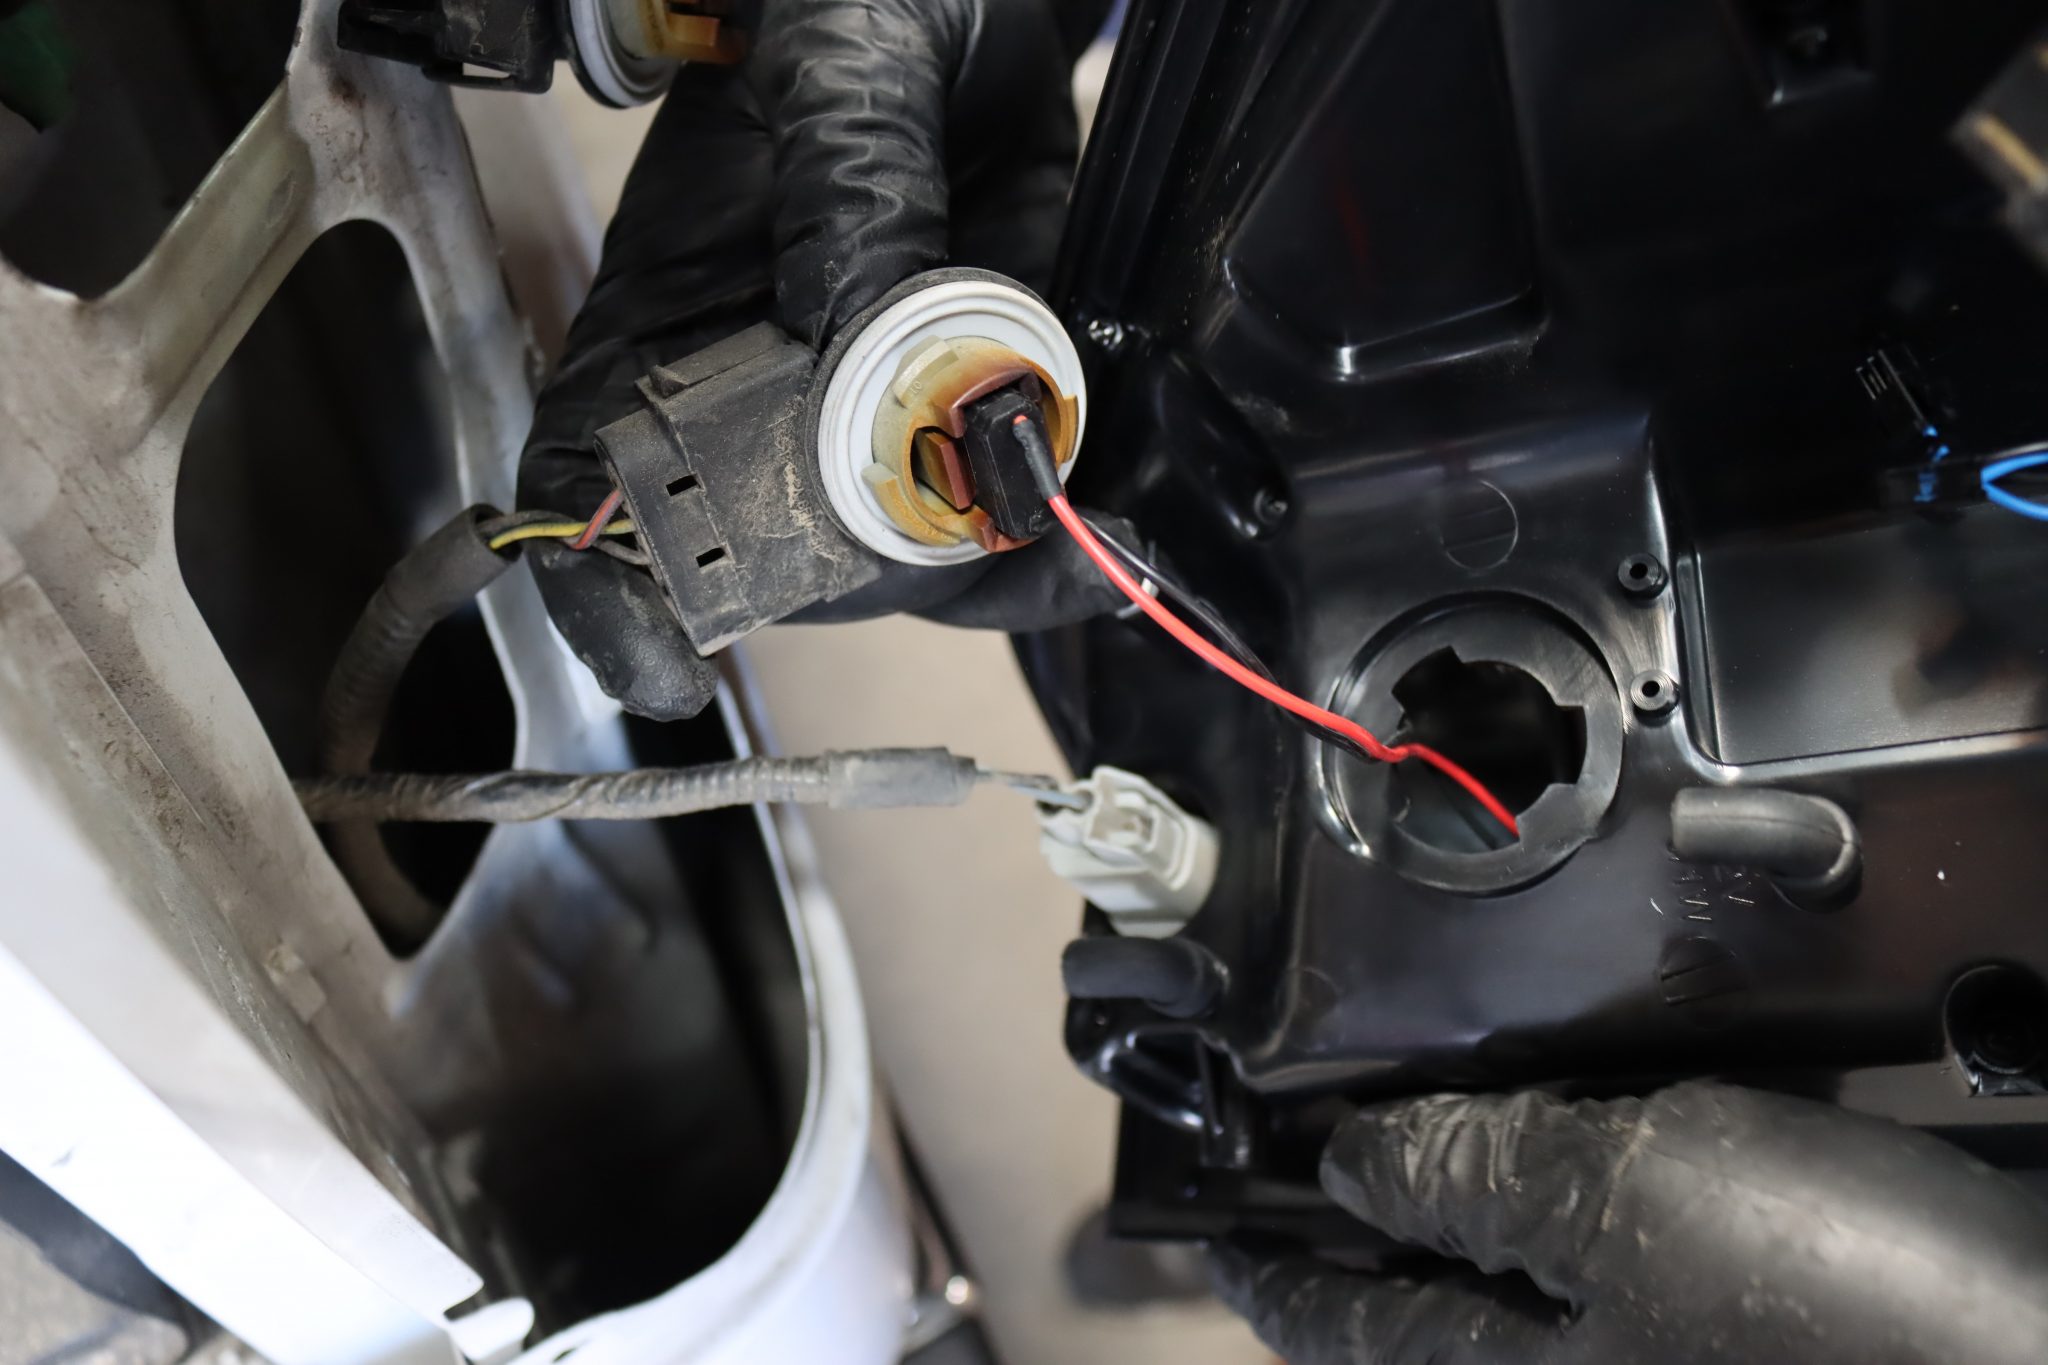
Twist and secure the socket into the new tail lights.
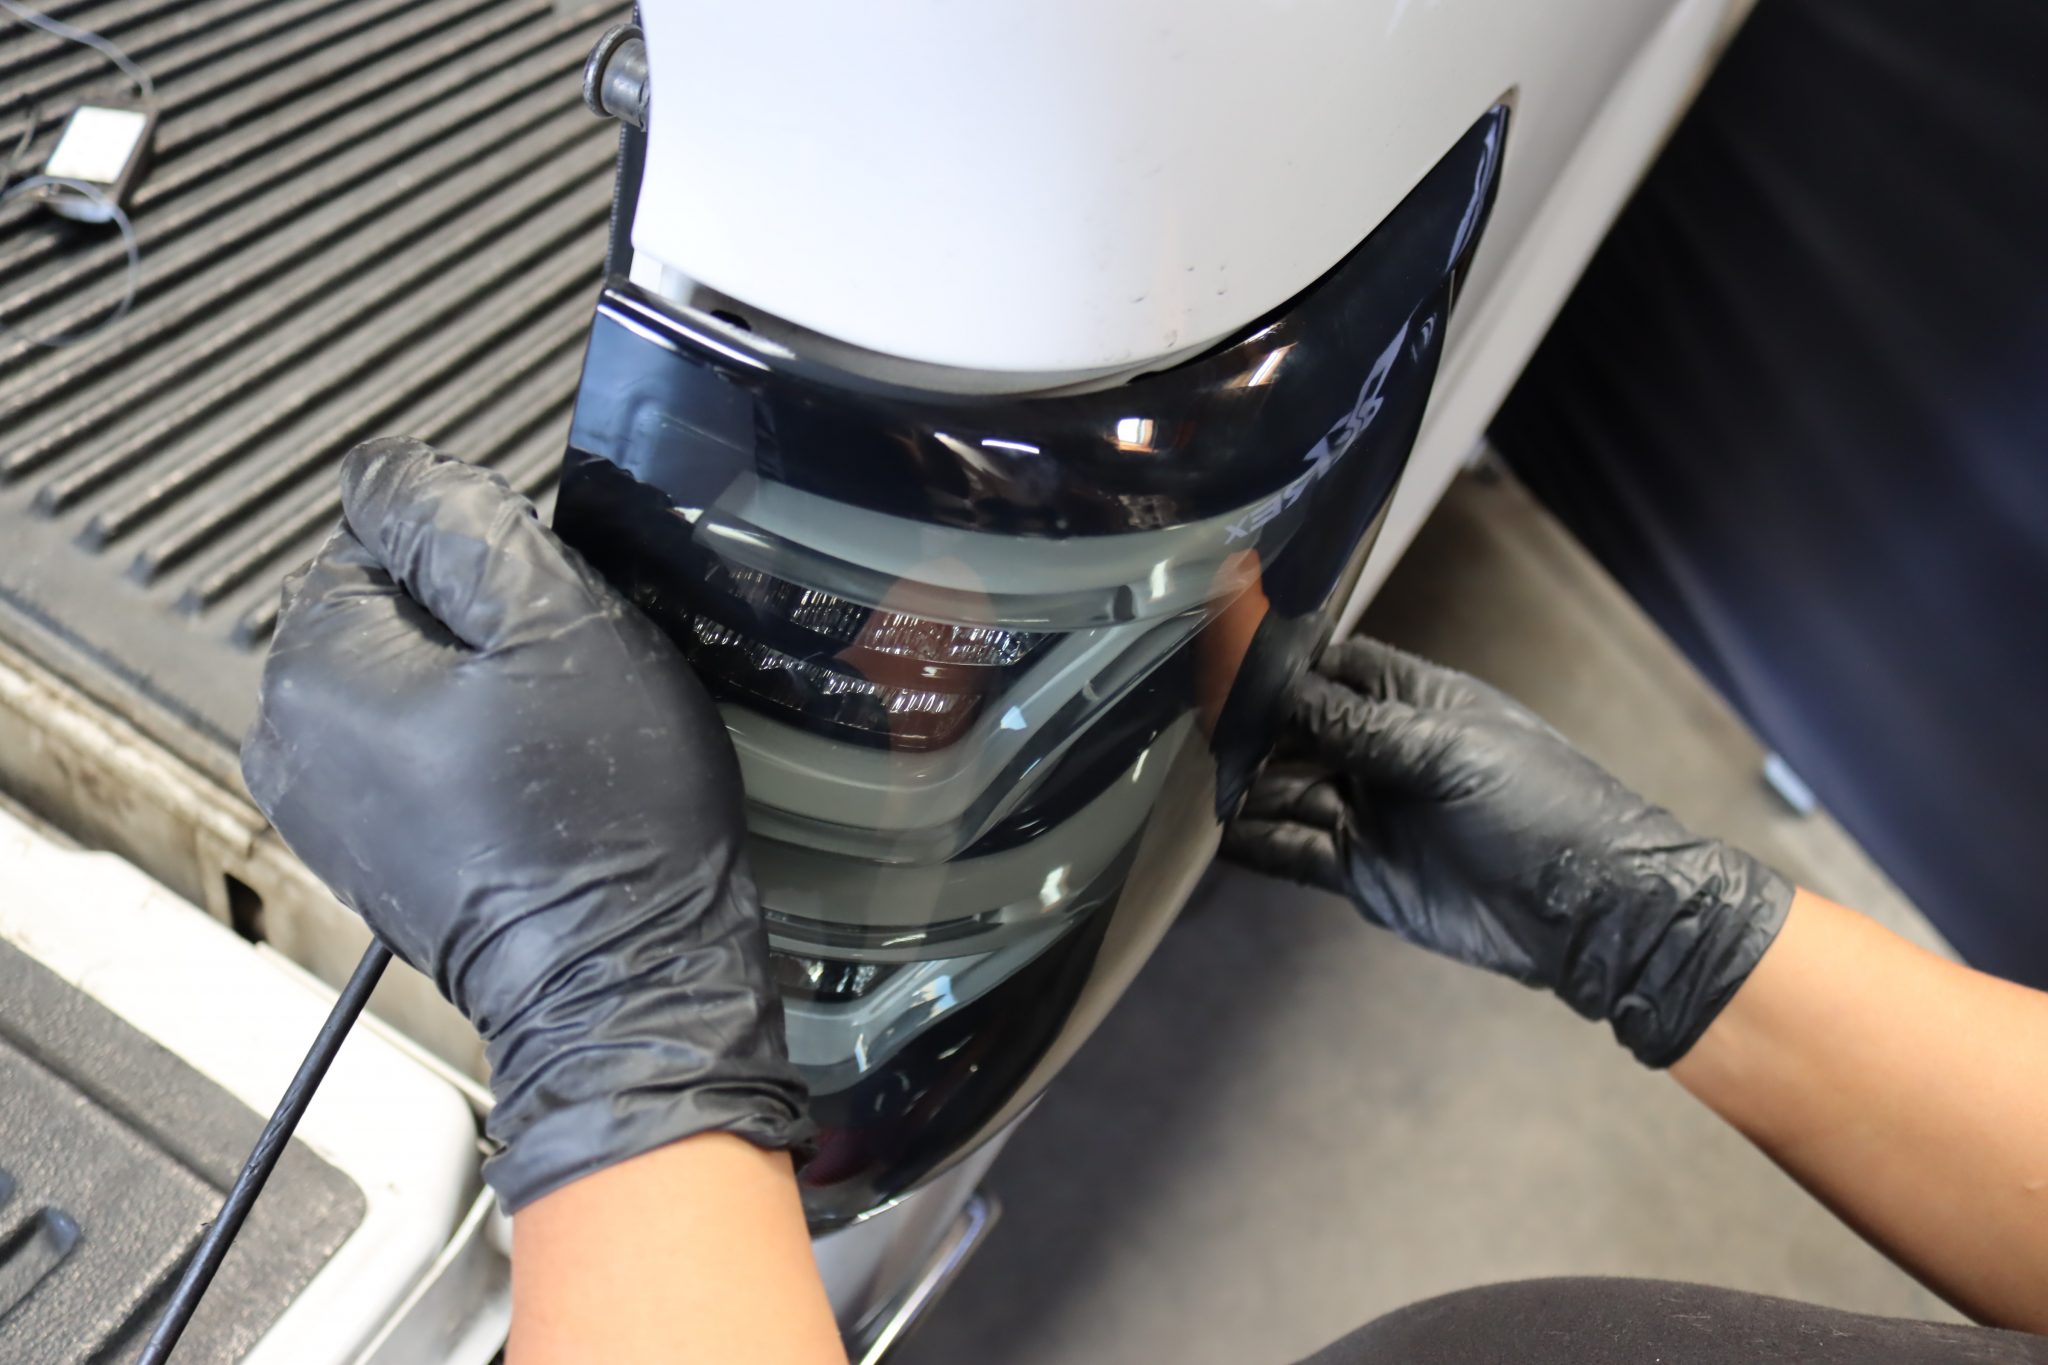
Reverse the removal process to install the new tail lights into the vehicle.
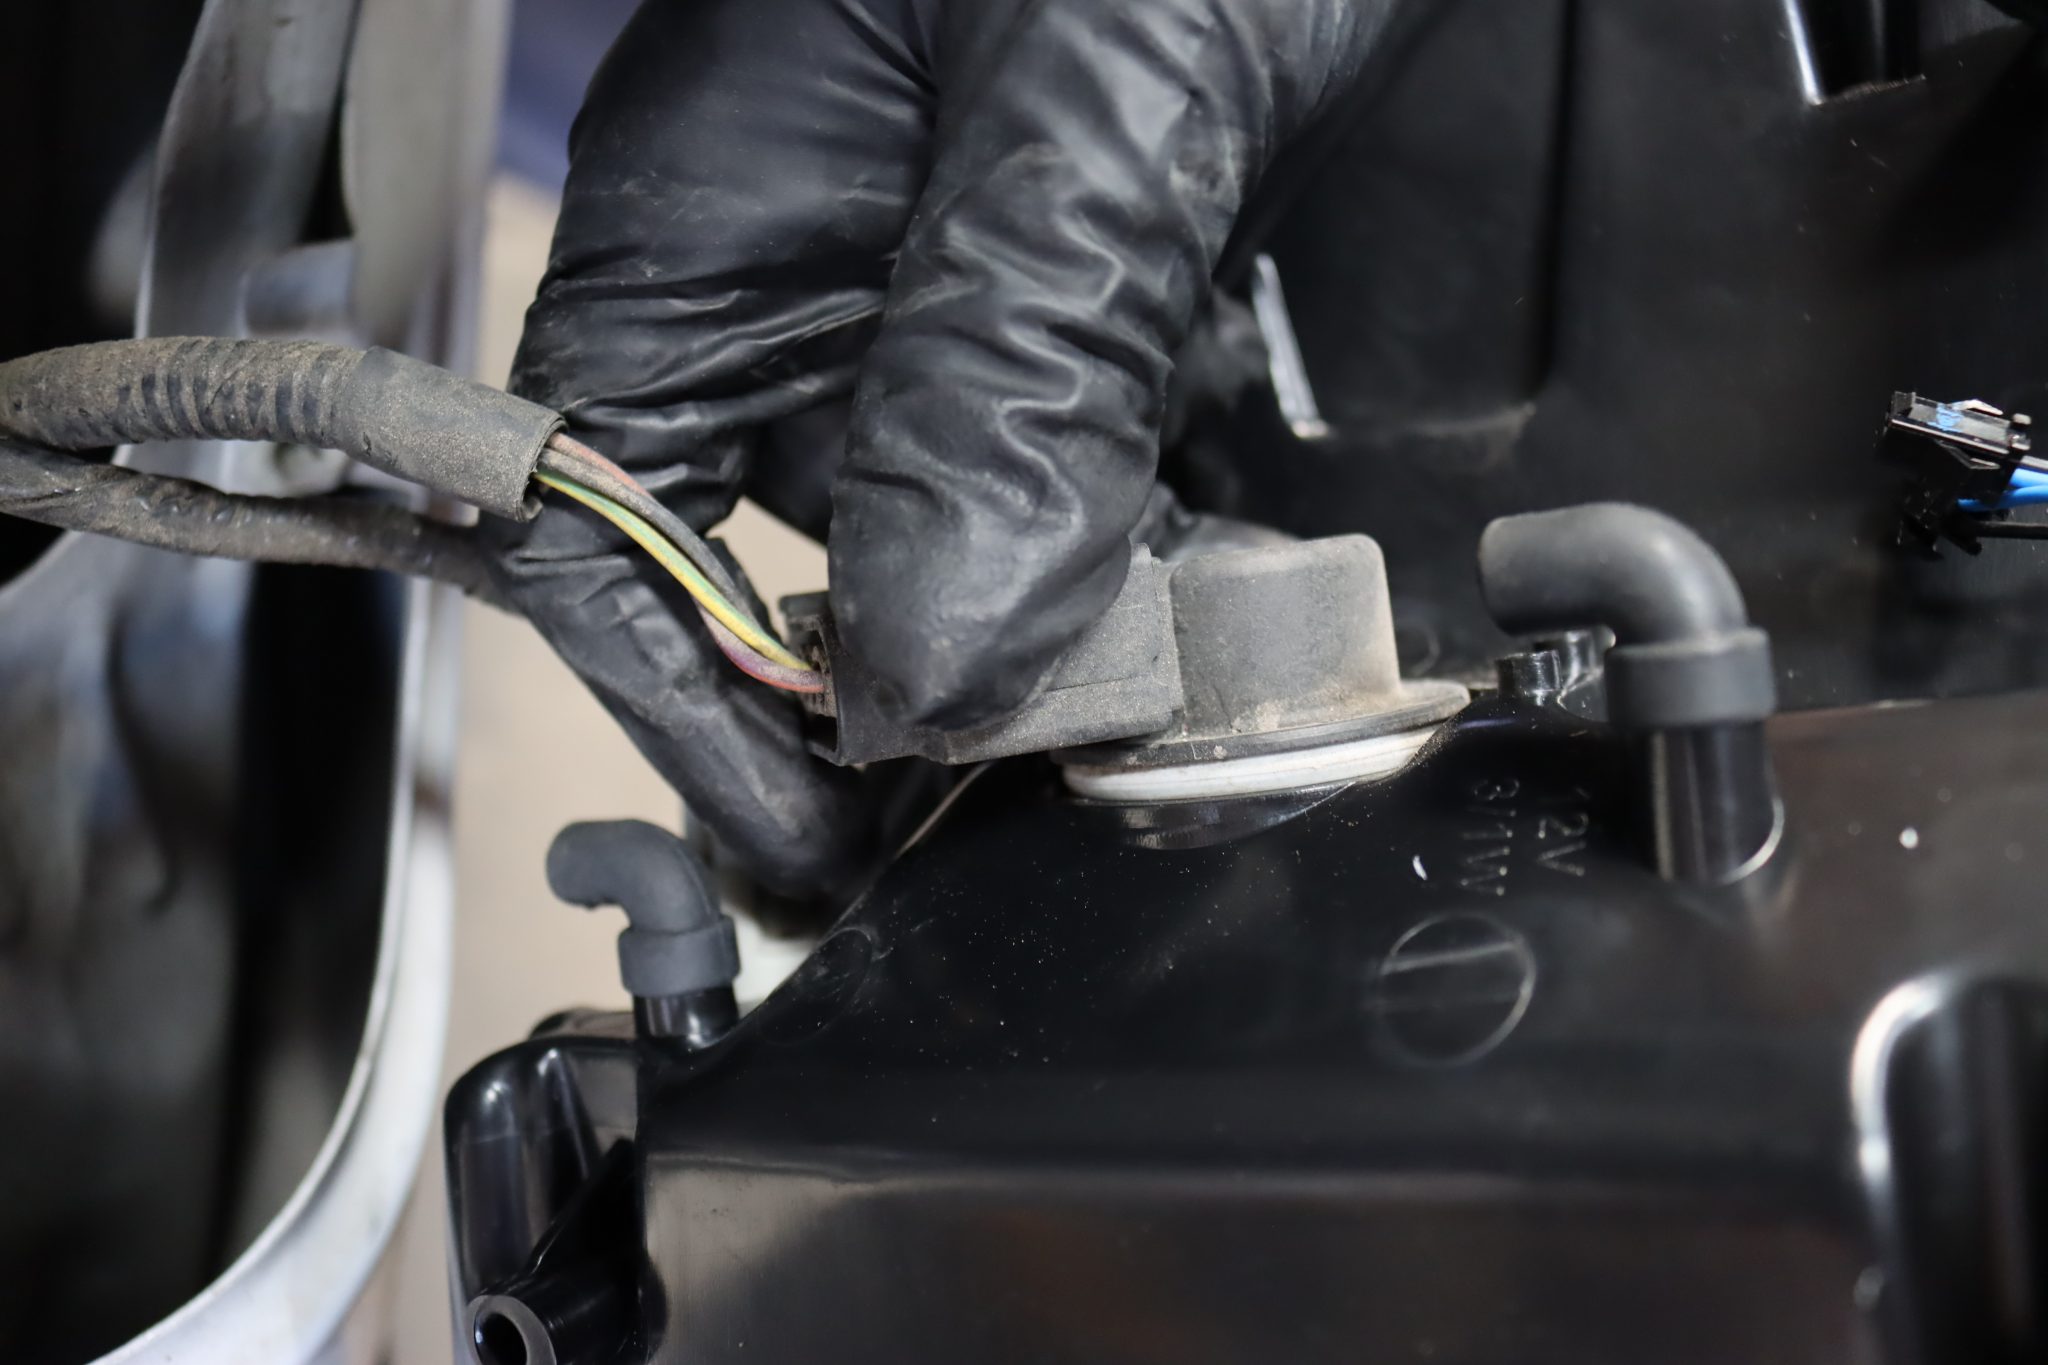
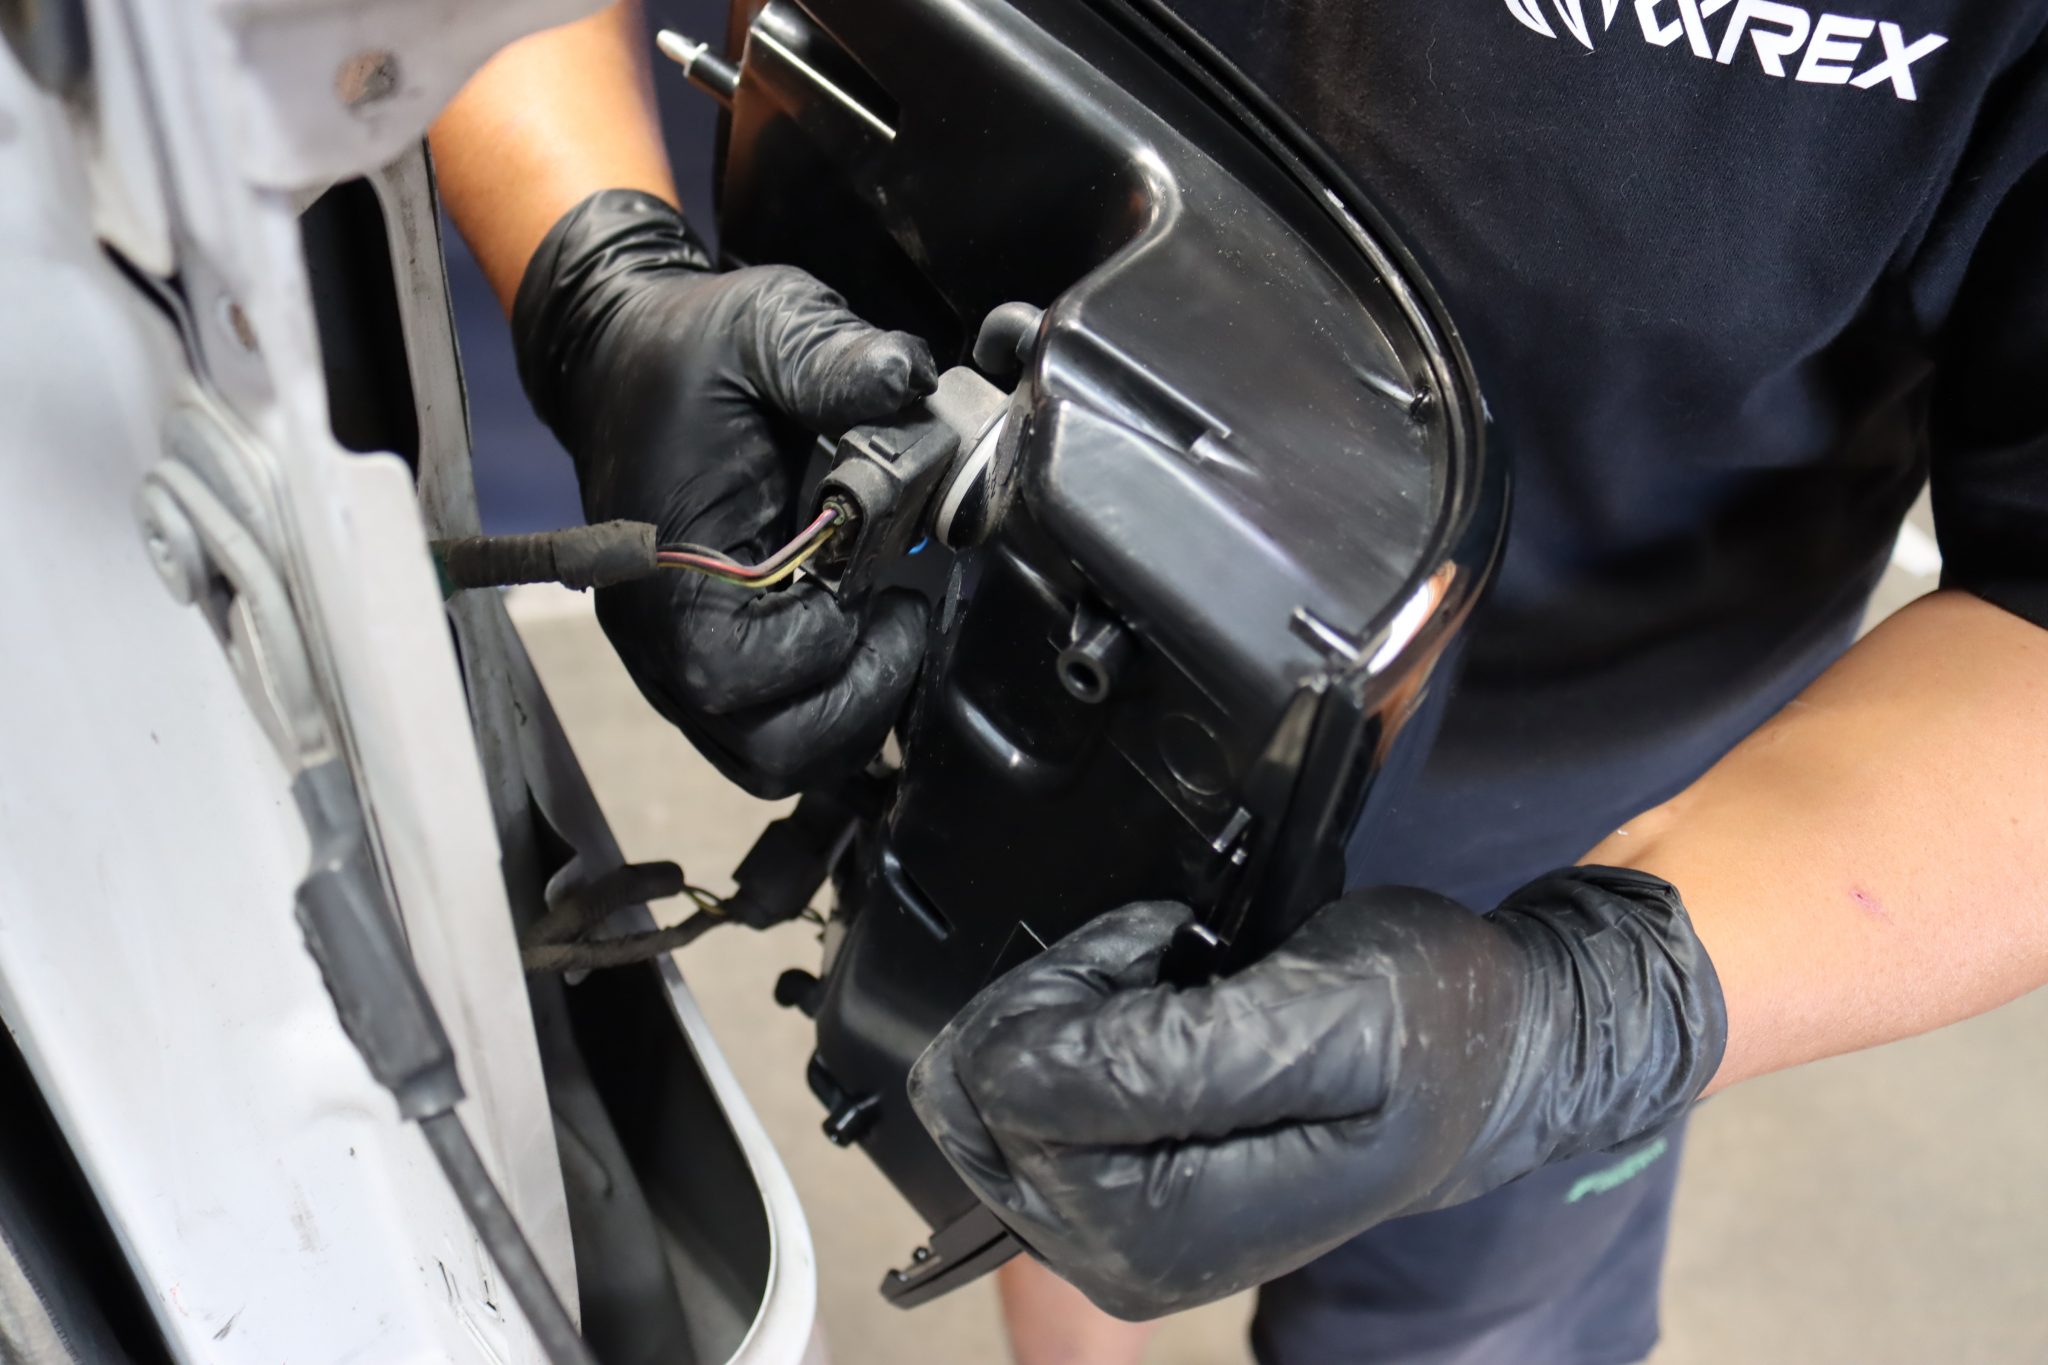
Use ratchet to tighten the 2 X 8mm bolts for each side.
NOTE: Whenever using a power wrench, please make sure do not overtighten the bolts.
Step 6: COMPLETE INSTALLATION
Congratulations!
you have completed the installation for ALPHAREX 09-14 Ford F-150 PRO-Series LED tail lights.
