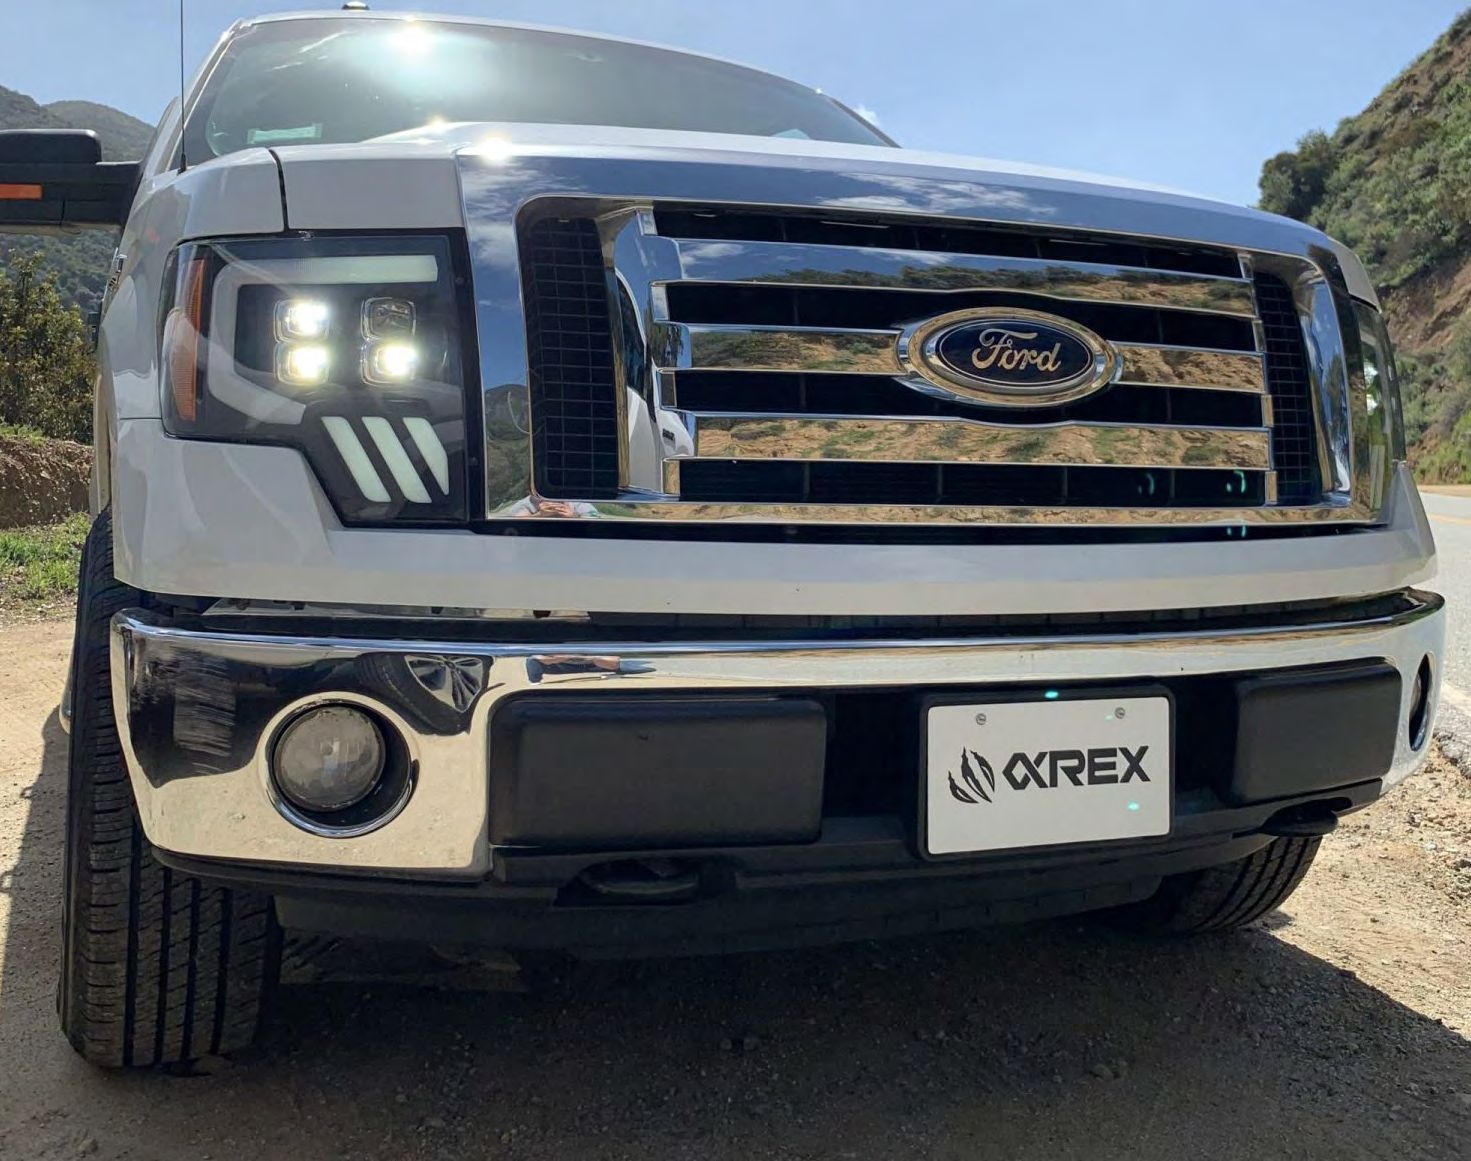
ALPHAREX specializes in designing and producing superior and uniquely stylish aftermarket automotive performance lighting with unrival innovative technology. The following installation guide we take you through the installation of your new ALPHAREX HEADLIGHTS for your 09-14 Ford F150 step by step.
NOTE: Some vehicle require the DRL harness installed for the headlight to function properly.
Disclaimer: This installation article is a tutorial guide. By reading this article, you agree it is for reference only and AlphaRex USA and its distributors make no guarantee on the finished results. Under no circumstances whatsoever shall AlphaRex USA nor its distributors be liable for any damage, misuse or personal injuries. If you do not fully understand the installation procedure, it is highly recommended that you seek help from professional mechanics to do the installation.
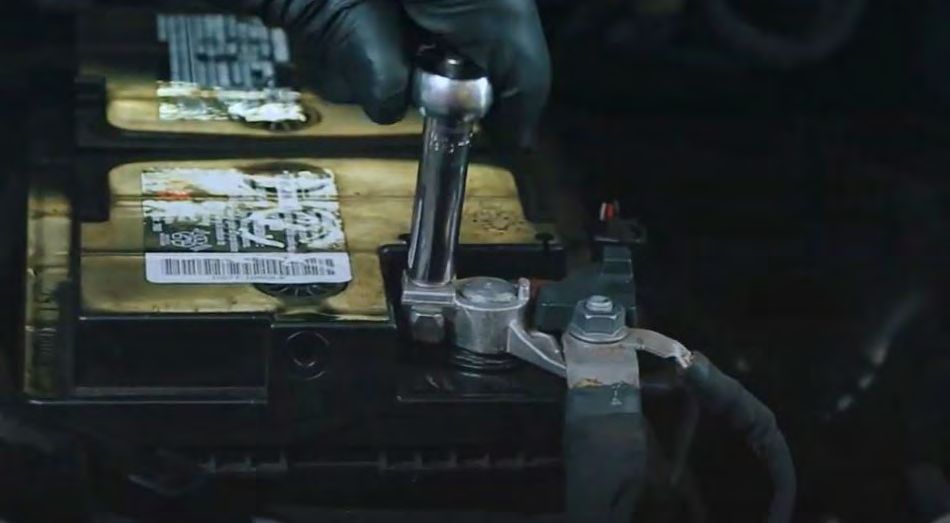
Step 1: DISCONNECTING THE NEGATIVE BATTERY TERMINAL
Whenever working on your vehicle always start by disconnecting the negative battery terminal.
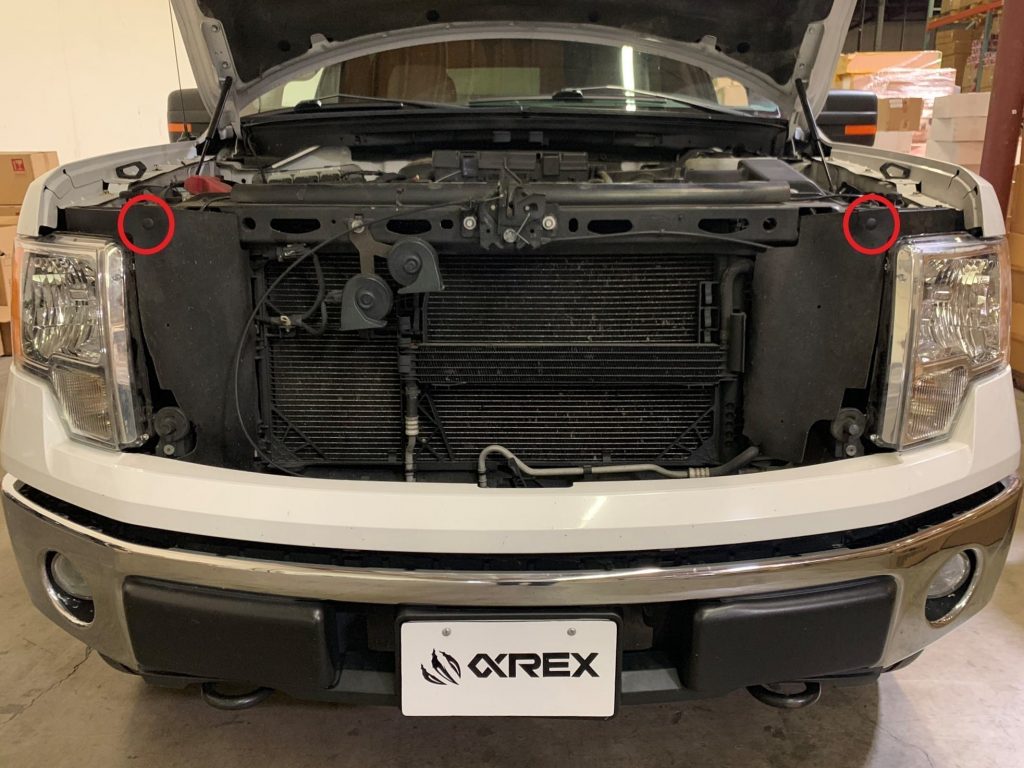
Step 2: REMOVE THE PROTECTIVE COVER
Start by removing two push pins that is holding up the protective cover.
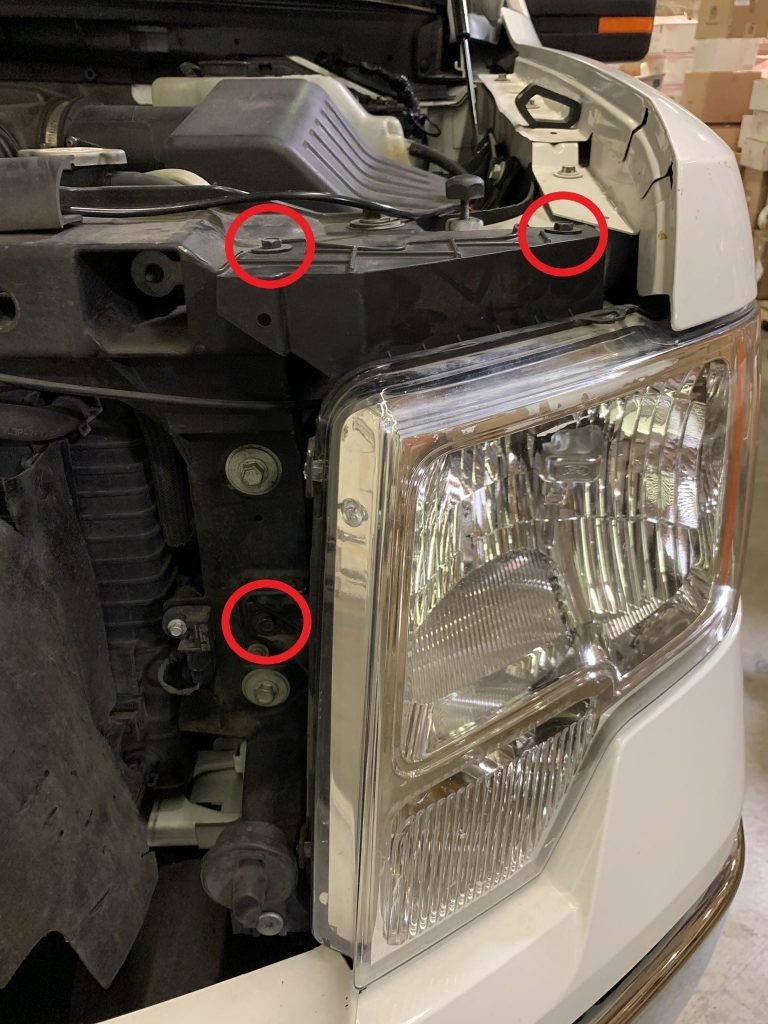
Step 3: REMOVE THE HEADLIGHT BOLTS
In order to remove the headlight you will have to remove 3 X 10mm bolts.
Two bolts on the top and one bolt in the middle. Please follow the same step for the other side.
Step 4: REMOVE THE HEADLIGHT
Pull the headlight assembly outwards to disengage the headlight from your truck.
Please follow the same step for the other side.
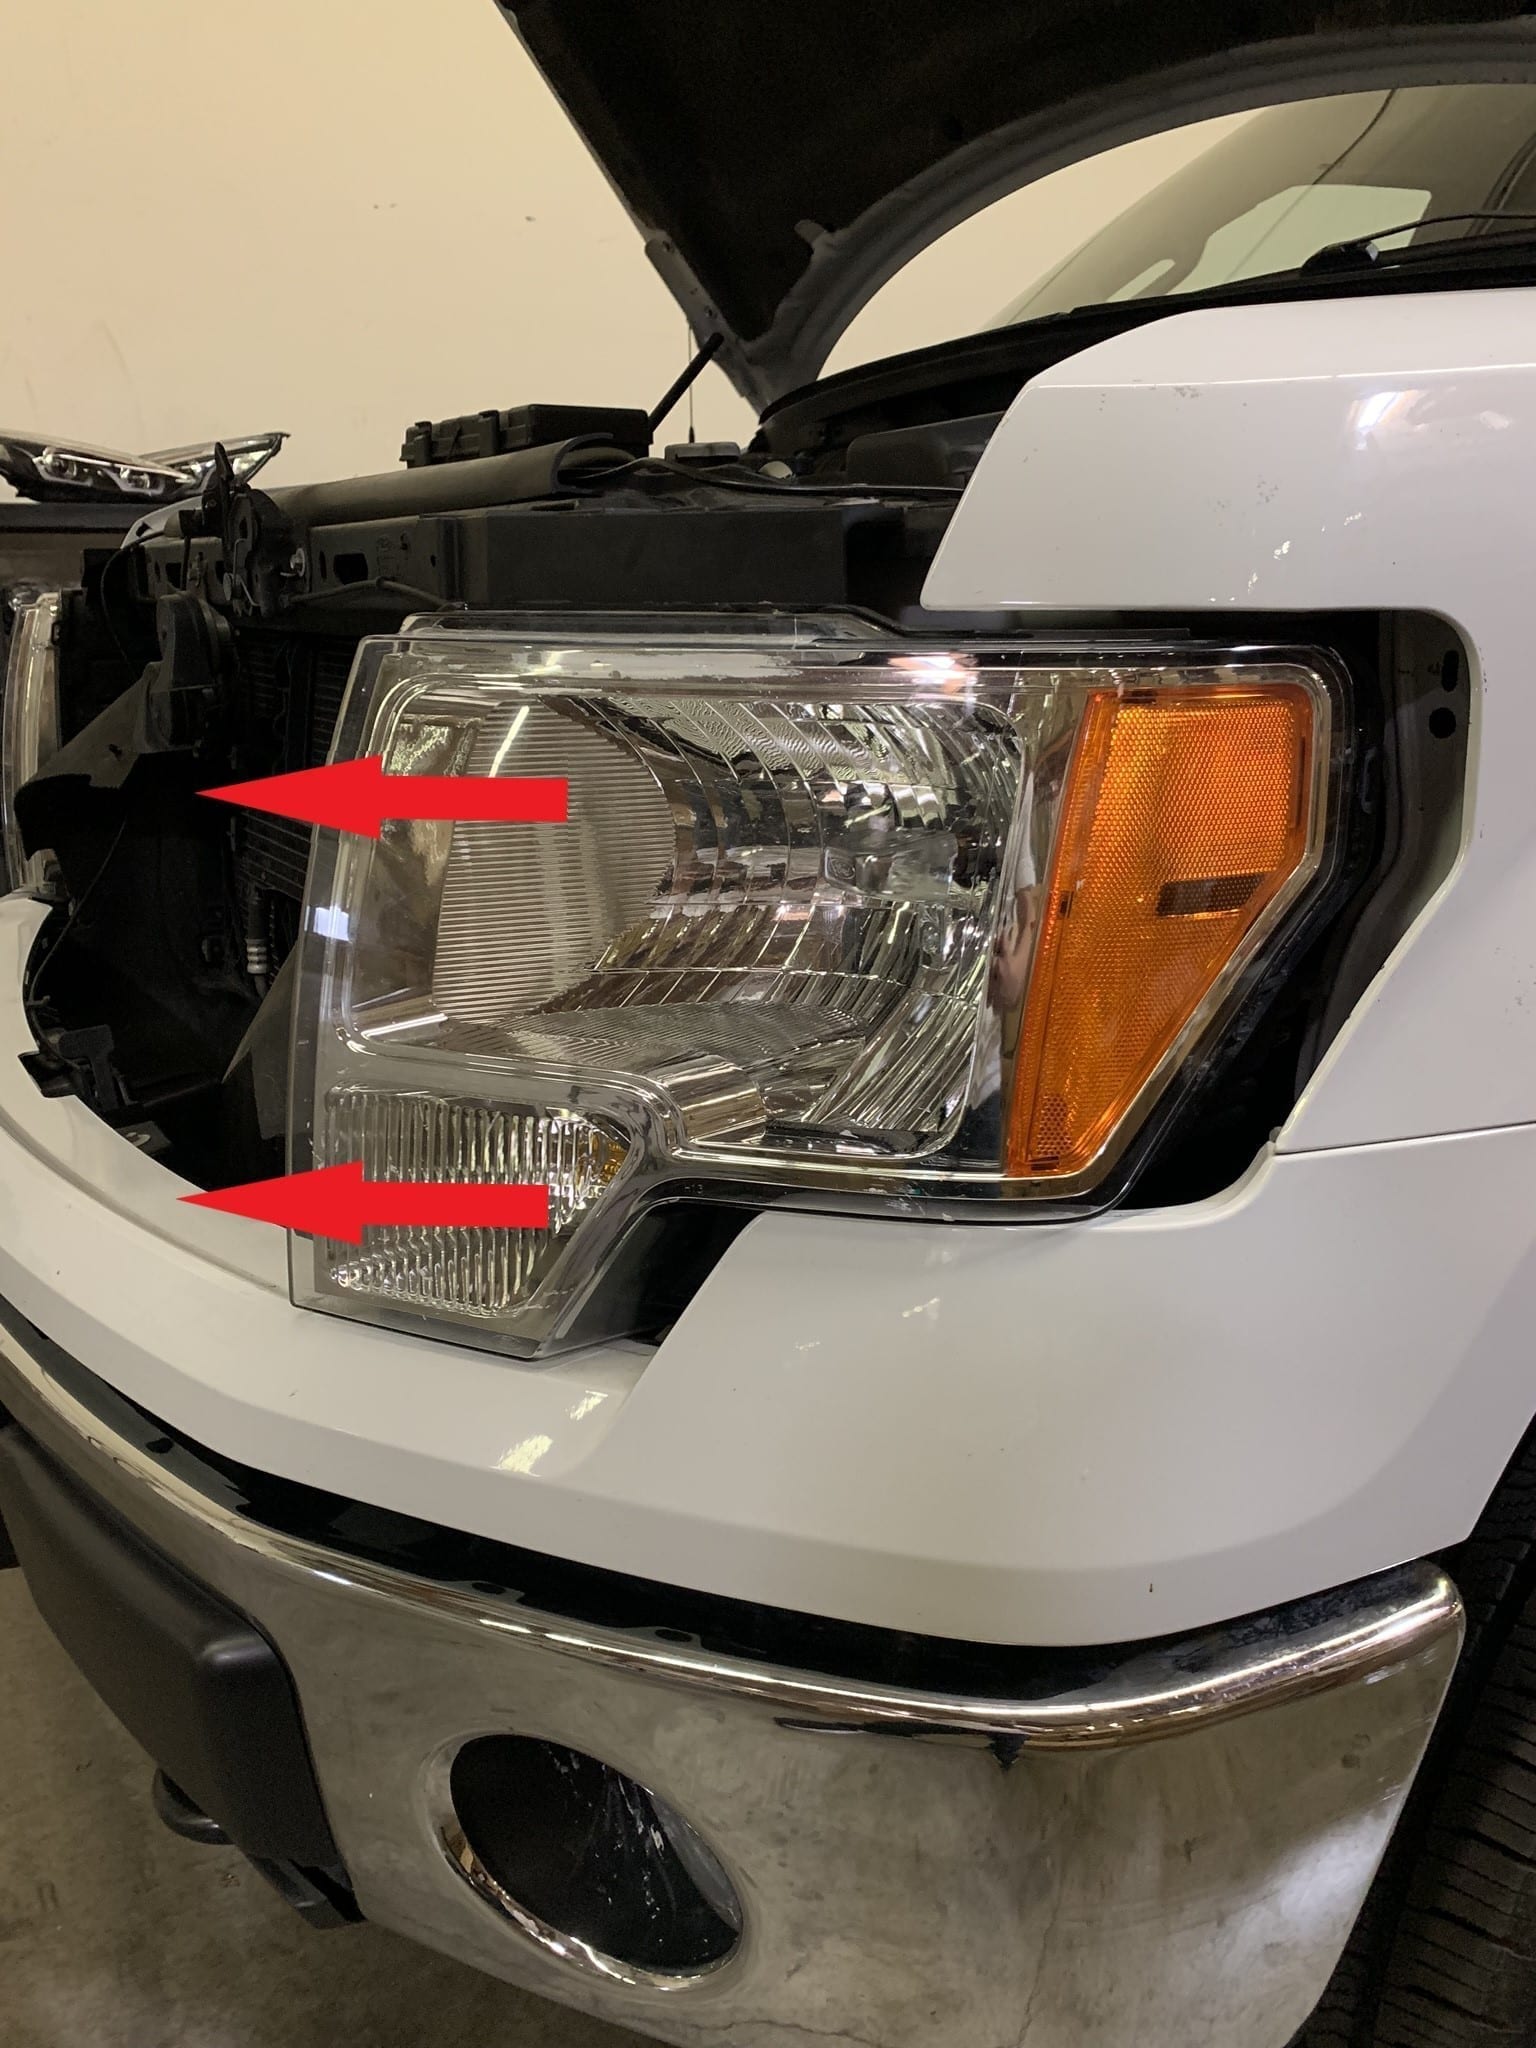
Step 5: REMOVE THE PLUGS AND TURN SIGNAL SOCKET
Disconnect all the indicated plugs and remove the side marker and turn signal socket.
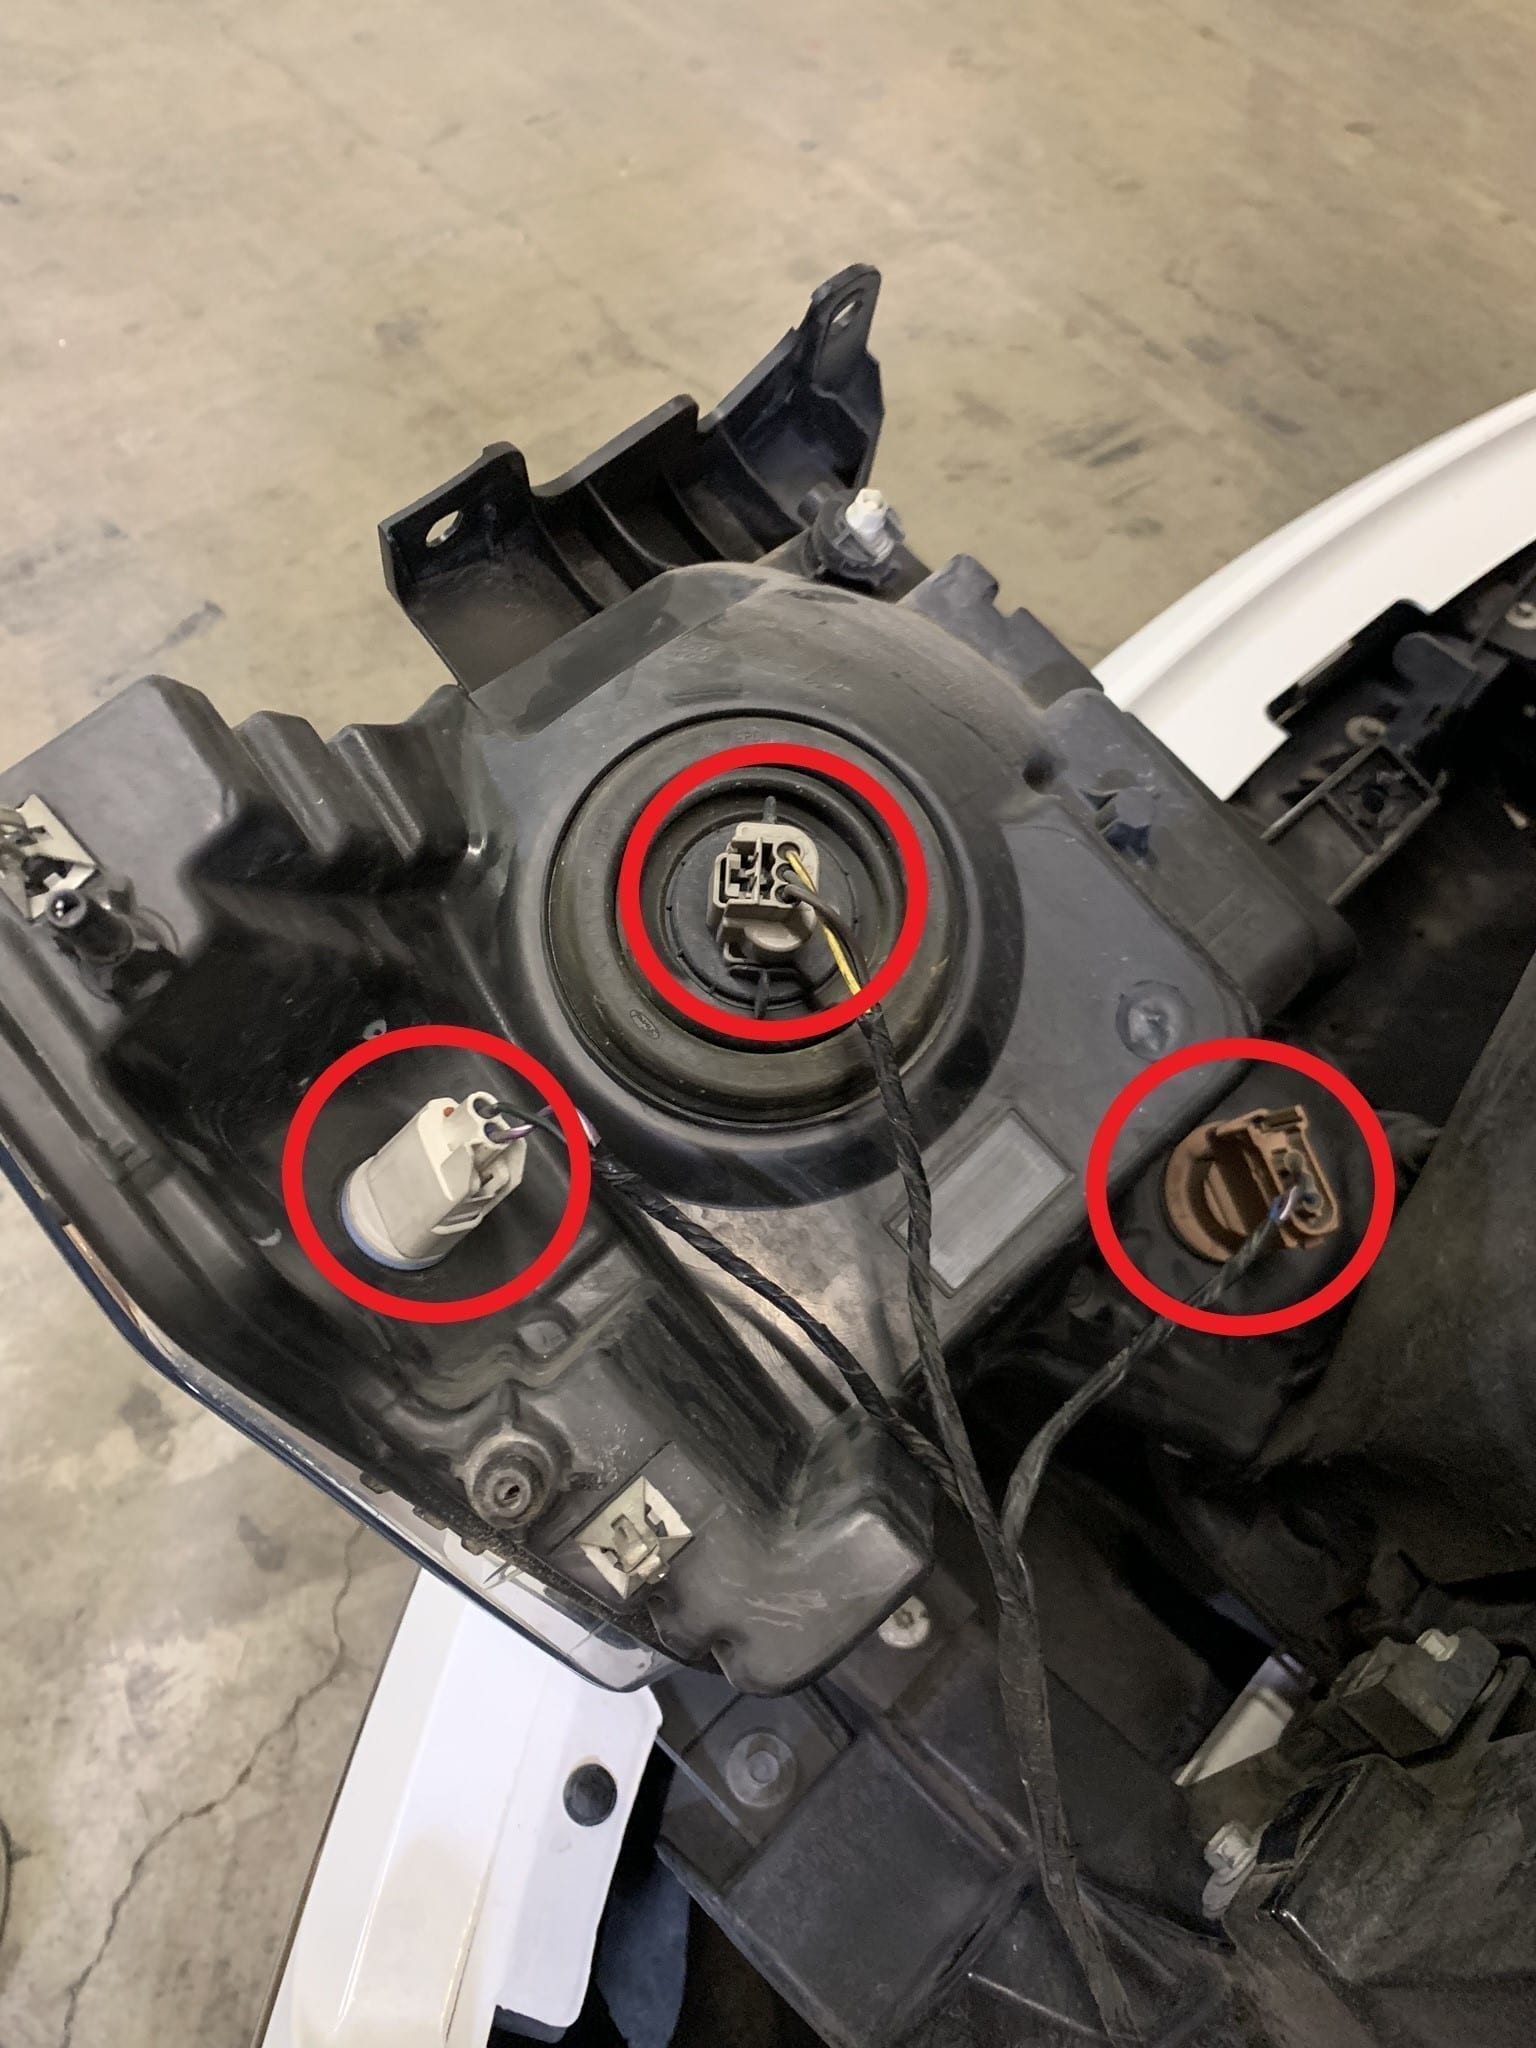
Step 6: TRANSFER THE SOCKETS TO THE NEW HEADLIGHTS
From each side of the headlight, remove the side marker bulb and attach to the new ALPHAREX headlight side marker connection.

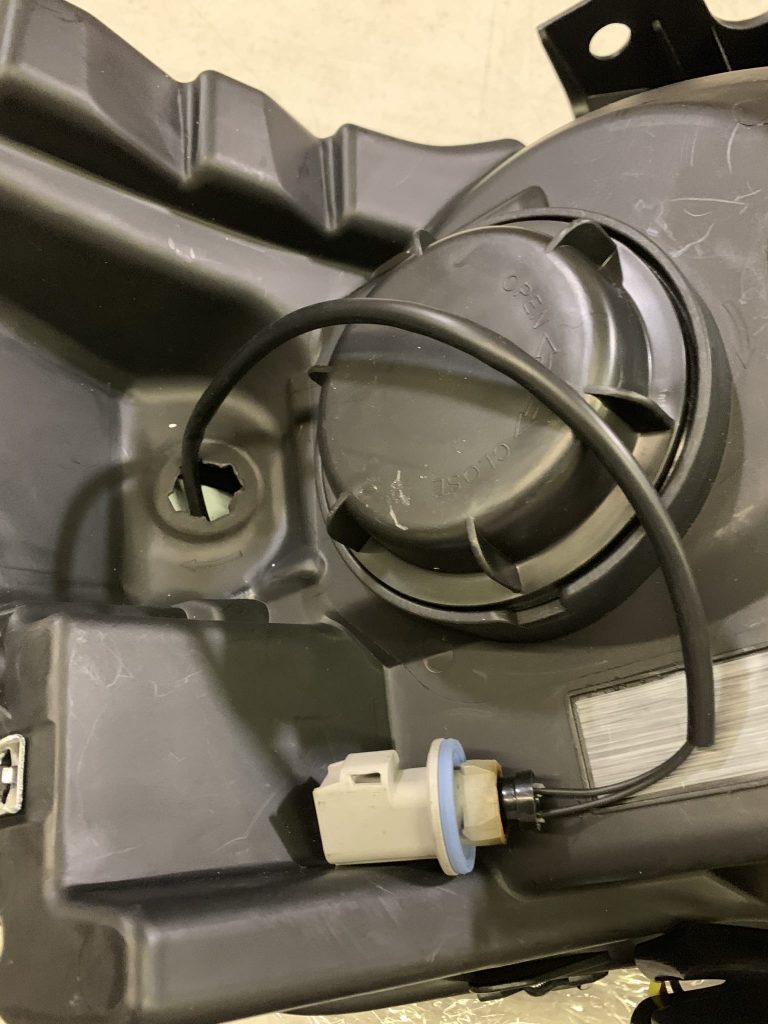
Attach one end of the turn signal split connection to the new headlight turn signal socket.
Please follow the same steps for the other headlight.
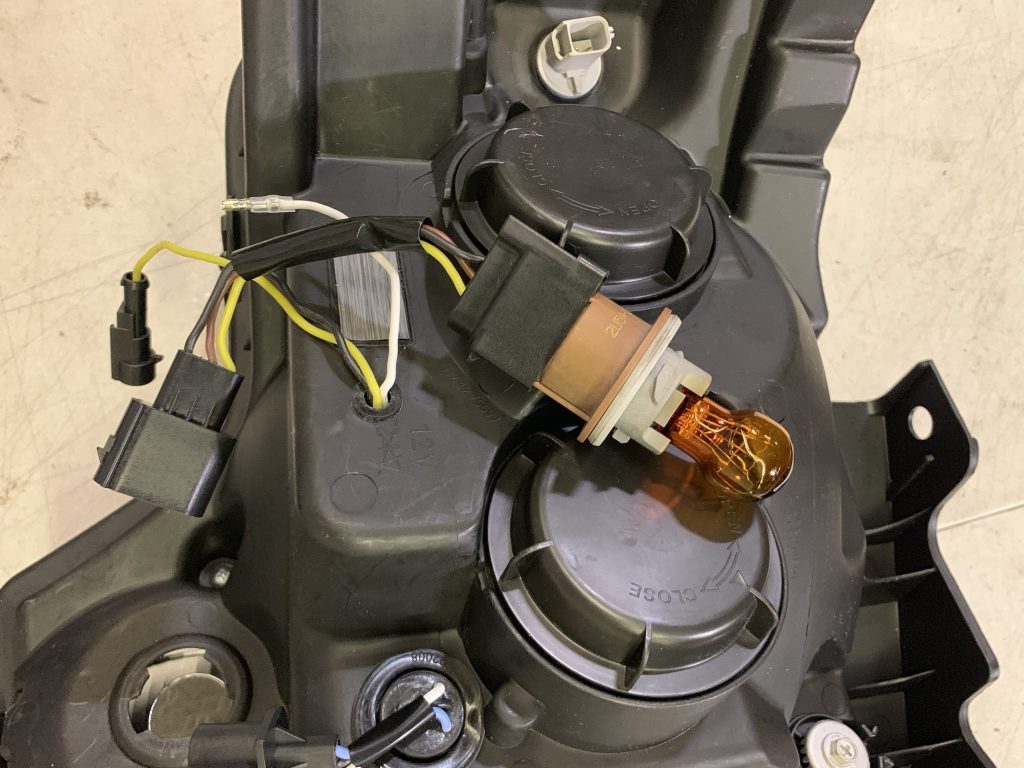
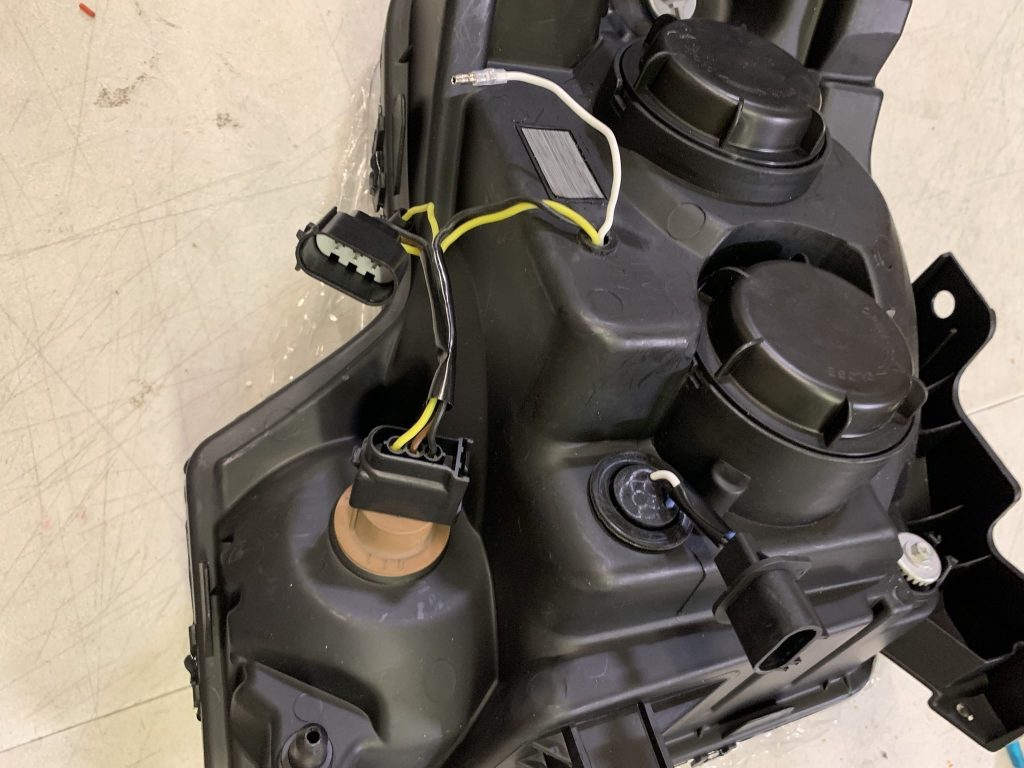
Once you have transferred the sockets to the new ALPHAREX headlights should now look like this.
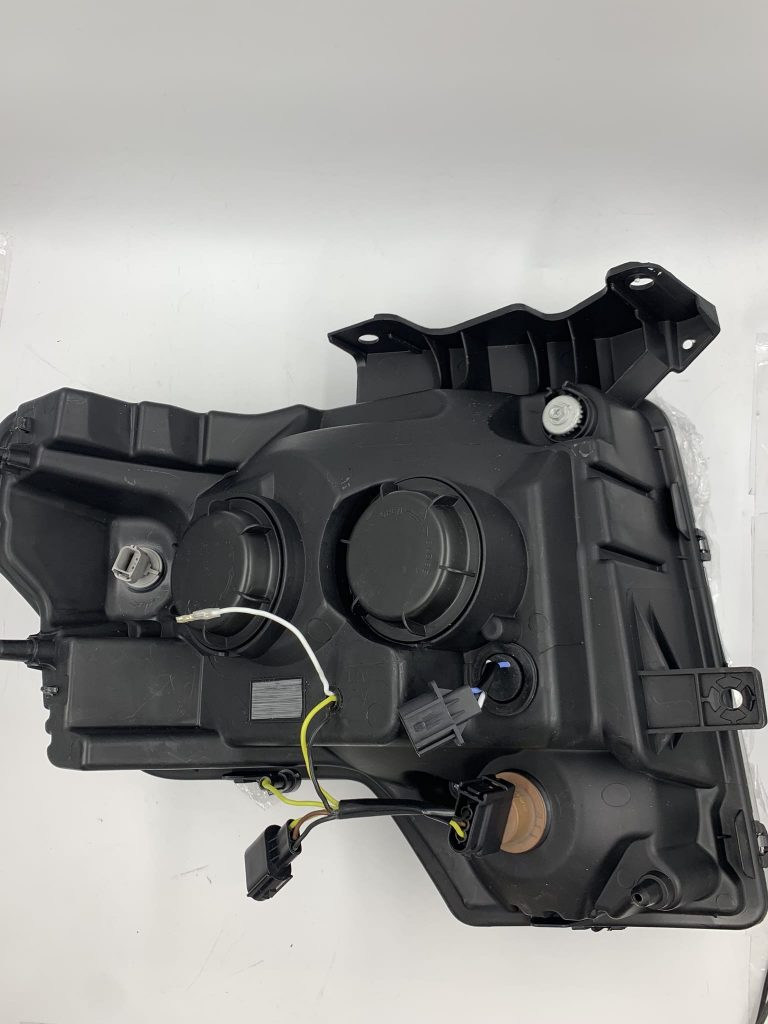
Step 7: INSTALL ALPHAREX HEADLIGHTS
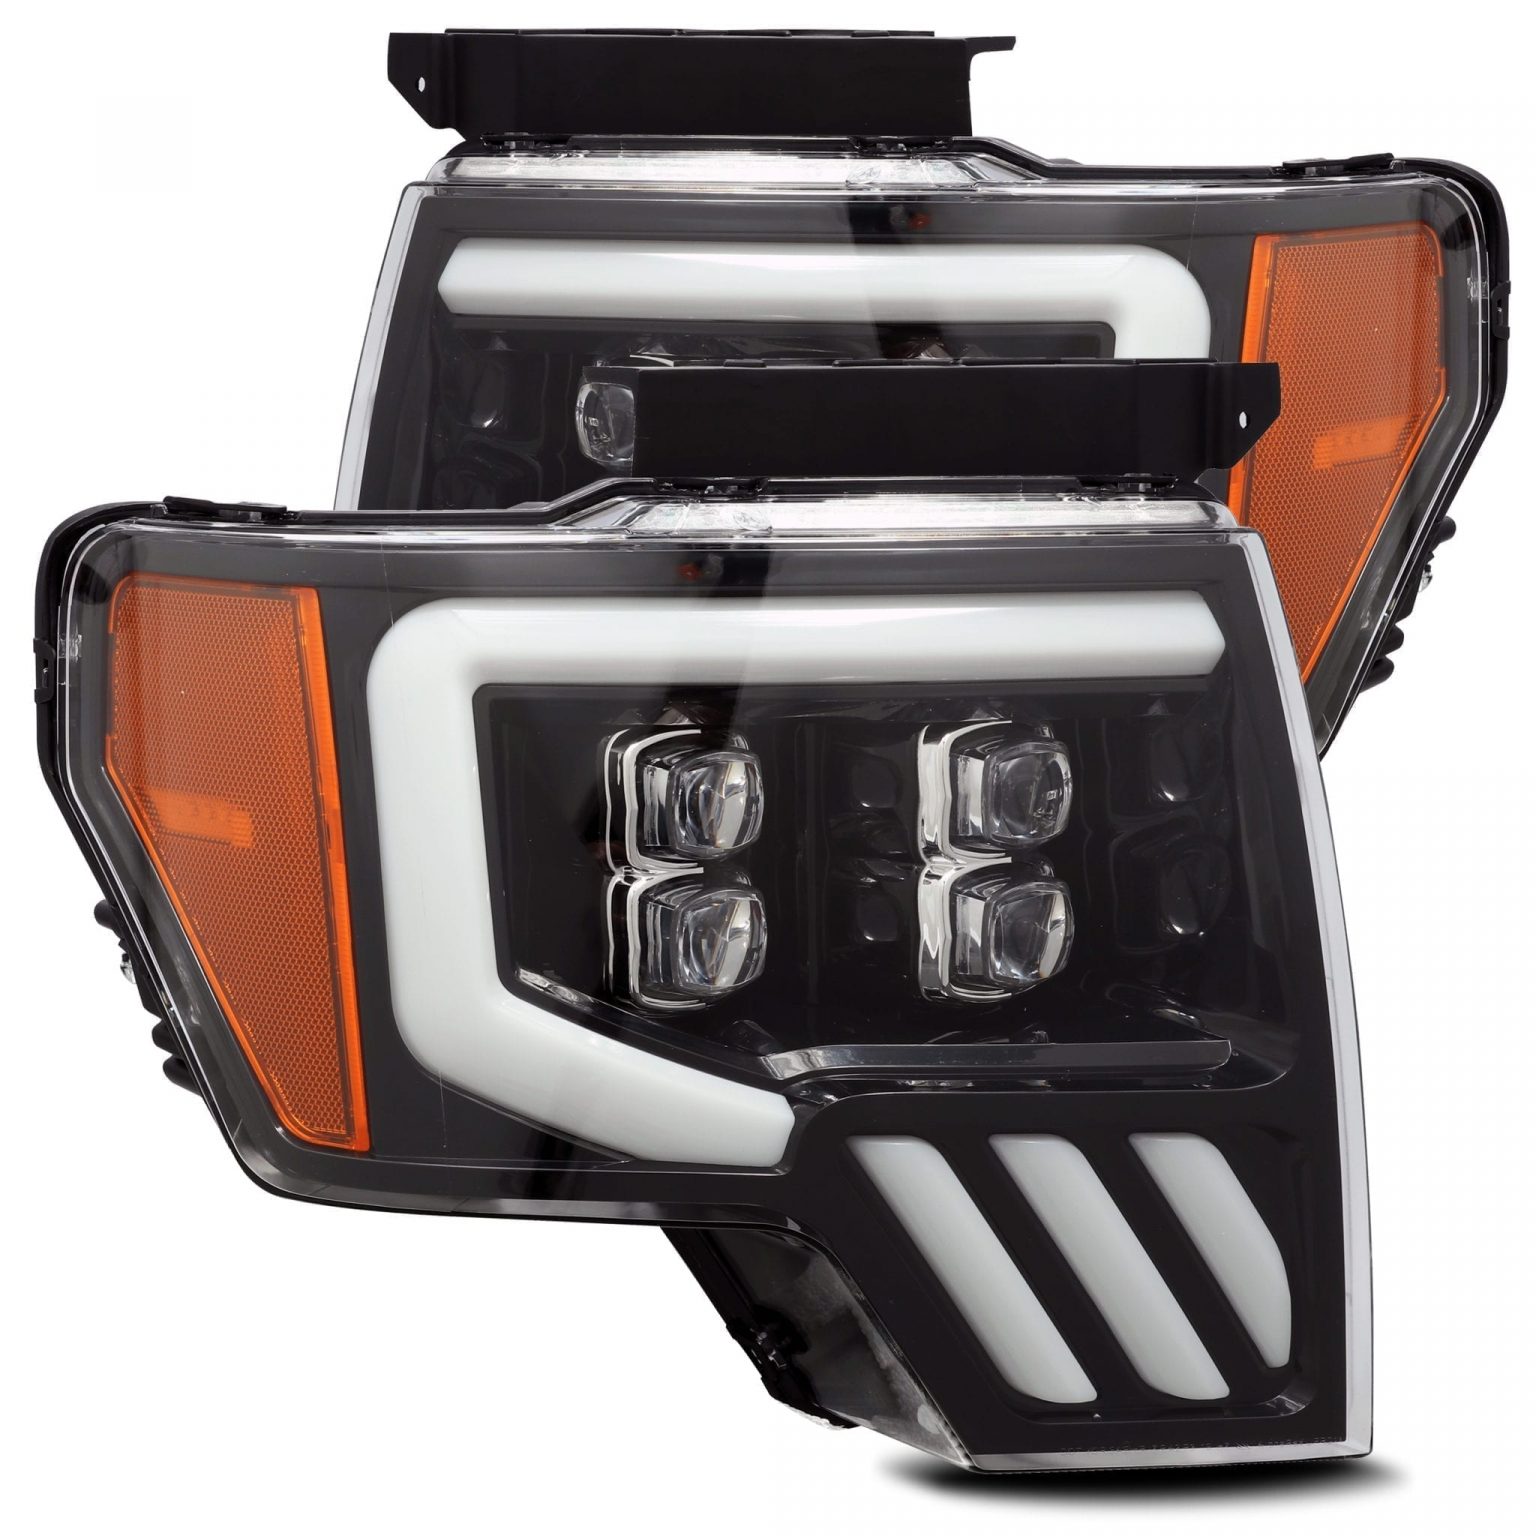
Reconnect all sockets back to your truck and ready for installation.
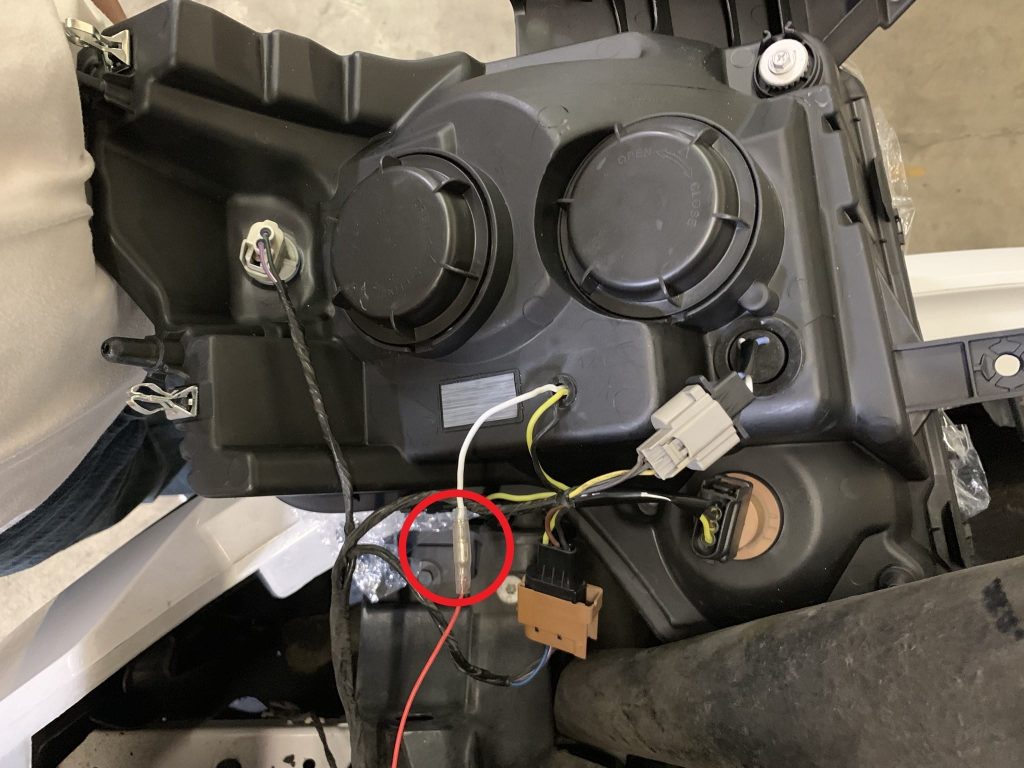
If you are planning to install the optional DRL harness, connect the red wire from the DRL harness (short end to passenger side, long end to driver side) For more information about wiring the DRL harness, please read our article about How to wire the DRL harness?
Step 8: INSTALL THE OPTIONAL DRL HARNESS
If you are planning to install the optional DRL harness, connect the red wire from the DRL harness (short end to driver side, long end to passenger side)
For more information about wiring the DRL harness: please read our article about How to wire the DRL harness?
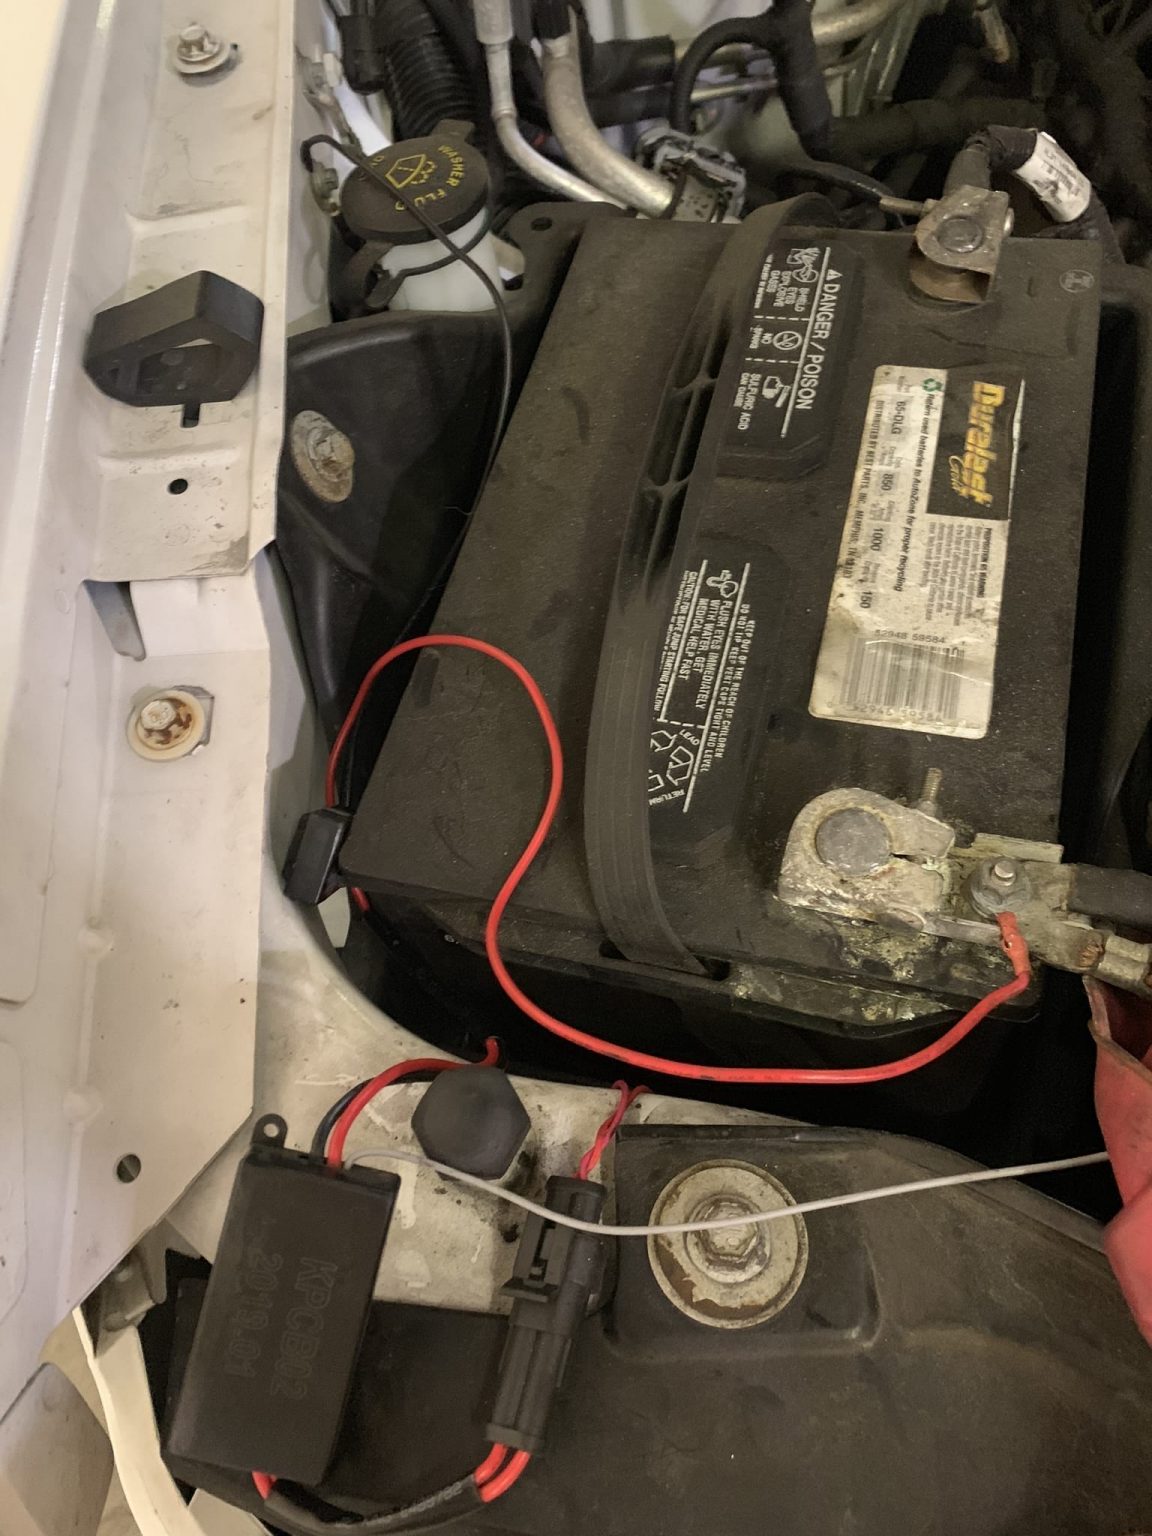
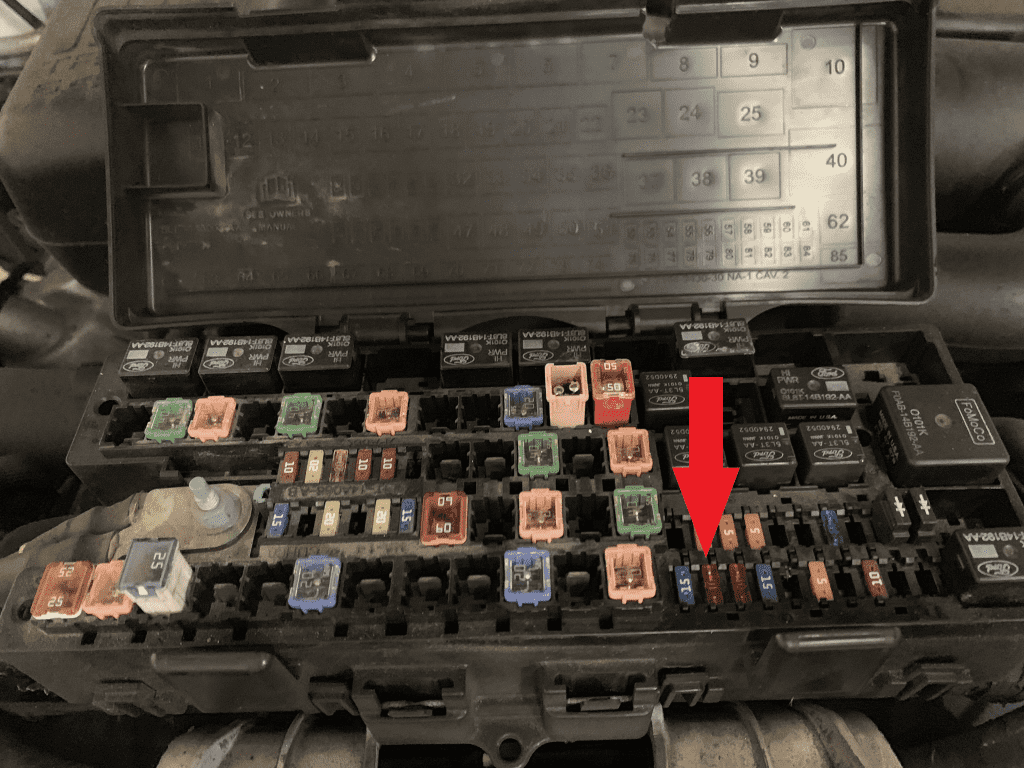
In order for the DRL to function during the day, you will need to tap the grey wire into fuse F76
Step 9: TEST THE HEADLIGHT FUNCTIONS
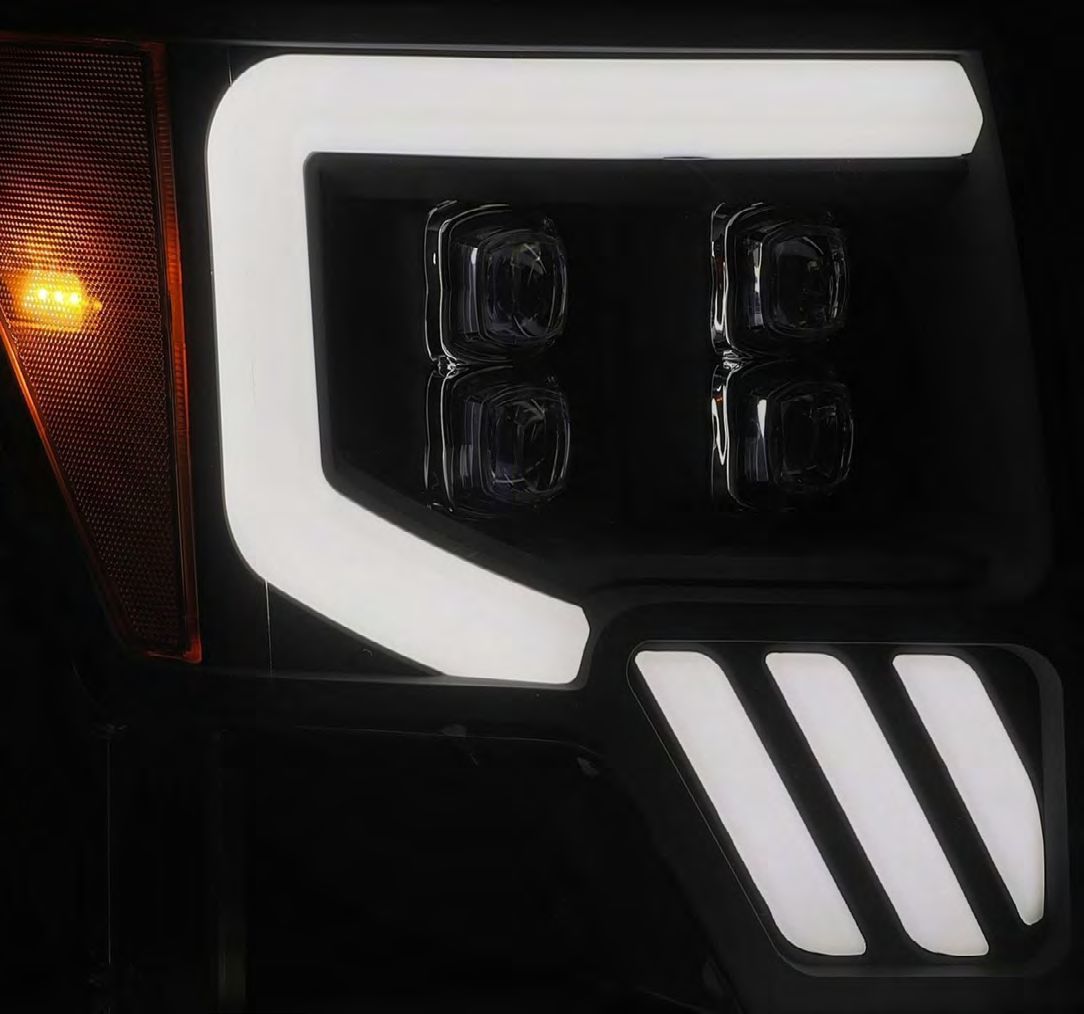
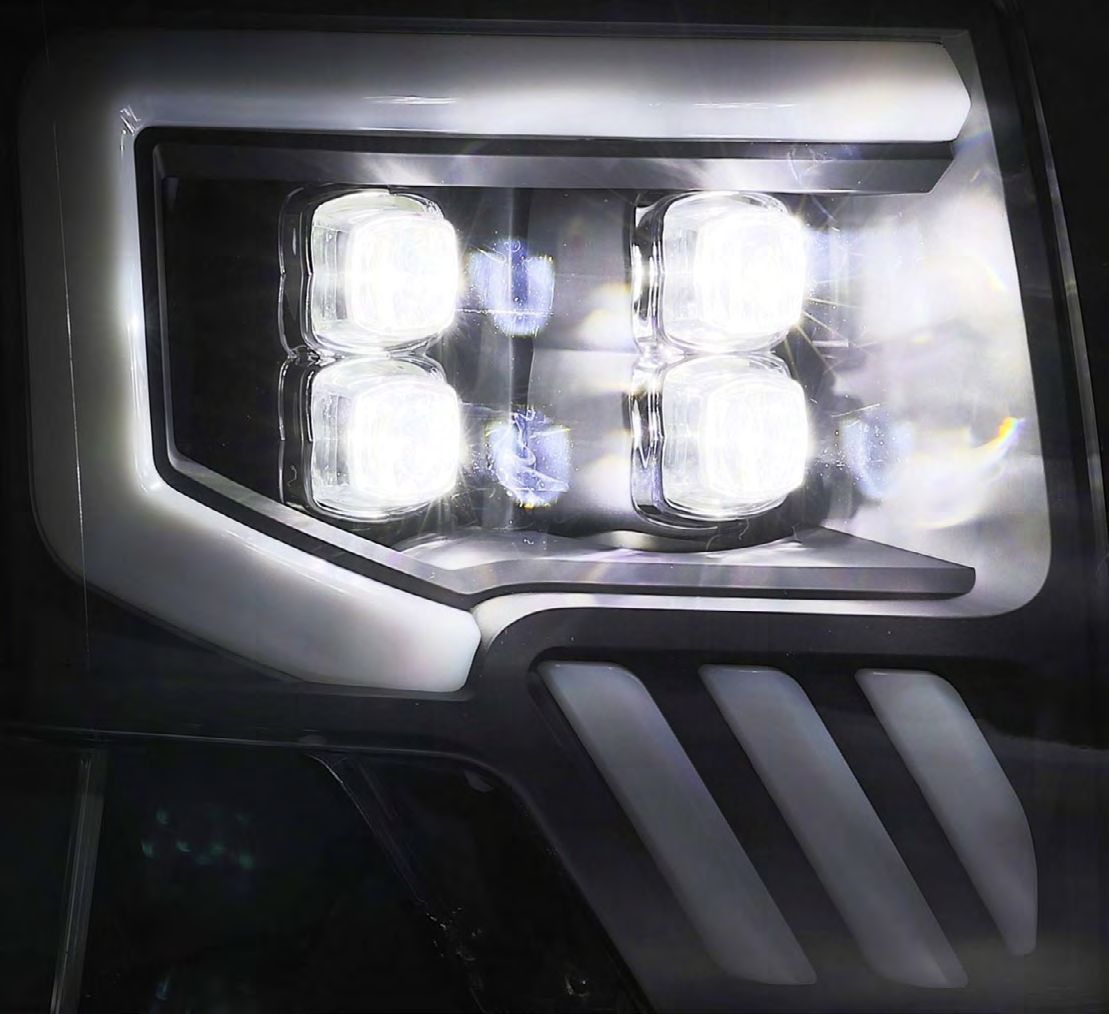
Test the functions of your ALPHAREX headlights to ensure everything works properly.

Step 10: ADJUST HEADLIGHT LEVEL
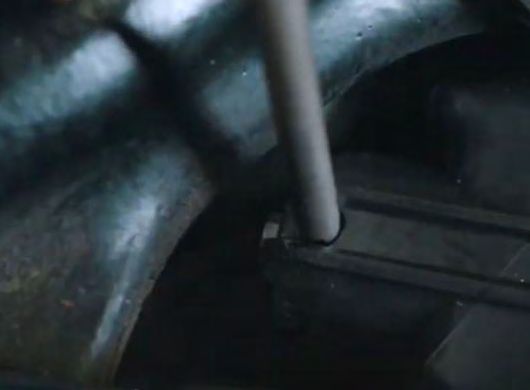
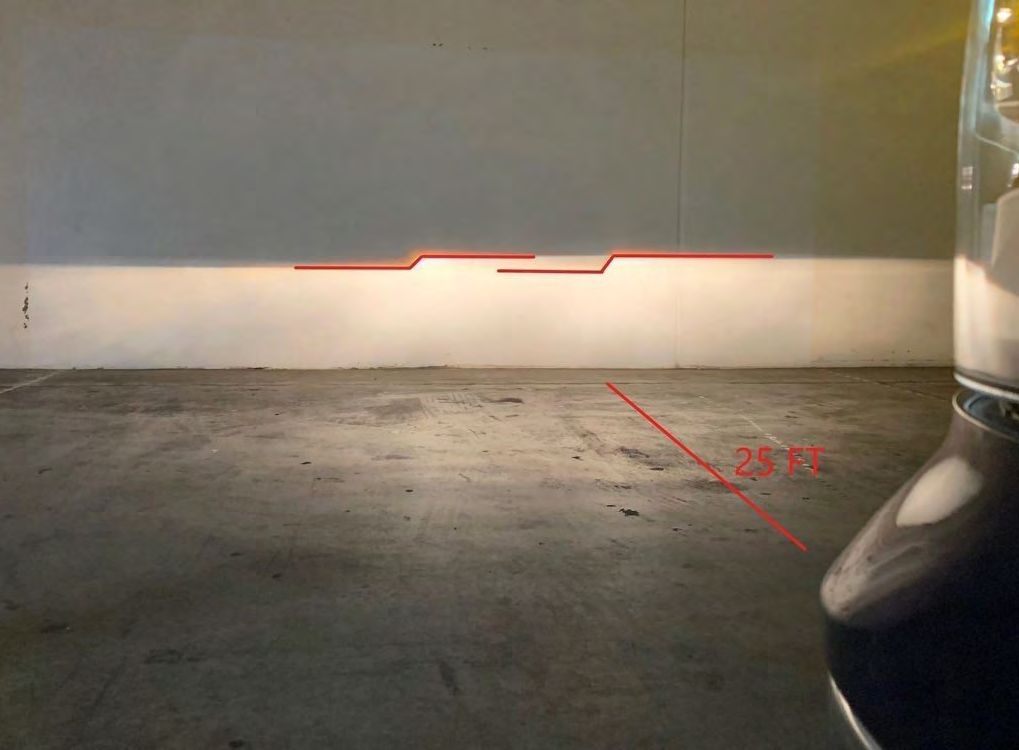
Once everything has been tested aim your ALPHAREX headlights by parking 25ft from a wall and level the headlight evenly.
Turn clockwise: to lower the light
Turn counterclockwise: to raise the light
Step 11: COMPLETE INSTALLATION
Congratulations! you have completed the installation for ALPHAREX 09-14 Ford F-150 Headlights.
