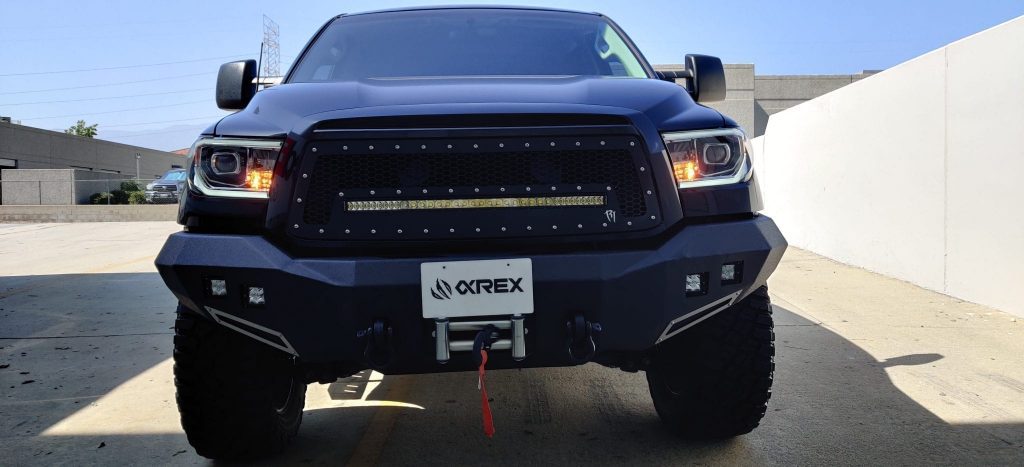
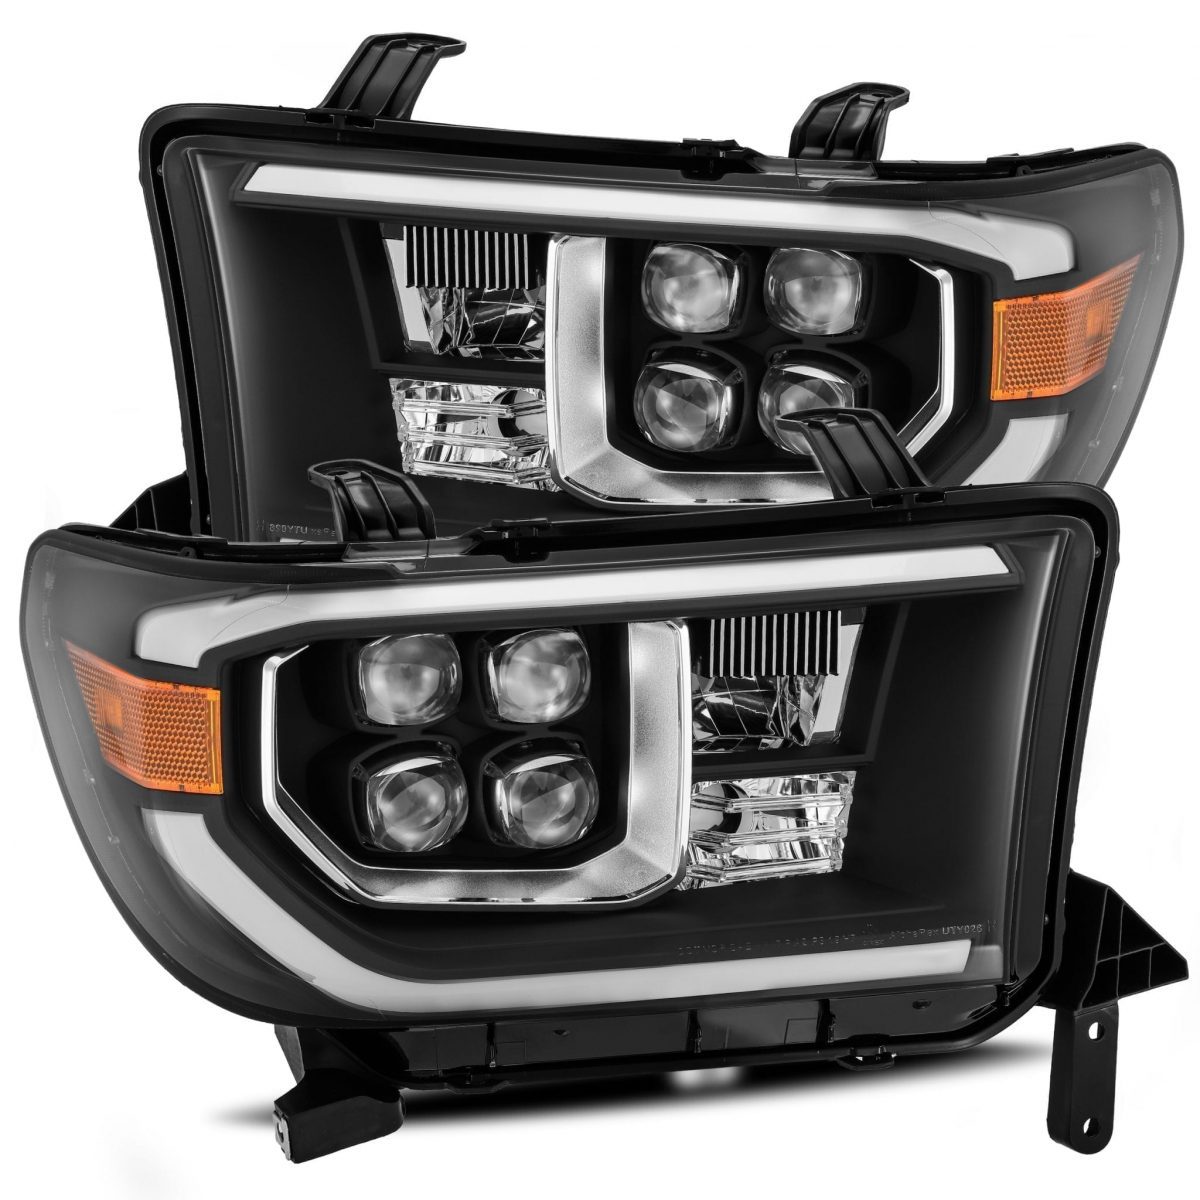
ALPHAREX specializes in designing and producing superior and uniquely stylish aftermarket automotive performance lighting with unrival innovative technology. The following installation guide we take you through the installation of your new ALPHAREX HEADLIGHTS for your 07-13 Toyota Tundra / 08-17 Toyota Sequoia step by step.
NOTE: Some vehicle require the DRL harness installed for the headlight to function properly.
Disclaimer: This installation article is a tutorial guide. By reading this article, you agree it is for reference only and AlphaRex USA and its distributors make no guarantee on the finished results. Under no circumstances whatsoever shall AlphaRex USA nor its distributors be liable for any damage, misuse or personal injuries. If you do not fully understand the installation procedure, it is highly recommended that you seek help from professional mechanics to do the installation.
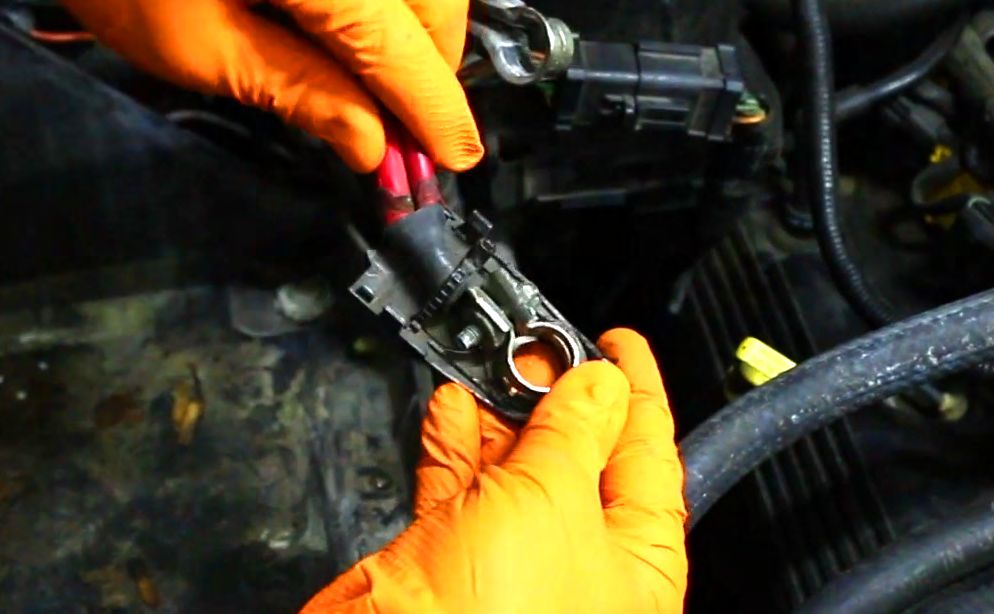
Step 1: DISCONNECTING THE NEGATIVE BATTERY TERMINAL
Whenever working on your vehicle always start by disconnecting the negative battery terminal.
Step 2: FRONT GRILLE REMOVAL
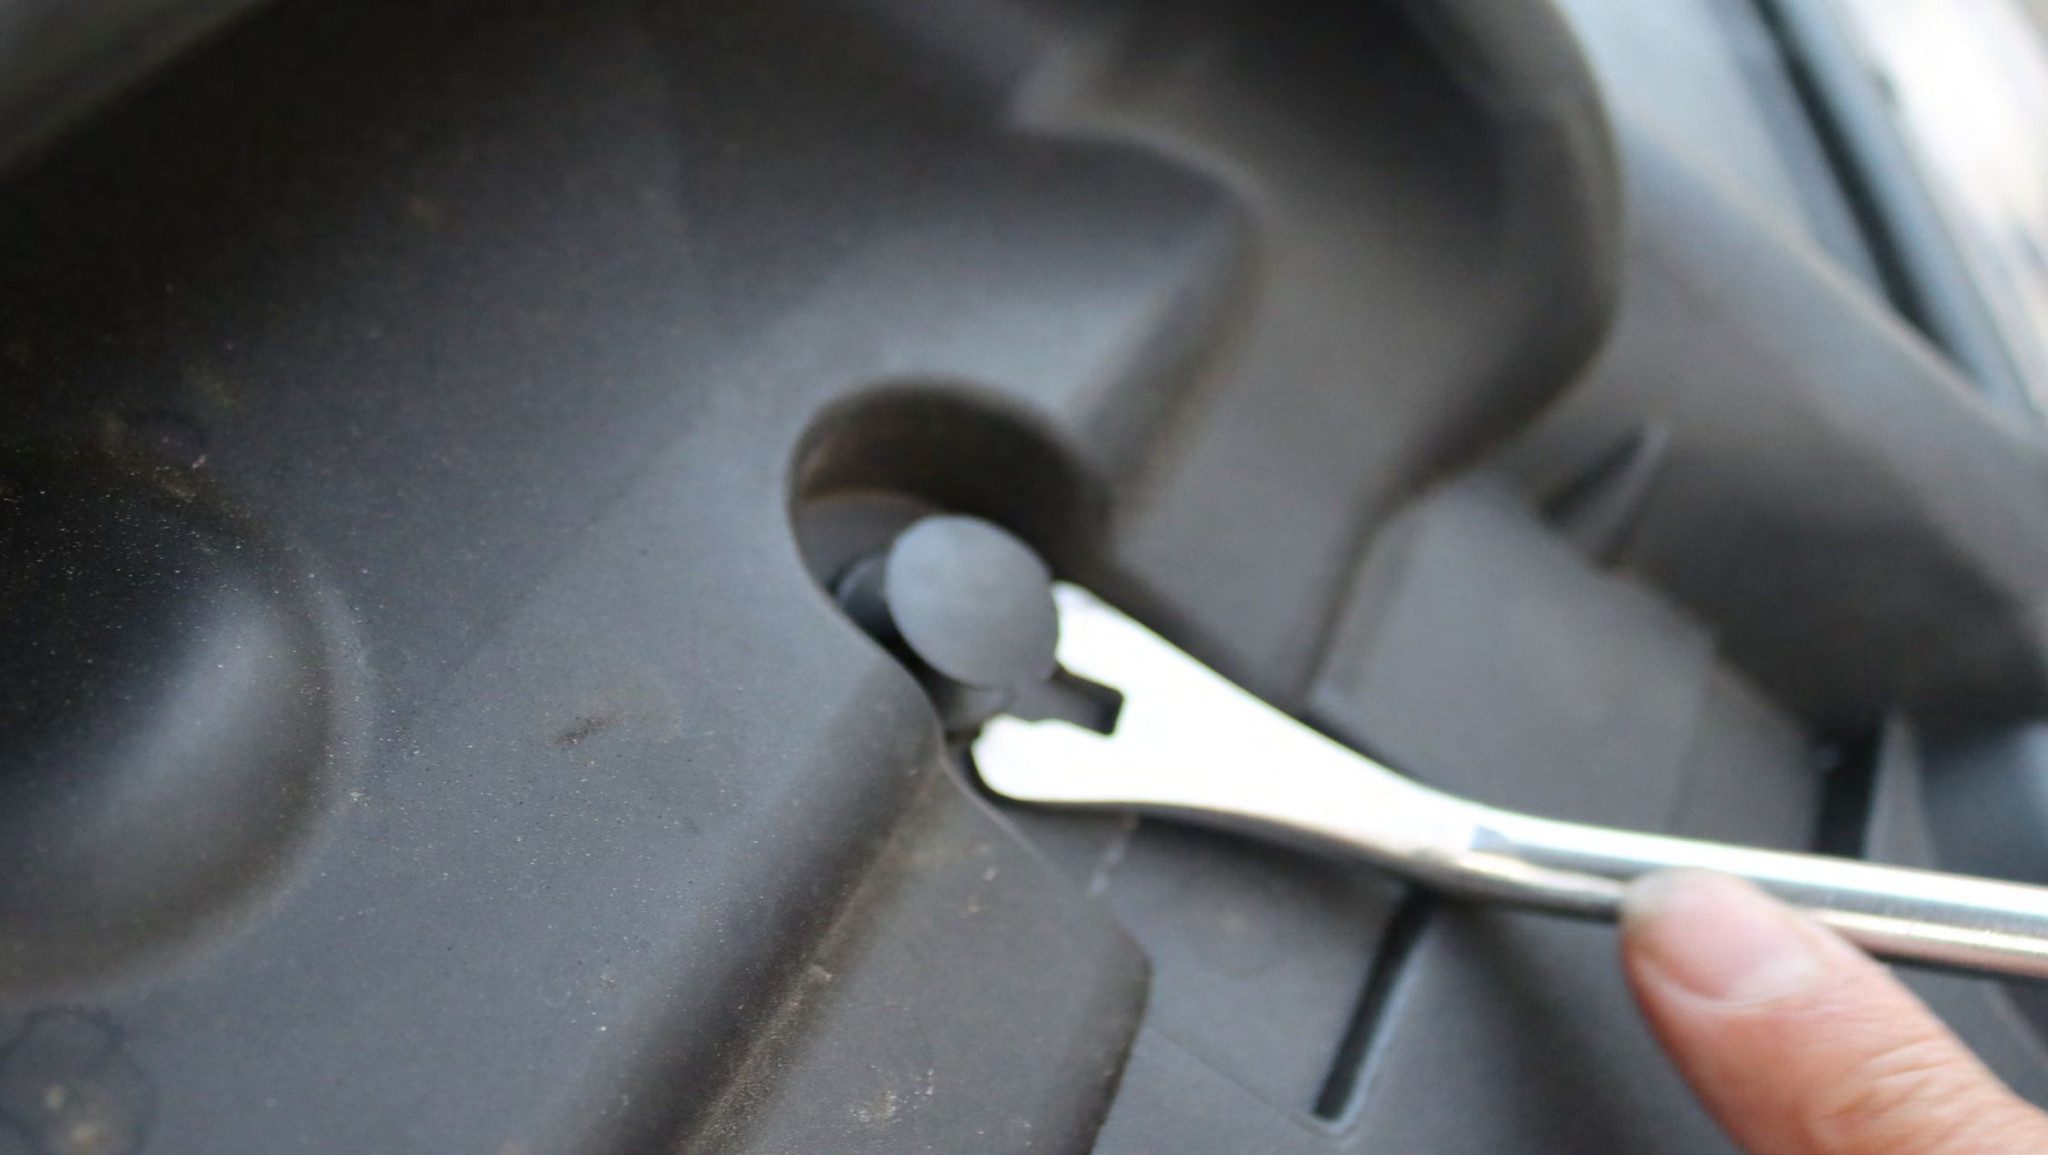
Open hood and remove 4 push pins in which retains the front grille.
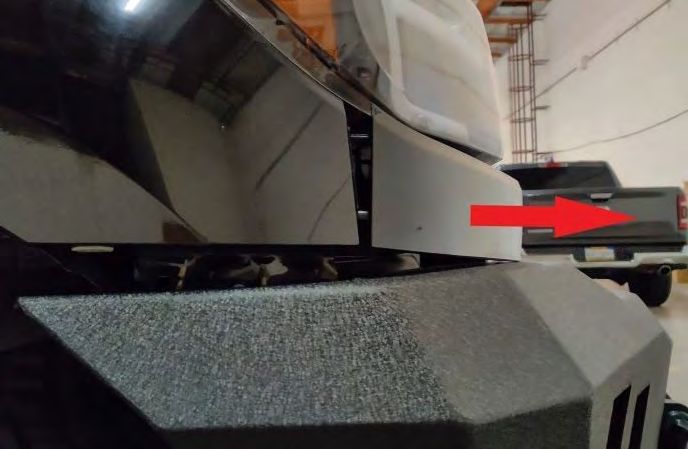
Remove bottom trim piece by pulling outwards
Step 3: REMOVE HEADLIGHT BOLTS
Remove 10mm bolts holding the headlight in place and ready for removal.
Please follow the same procedure for the other side
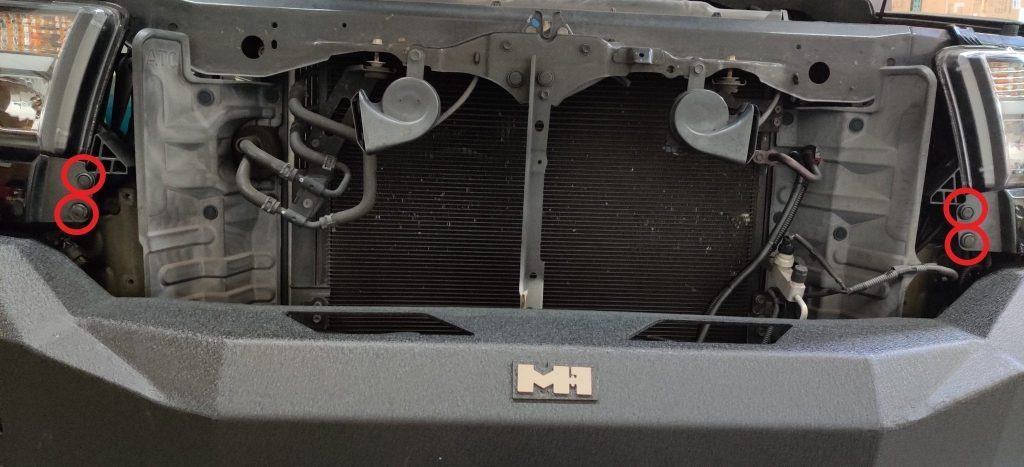
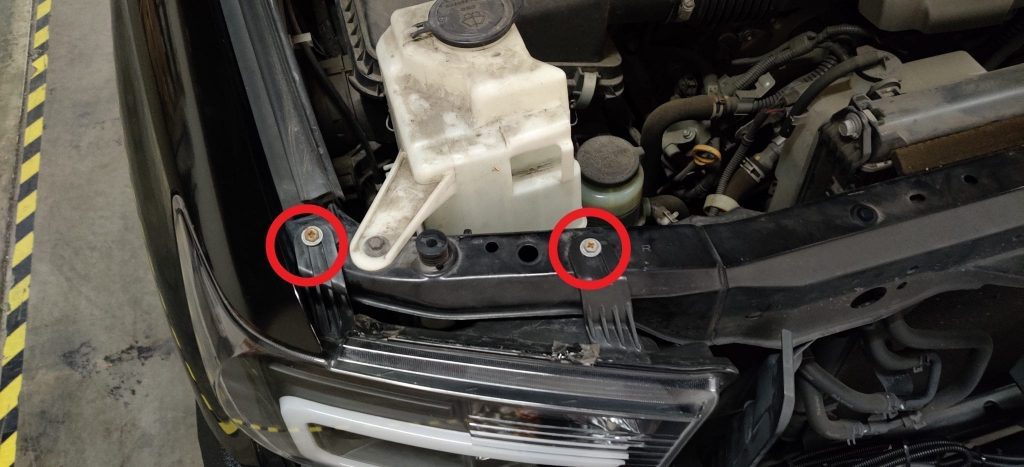
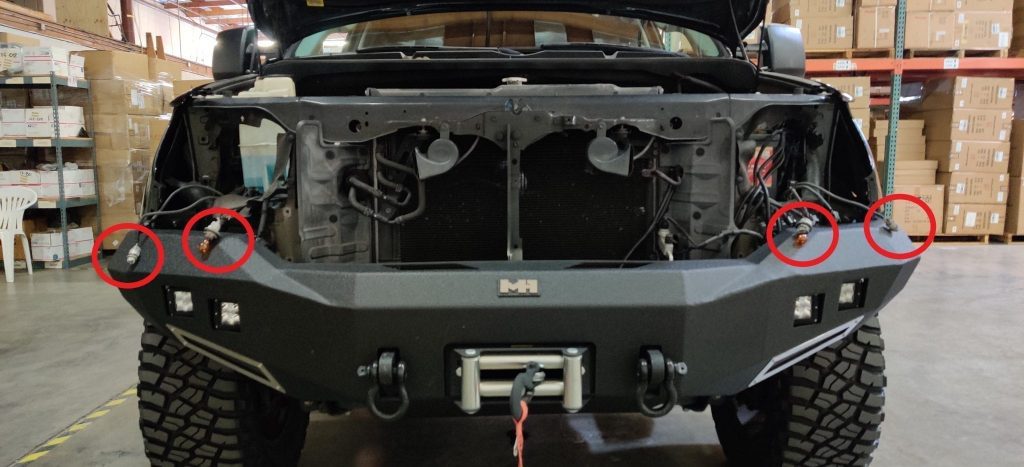
Step 4: DISCONNECT TURN SIGNAL & SIDE MARKER BULBS
While removing the headlights, diconnect the turn signal bulb and side marker plugs.
Please follow the same procedure for the other side
Step 5: SIDE MARKER BULB CONNECTIONS
Remove the side marker bulb and connect it to the new side marker connection.
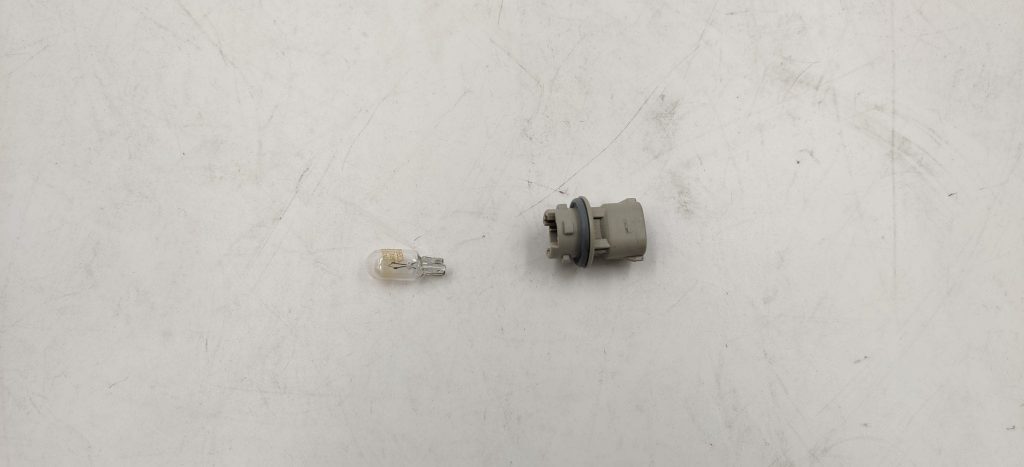
Step 6: TRANSFER TURN SIGNAL BULB AND SOCKET
Transfer turn signal bulb and socket to new headlights
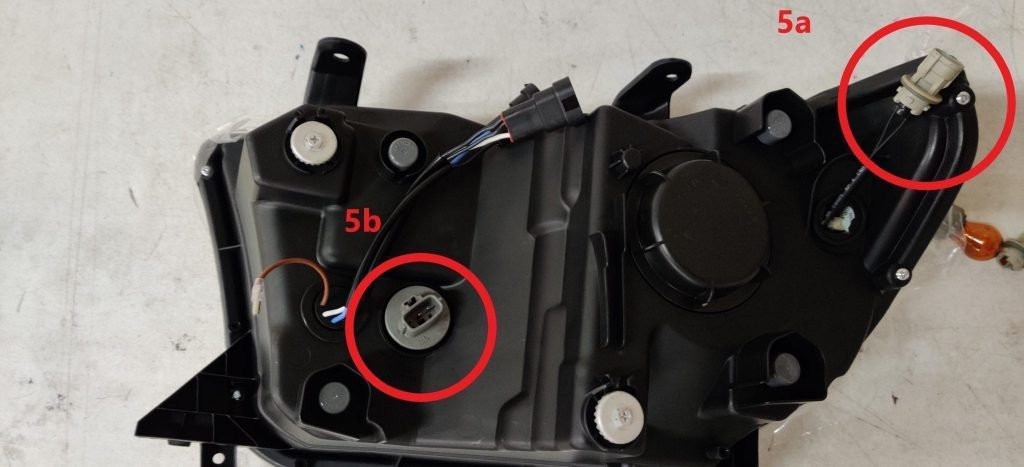
(For model with Sequential turn signal, please refer to the following additional steps)
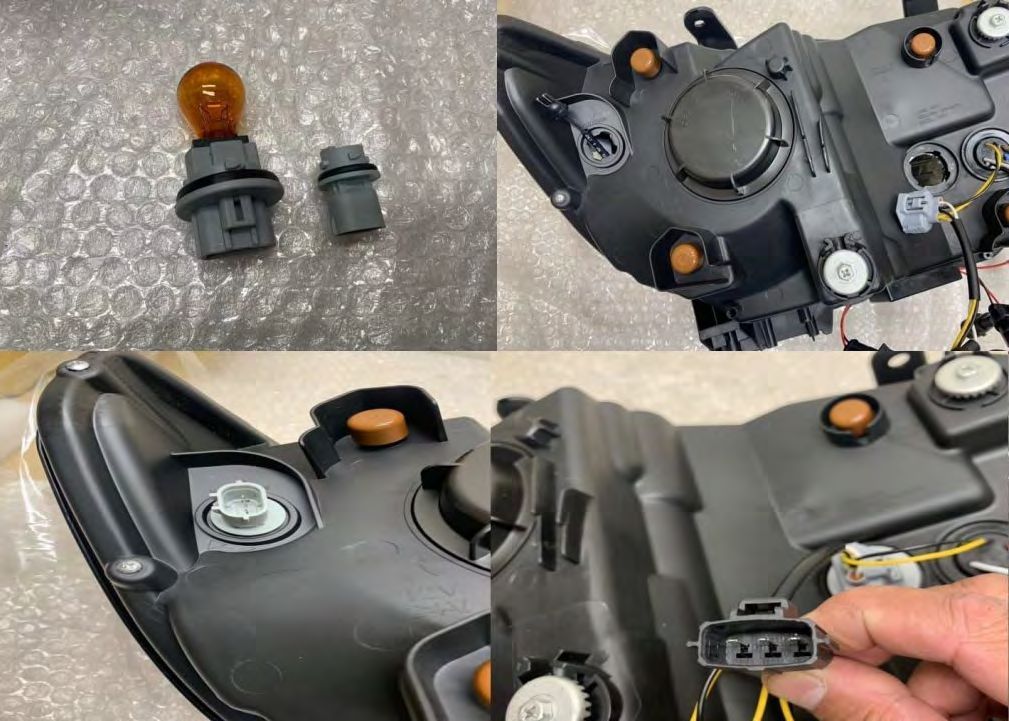
Step 7: INSTALL ALPHAREX HEADLIGHTS & DRL HARNESS
Plug in all connections including the DRL wire if you are installing the optional harness.
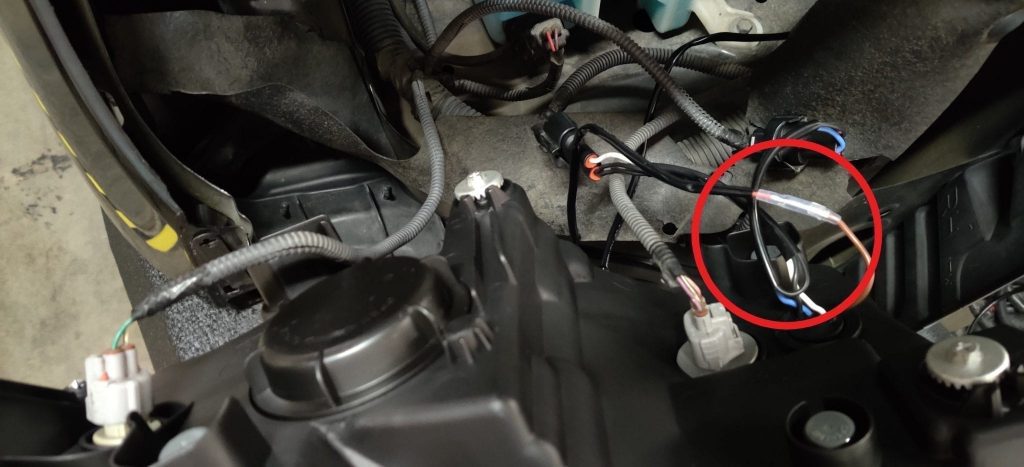
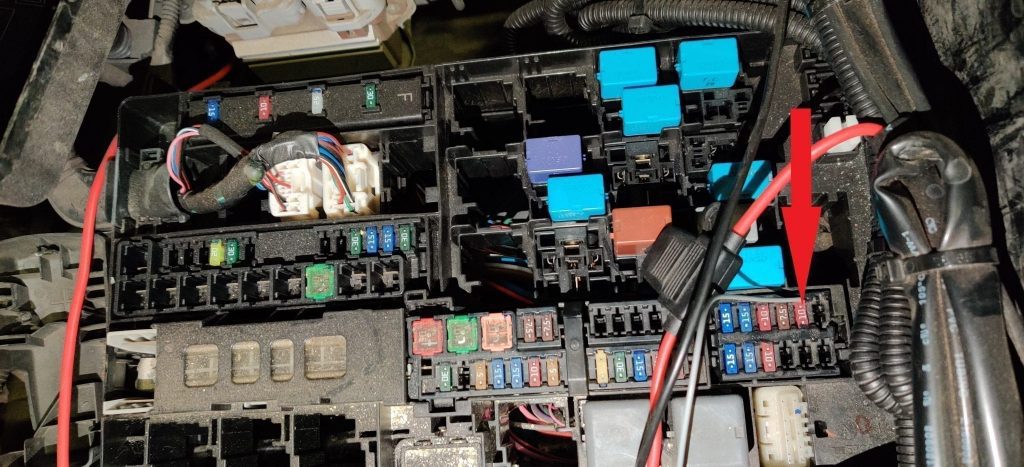
Step 8: TAP THE FUSE & INSTALLING OPTIONAL DRL HARNESS
If you are planning to install the optional DRL harness, connect the red wire from the DRL harness (short end to driver side, long end to passenger side).
For more information about wiring the DRL harness, please read our article about How to wire the DRL harness?
In order for the DRL to function during the day, you will need to tap the grey wire into your IGN fuse.
Step 9: ADJUST HEADLIGHTS LEVEL
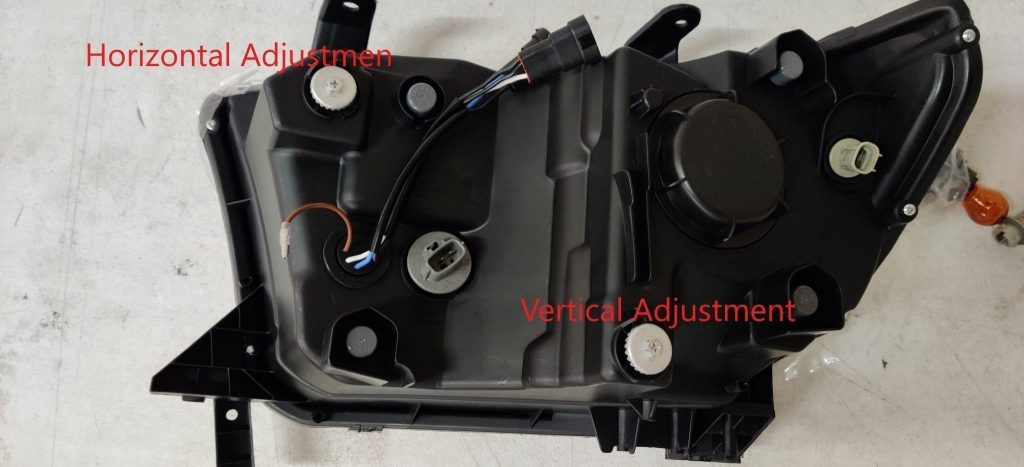
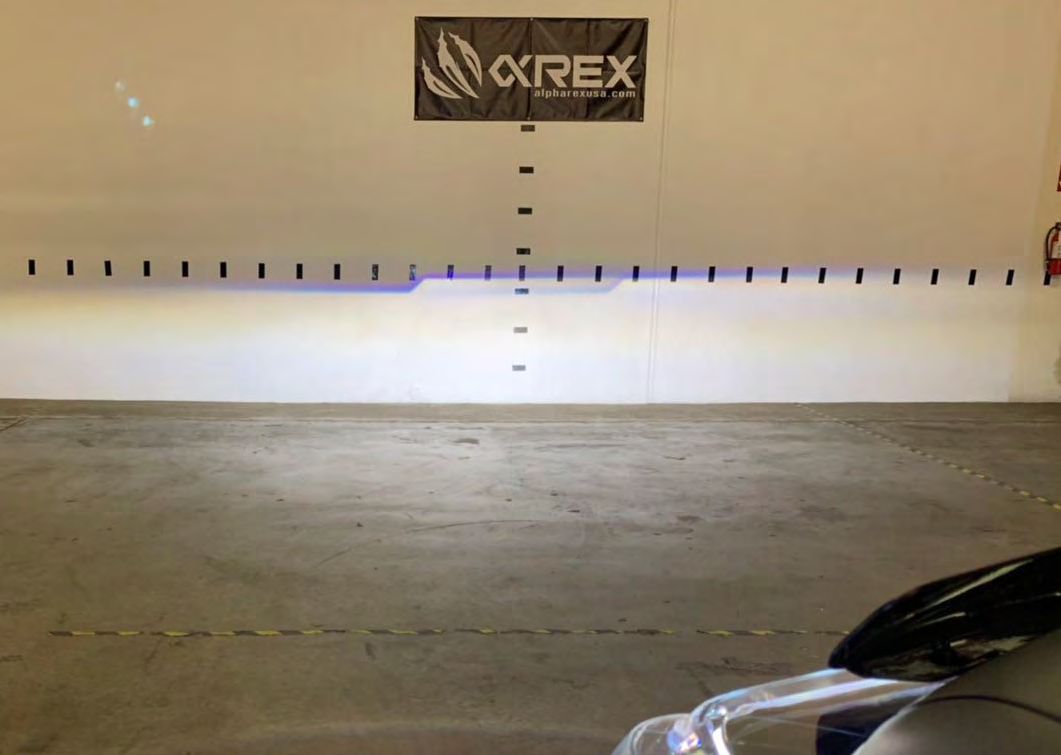
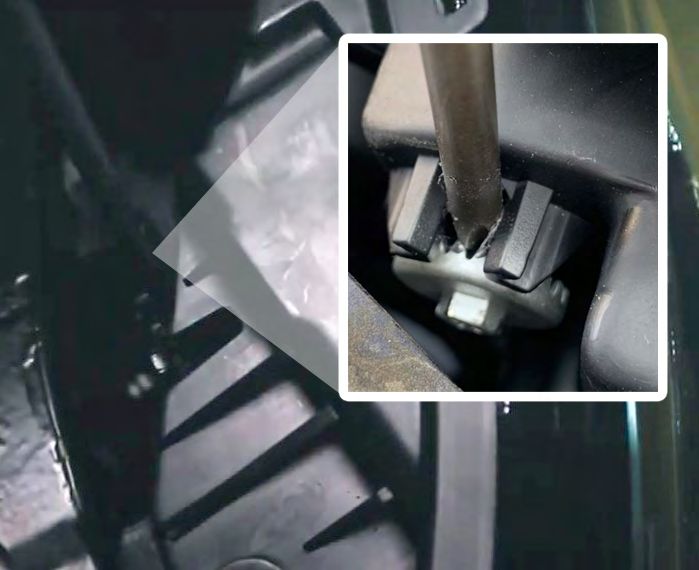
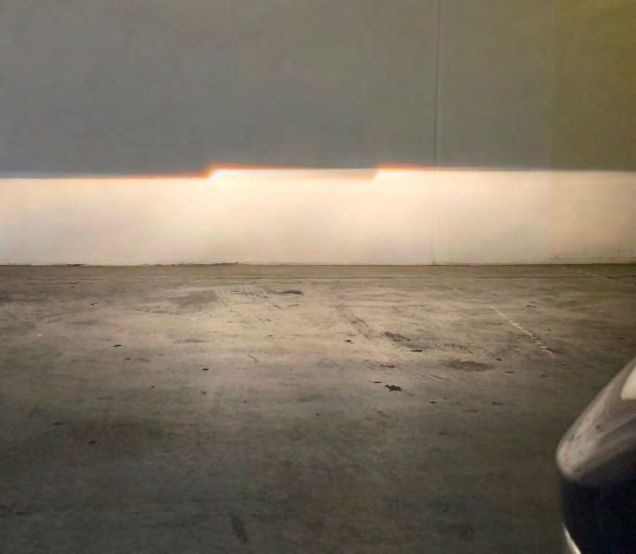
Once all light bulb plugs and wires are all connected to the new headlights, install your new ALPHAREX headlights to the vehicle. Secure all bolts and reverse the unistall process to complete installation. Next, aim the headlights at about 25ft against a wall on a level surface for headlights level adjustment.
Congratulations! you have completed the installation for ALPHAREX 07-13 Toyota Tundra / 08-17 Toyota Sequoia Headlights
