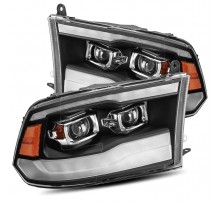
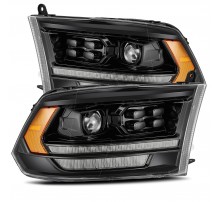
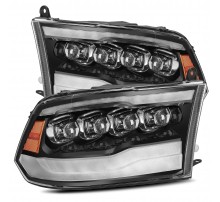
Видео пошаговой установки прожекторных фар AlphaRex для Ram 1500/2500/3500 2009-2018 гг.
Шаг 1
Tools Needed: 10mm socket clip remover or flat head screwdriver
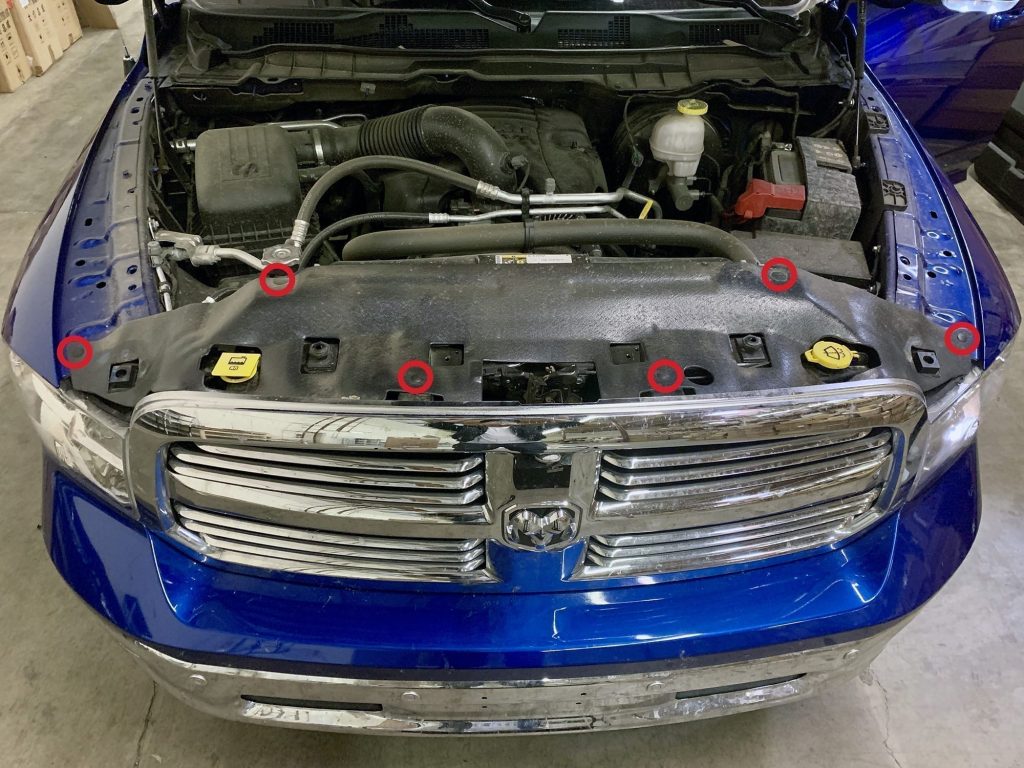
Remove radiator shroud held by a total of (4) ribbed clips on the bottom and (2) push clips on the top.
Step 2
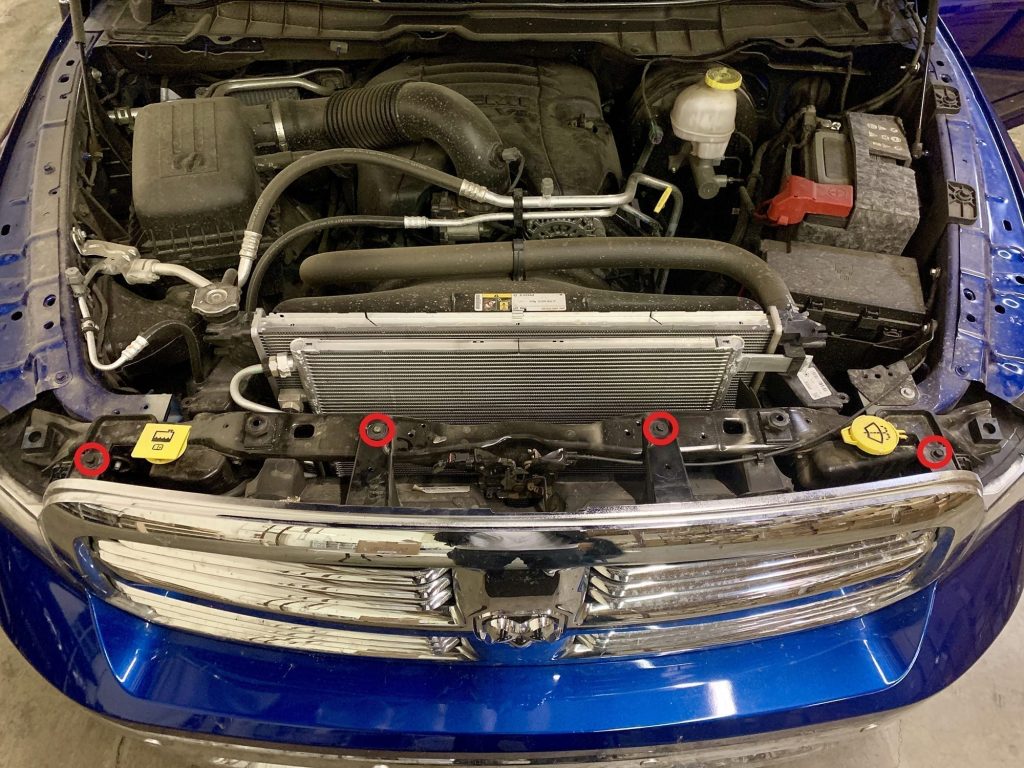
Remove (4) 10mm bolts holding in the grill.
Step 3
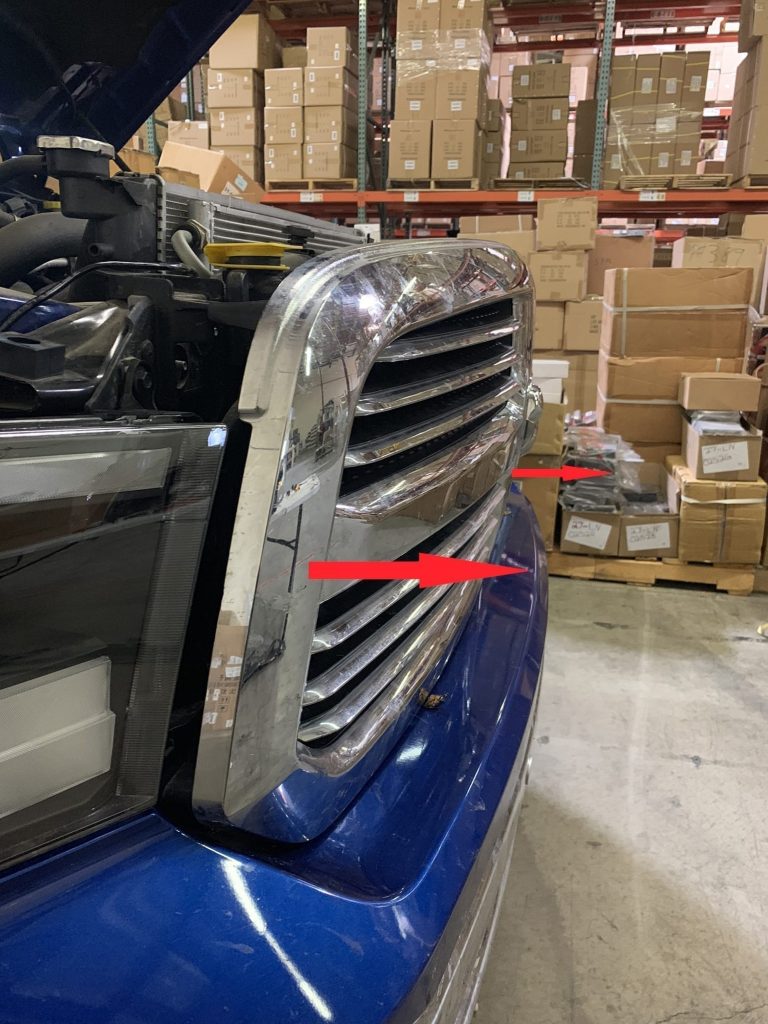
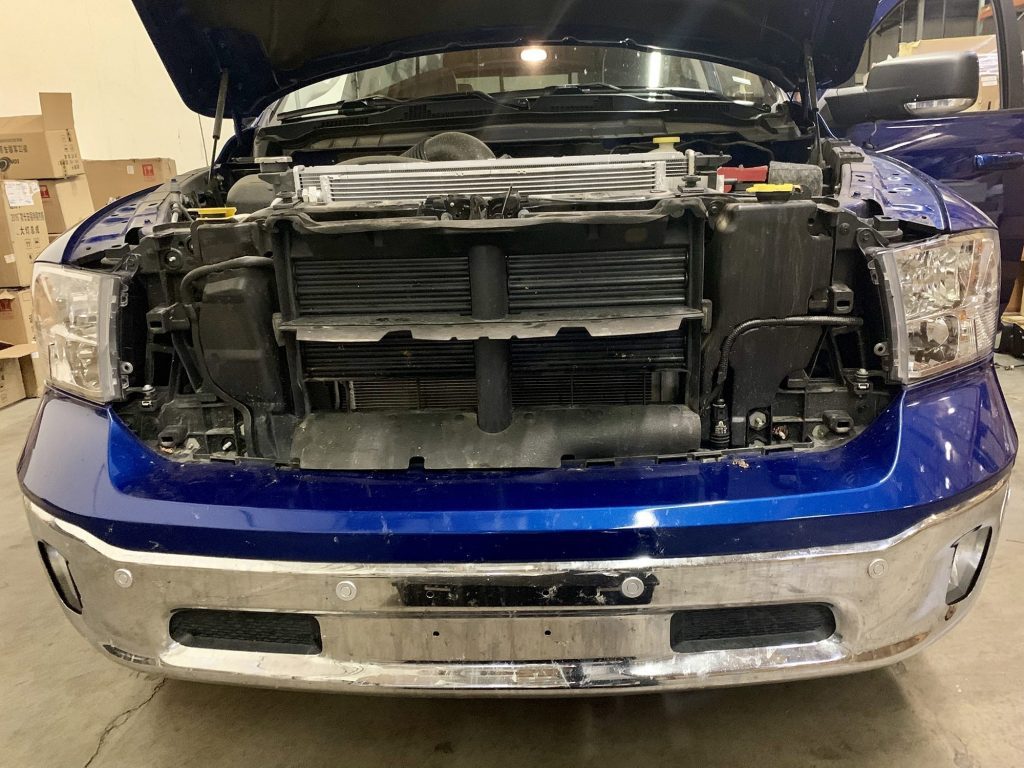
Pull grill outwards with moderate force to disengage bottom clips. The grill should be able to be completely removed at this point.
Step 4
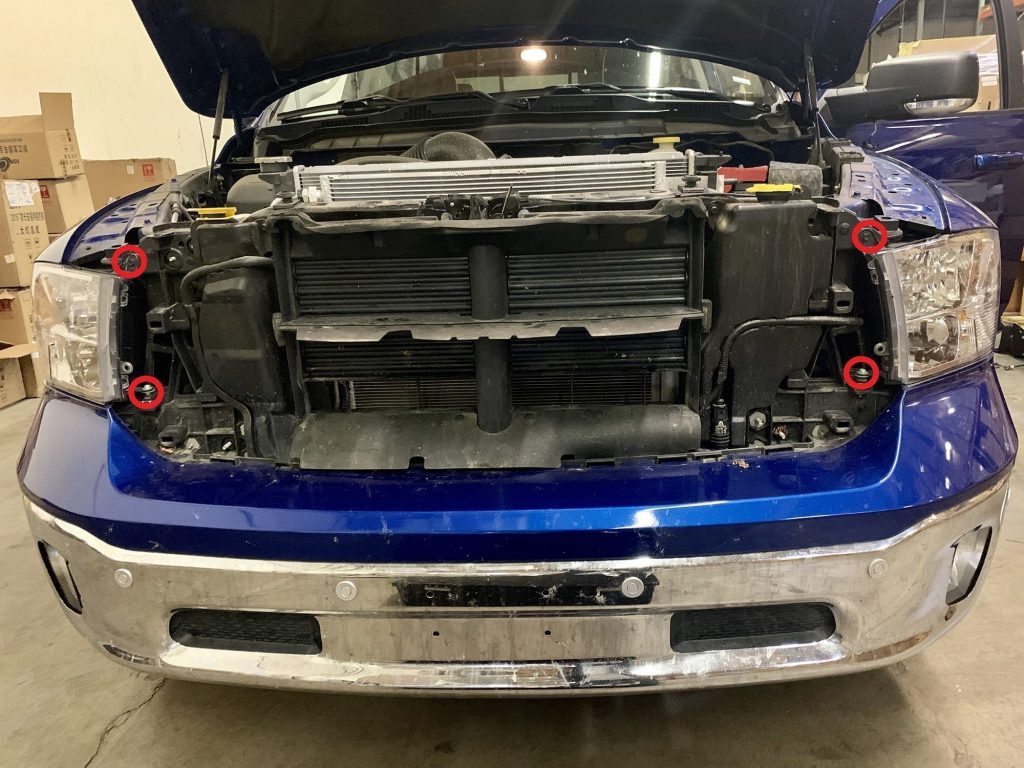
Remove a total of (4) 10mm bolts.
Step 5
Open access panel from wheel well.
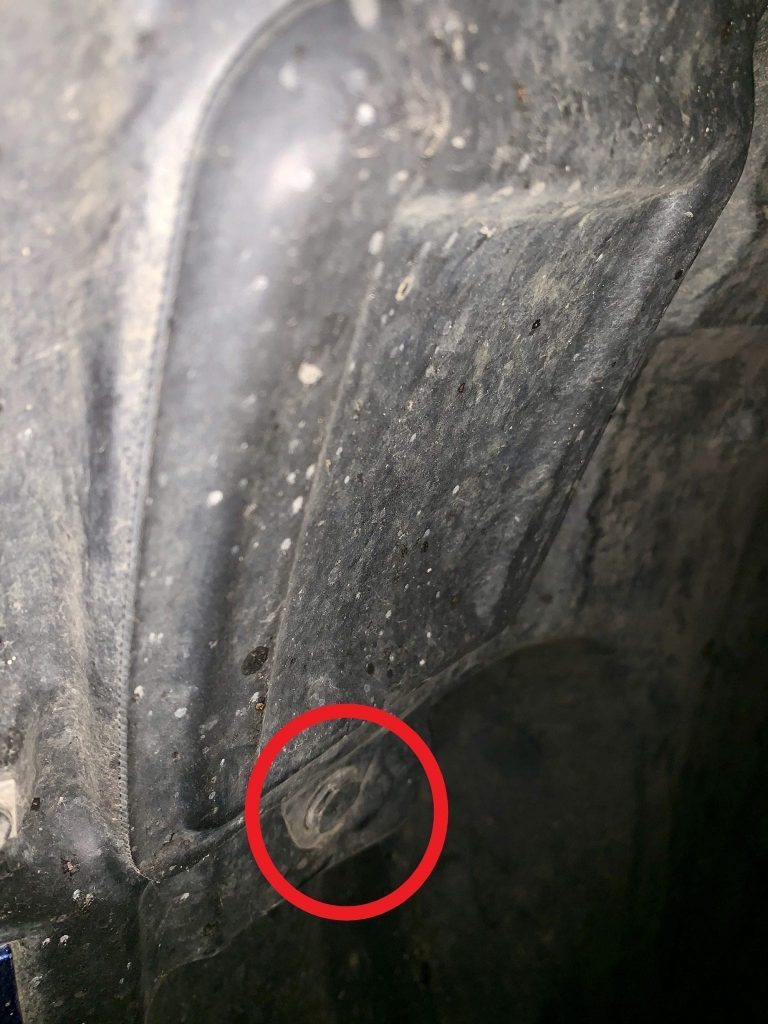
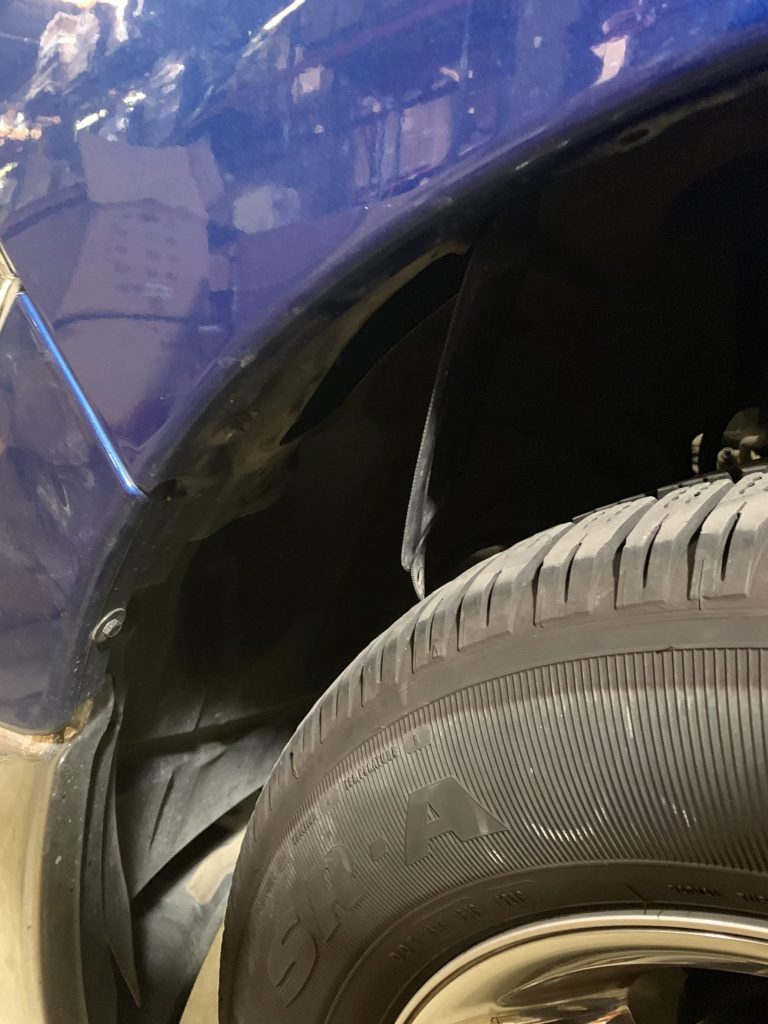
Step 6
Push up on the white tab to release the headlight from the truck.
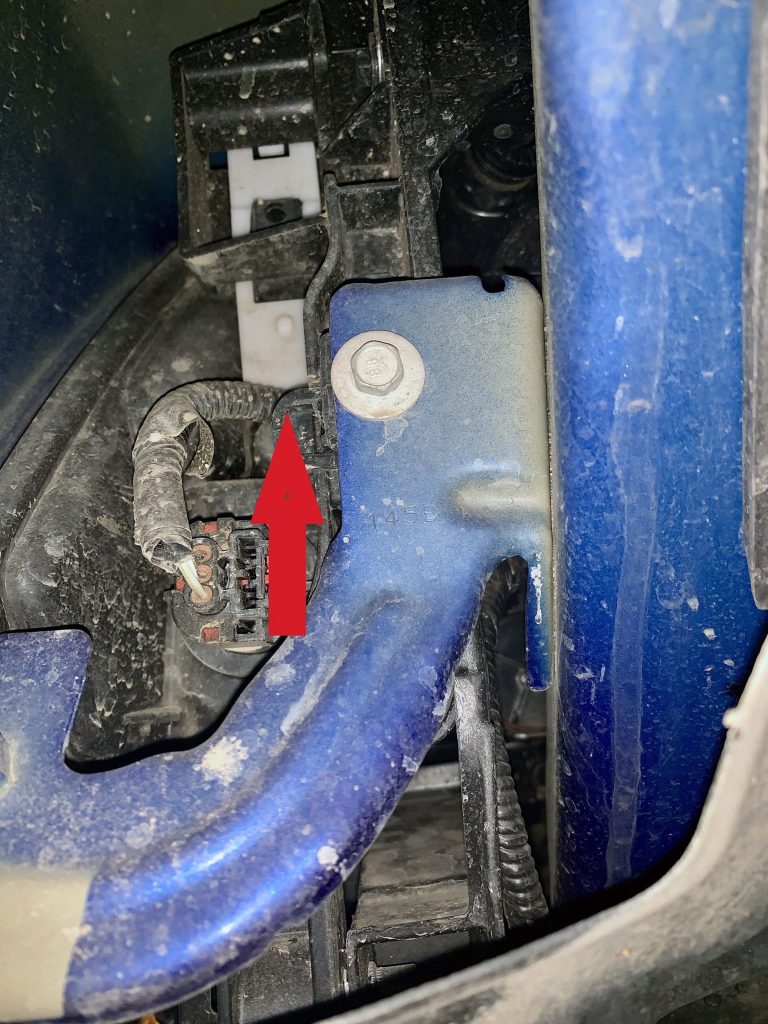
Step 7
Once the headlight has been removed, unlock the grey tab and you should be able to remove the low/high beam connector.
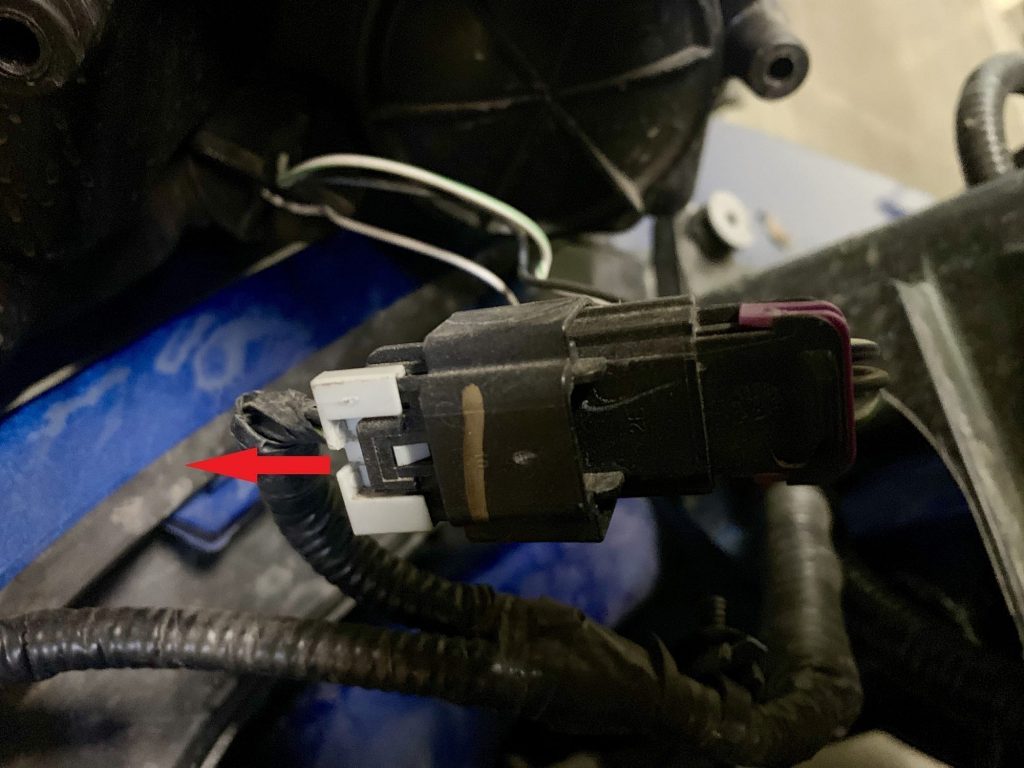
Step 8
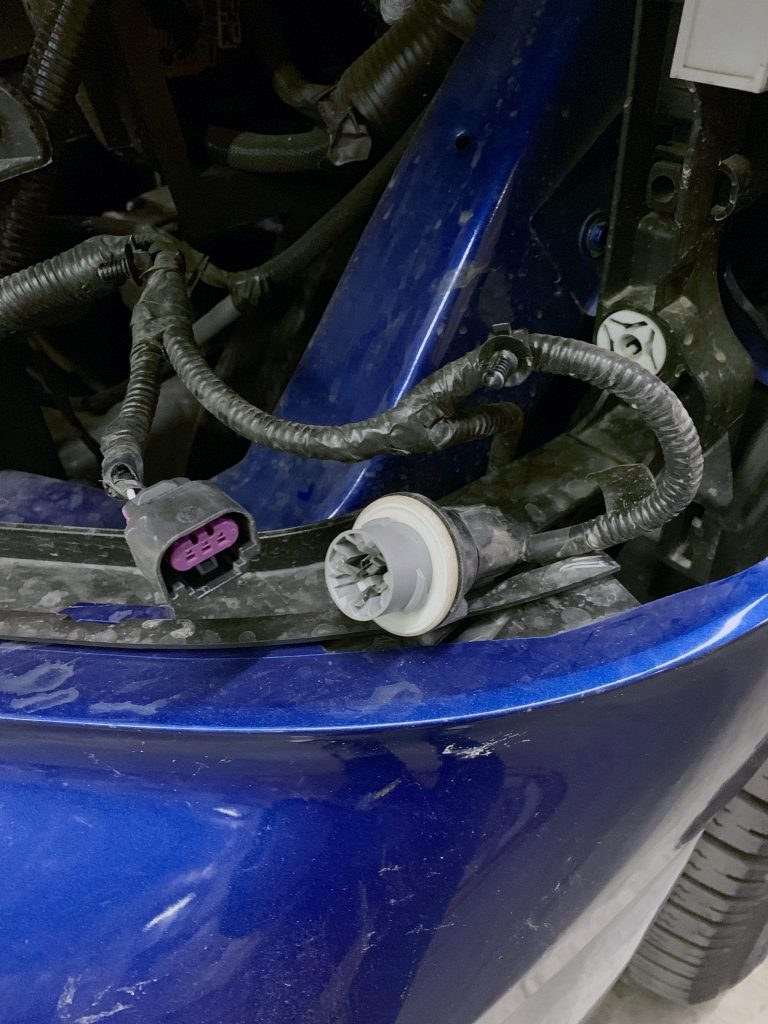
Remove turn signal socket and amber bulb. You should then be left with these connections left on the truck.
Step 9
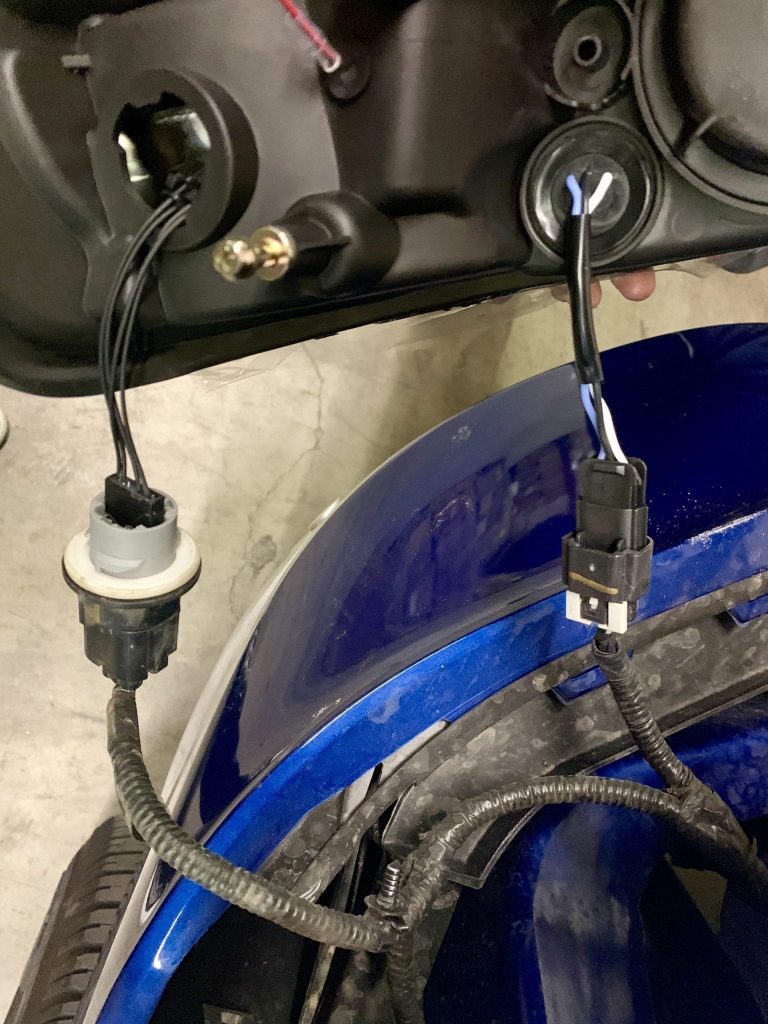
Plug the flat black connector into the turn signal socket and connect the low/high beam connector into the truck’s harness.
Step 10
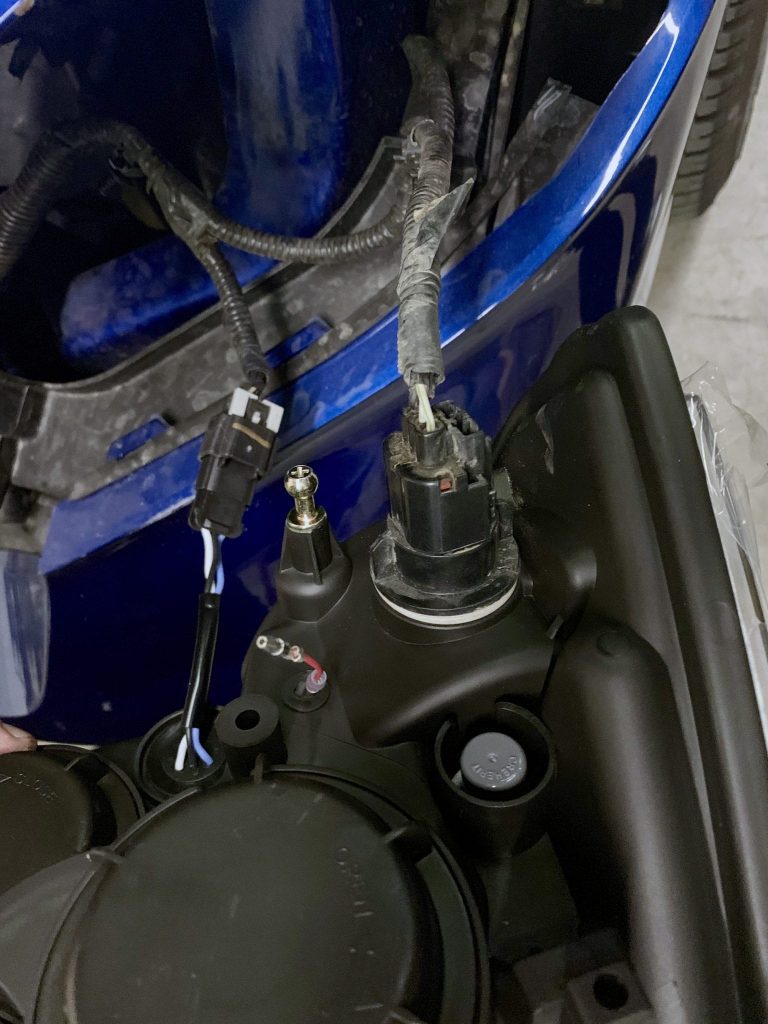
Be sure to lock the turn signal back into place on the new headlights.
Step 11
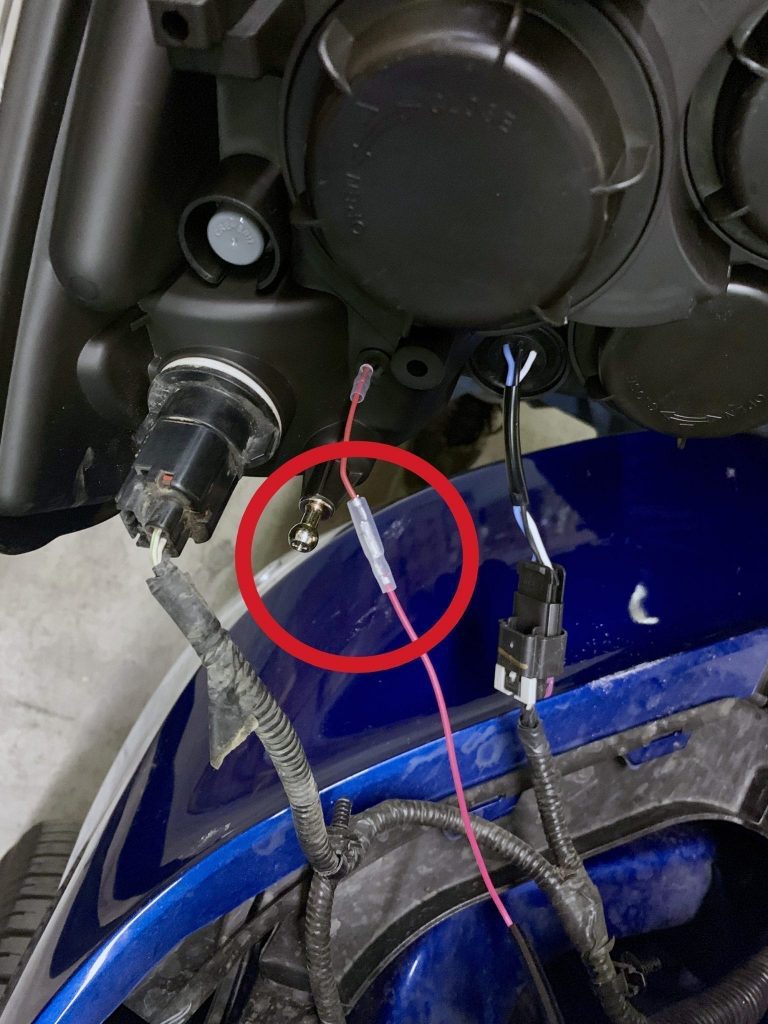
If you are planning to install the optional DRL harness, connect the red wire from the DRL harness (short end to driver side, long end to passenger side) For more information about wiring the DRL harness, please read our article about How to wire the DRL harness?
Step 12
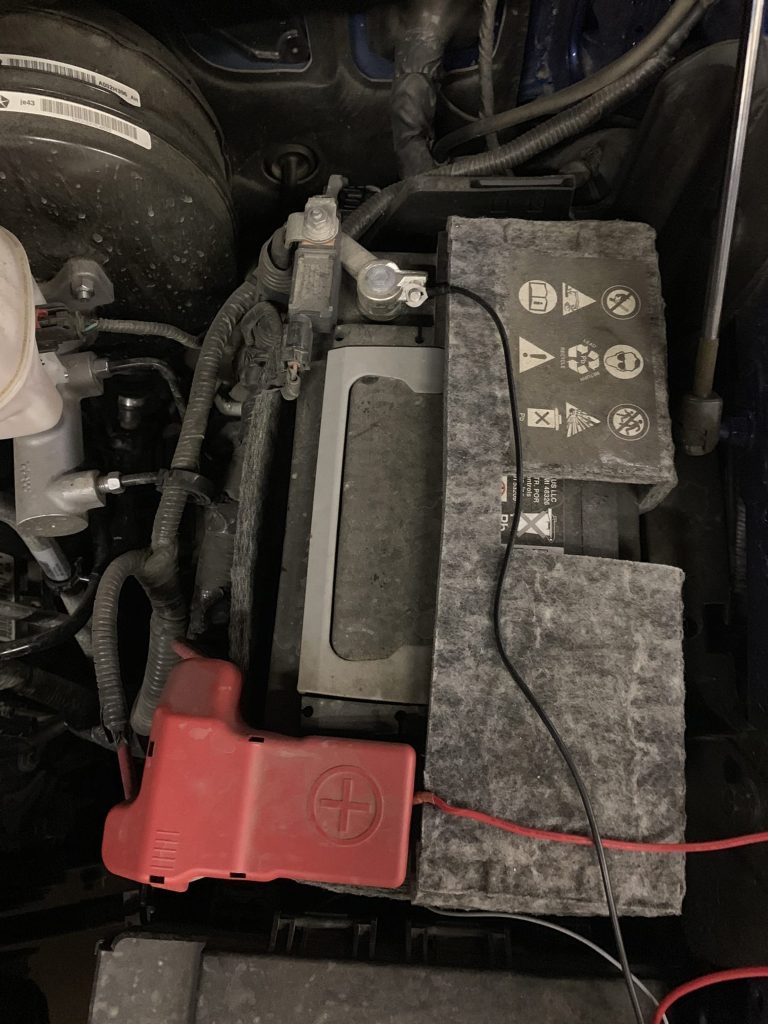
Connect (+) and (-) from the DRL harness to the battery. For more information about wiring the DRL harness, please read our article about How to wire the DRL harness?
Step 13
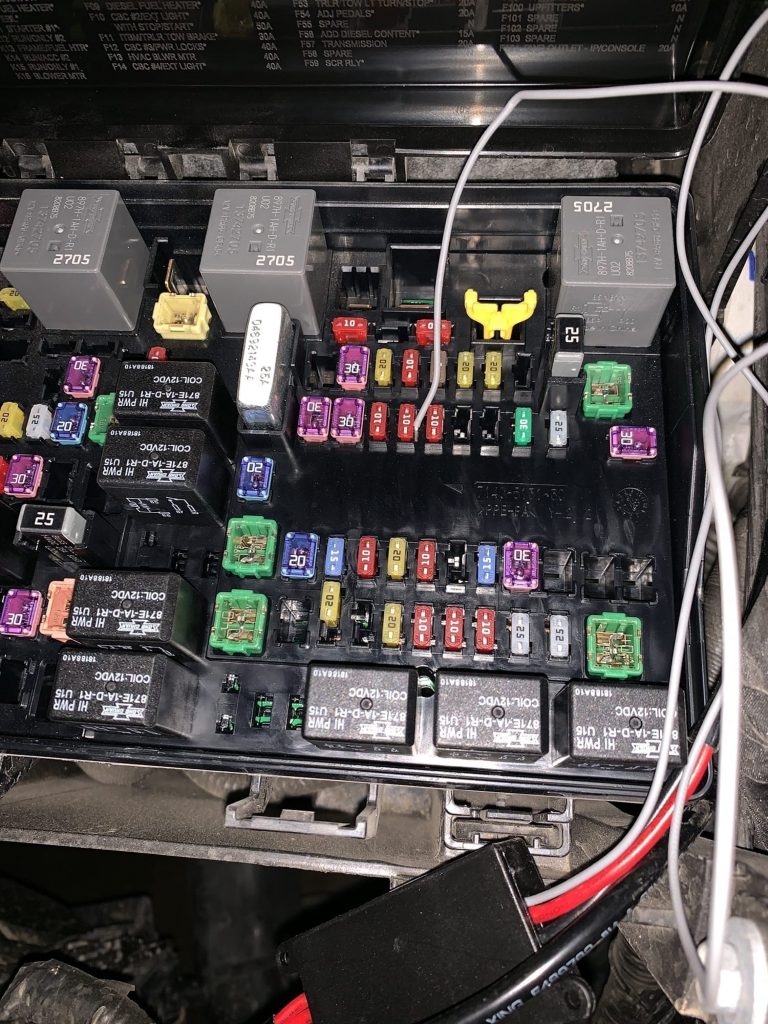
Tap grey wire from harness to fuse F66 ( later model ) , fuse M6 or M19 ( early model ) . For more information about wiring the DRL harness, please read our article about How to wire the DRL harness?
Step 14
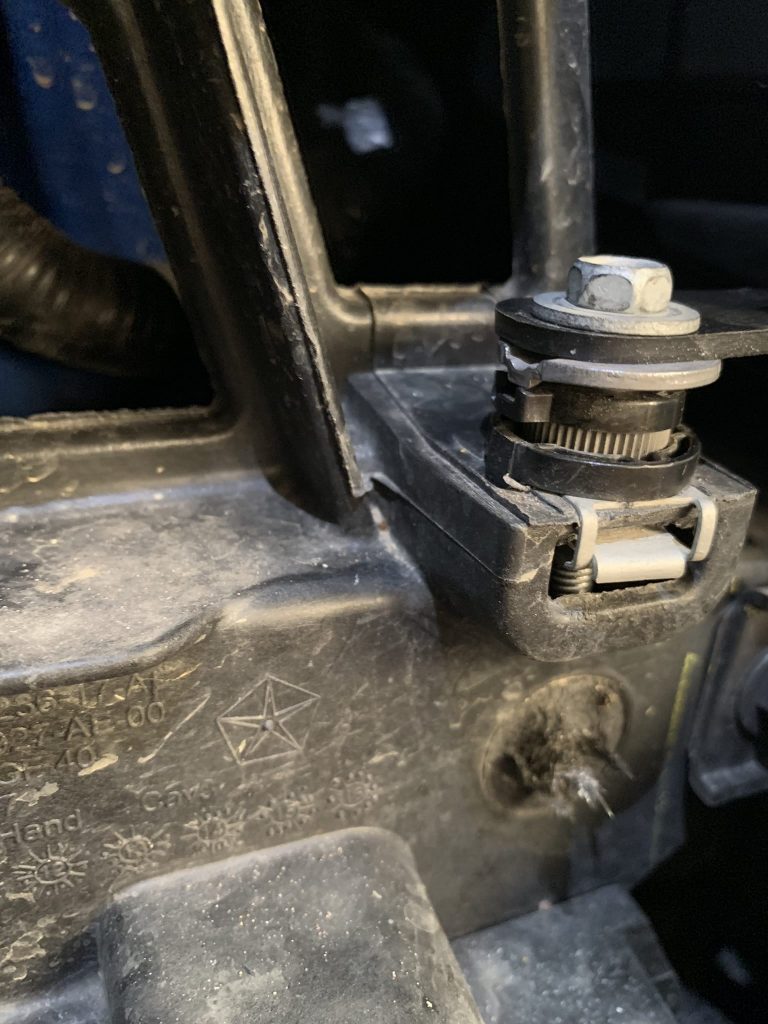
Before bolting the headlights, make sure the bottom mounting bolt is level.
Step 15
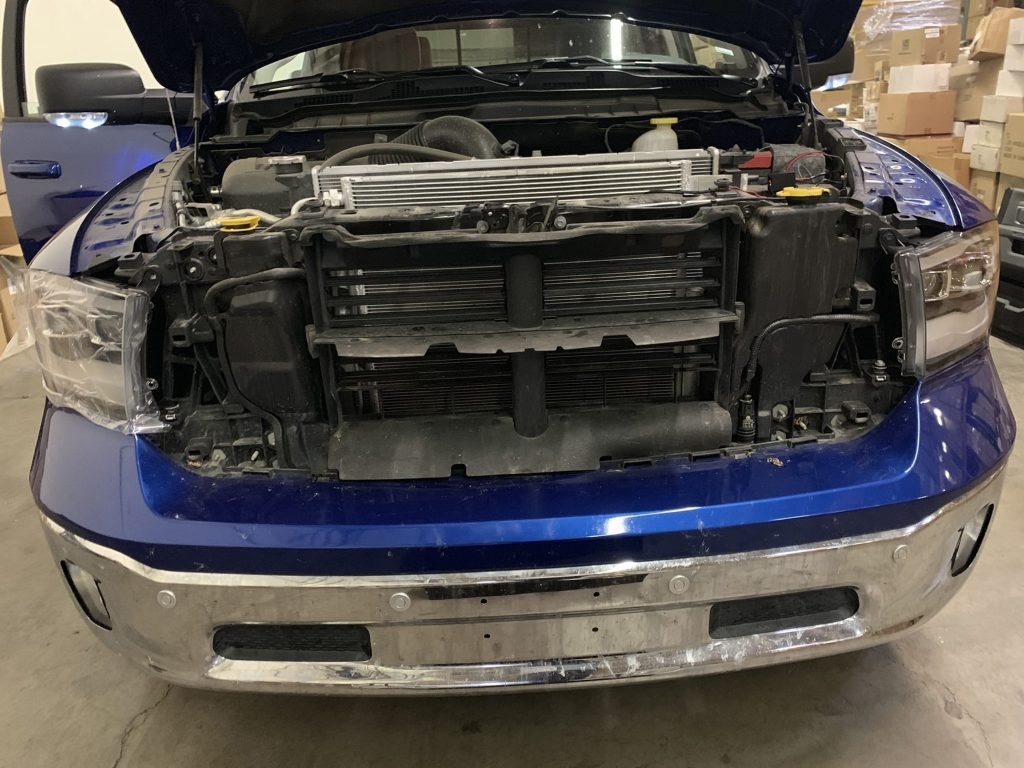
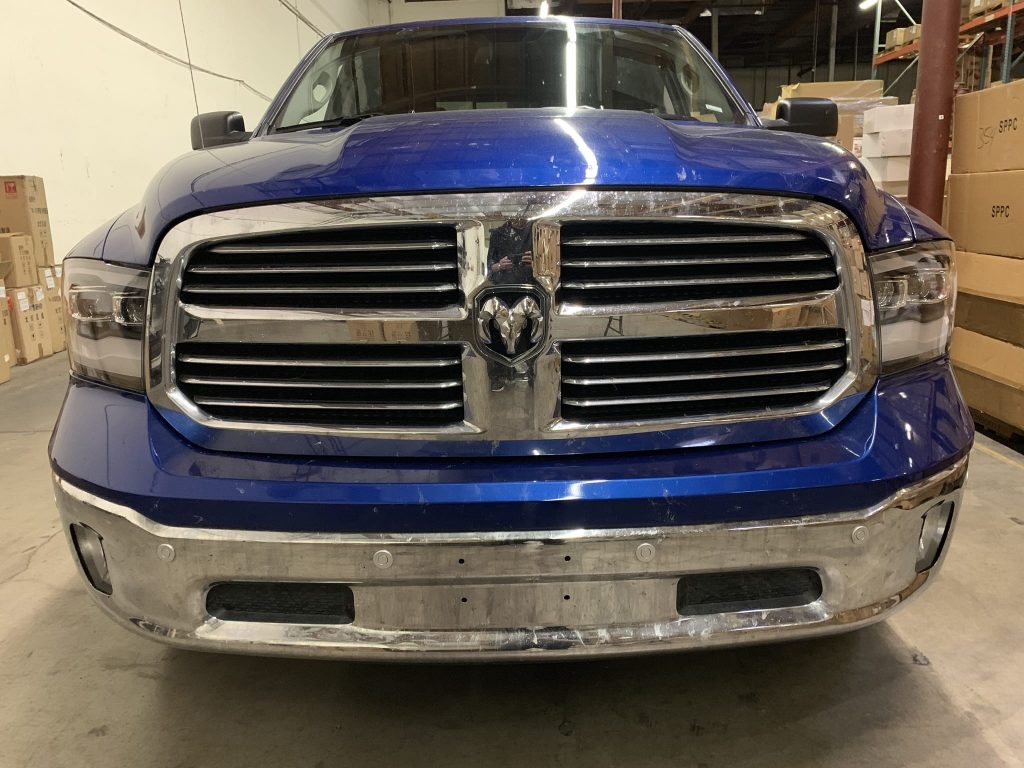
Mount and secure headlights to vehicle and test all functions.
Step 16
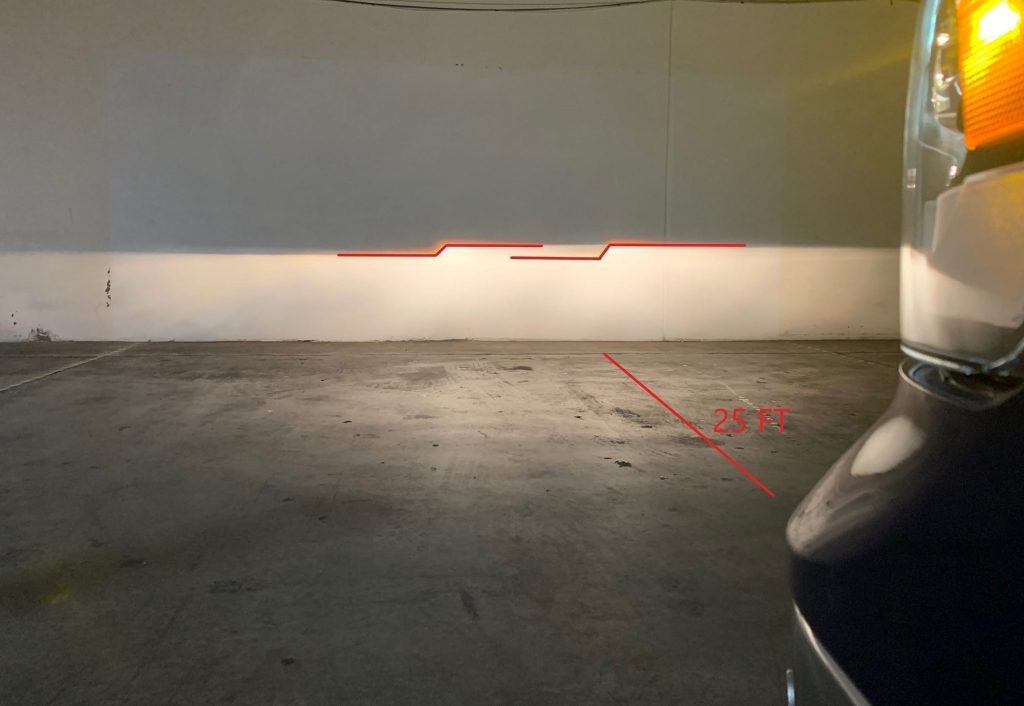
You will next aim the headlights at about 25ft against a wall on a level surface.
You are all set!

