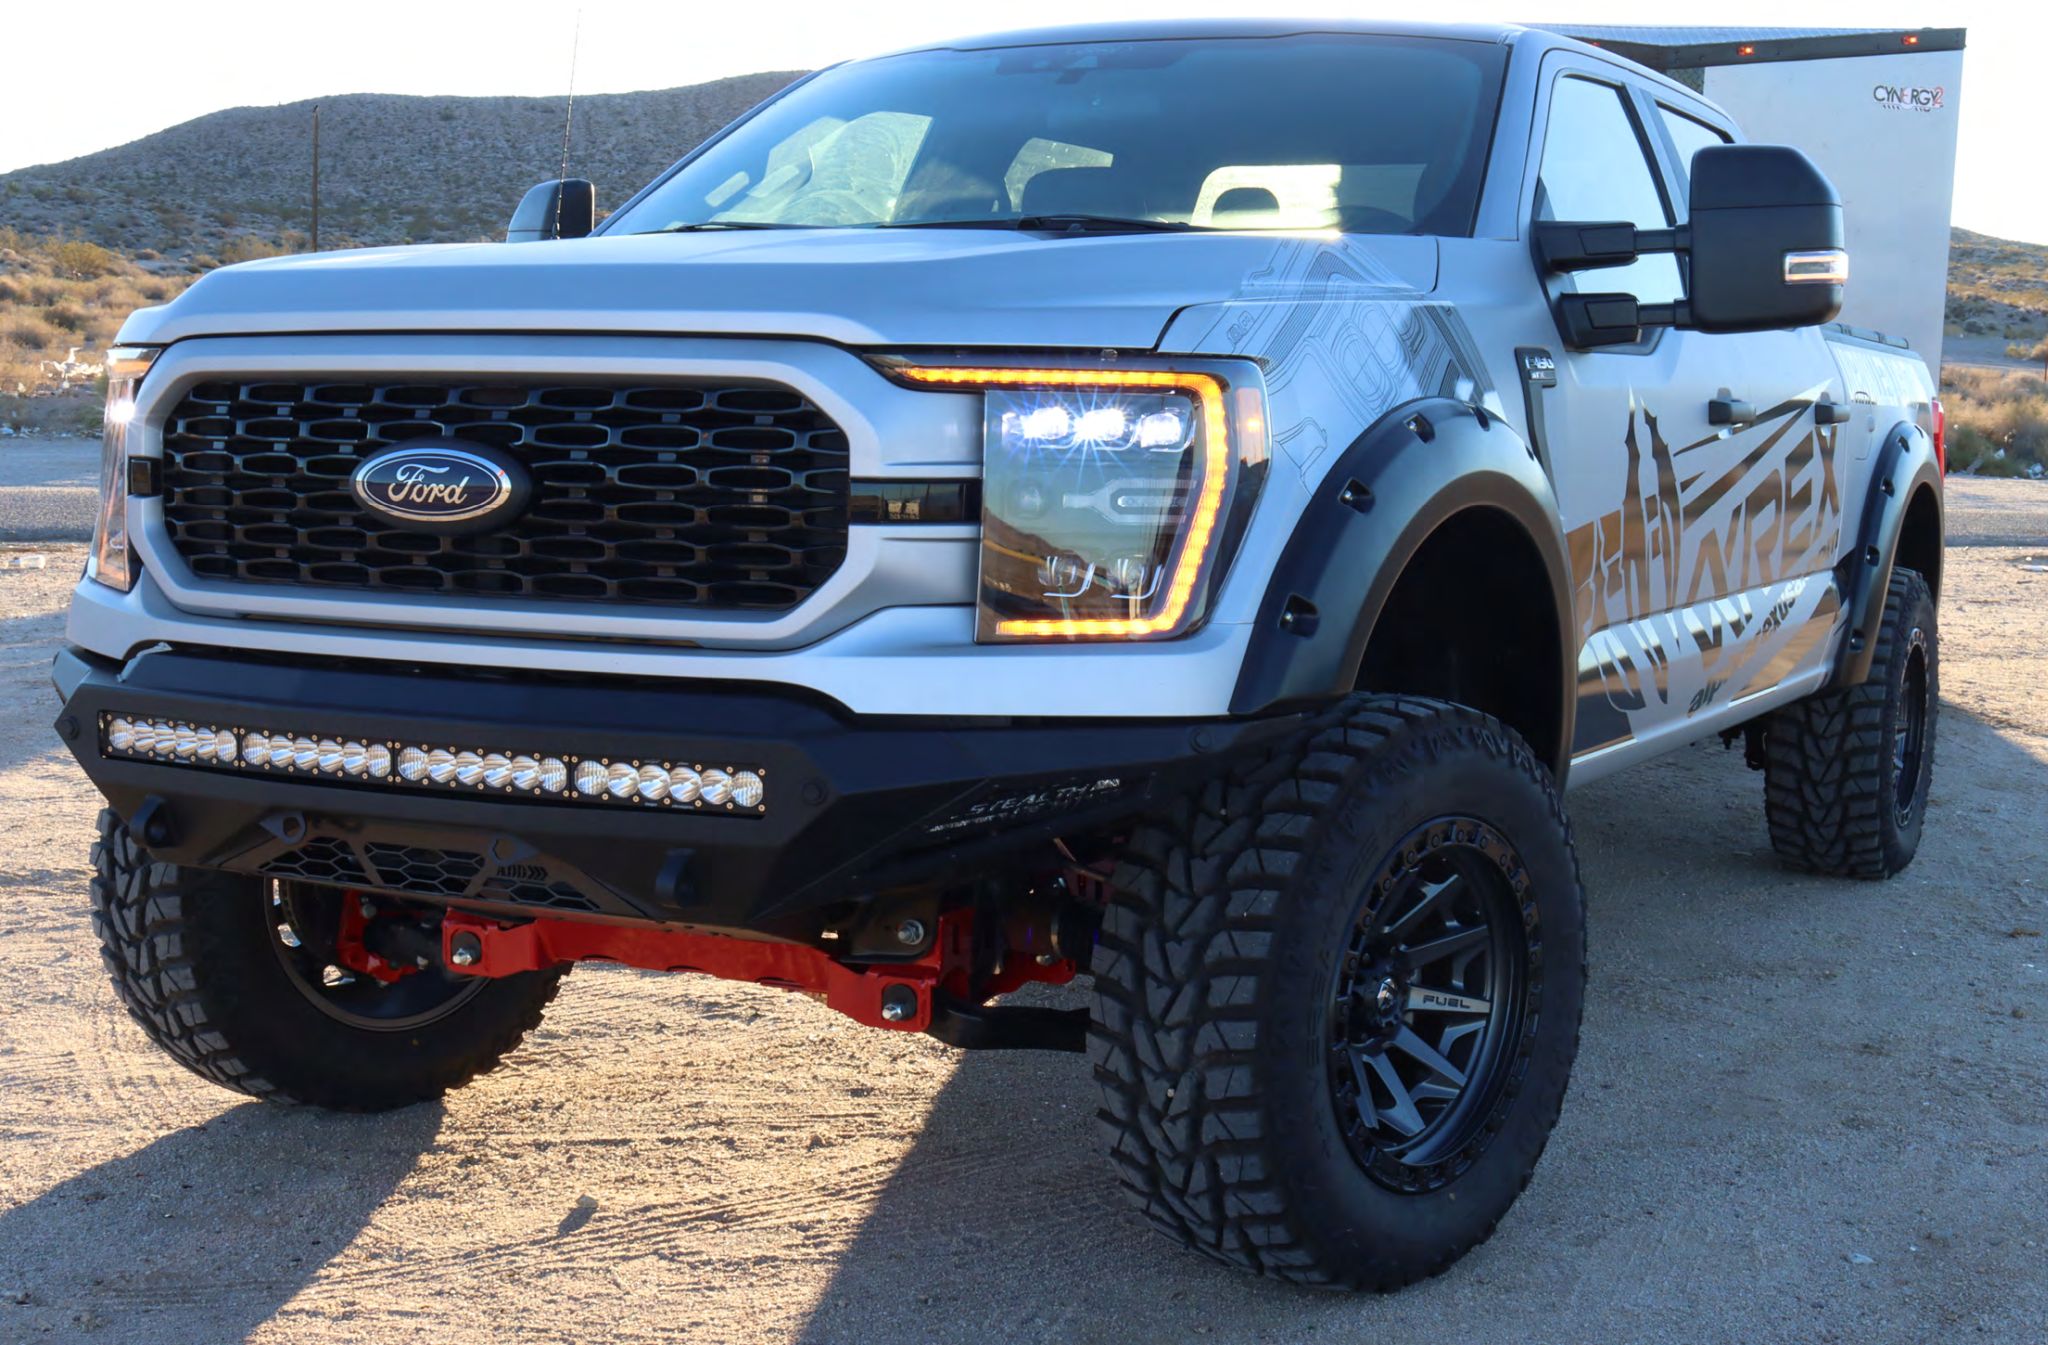
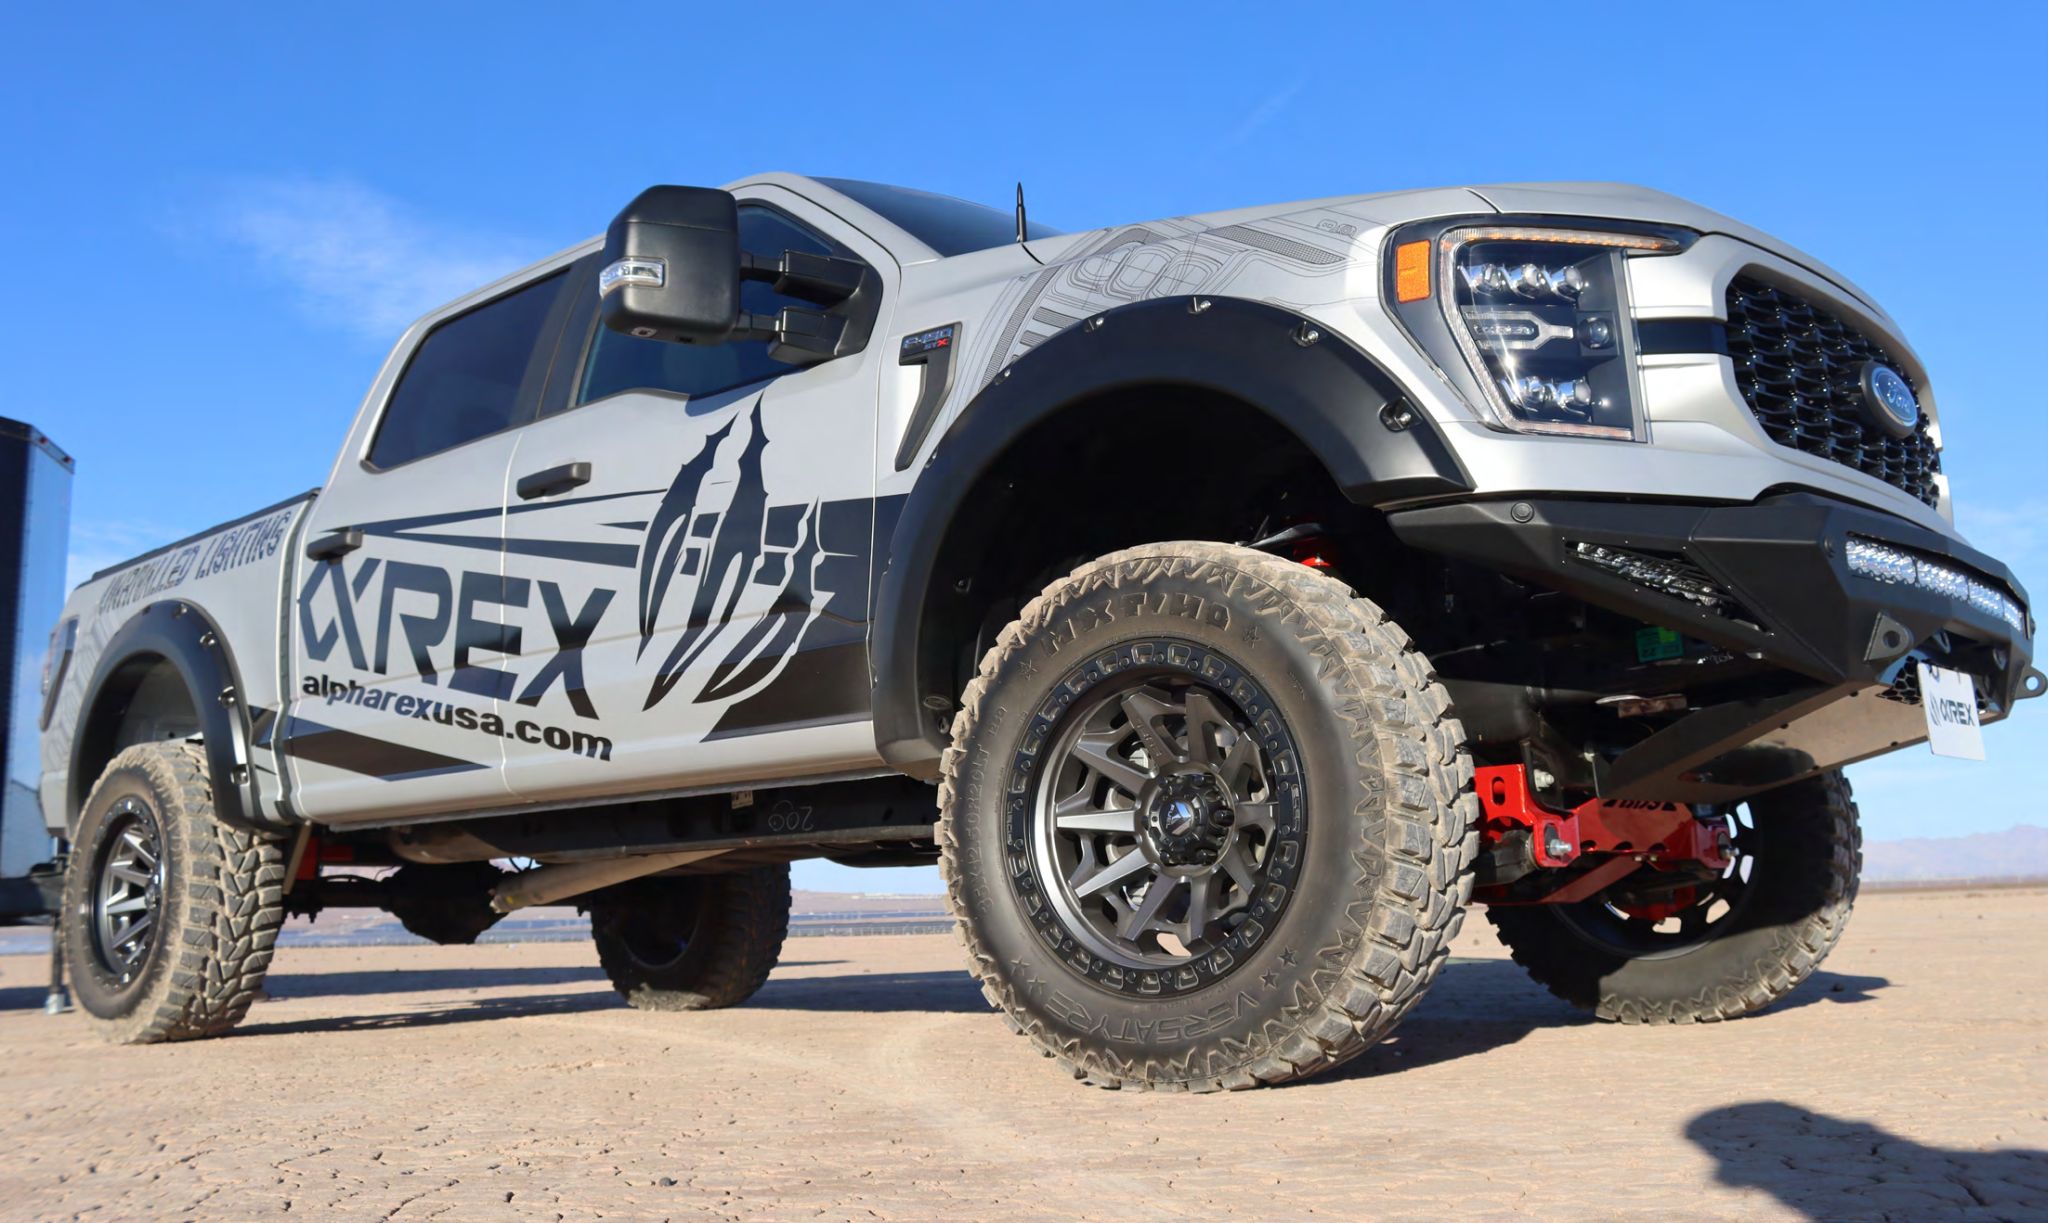
ALPHAREX specializes in designing and producing superior and uniquely stylish aftermarket automotive performance lighting with unrival innovative technology. The following installation guide we take you through the installation of your new ALPHAREX HEADLIGHTS for your 21+ FORD F-150 step by step.
NOTE: Some vehicle require the DRL harness installed for the headlight to function properly.
Disclaimer: This installation article is a tutorial guide. By reading this article, you agree it is for reference only and AlphaRex USA and its distributors make no guarantee on the finished results. Under no circumstances whatsoever shall AlphaRex USA nor its distributors be liable for any damage, misuse or personal injuries. If you do not fully understand the installation procedure, it is highly recommended that you seek help from professional mechanics to do the installation.
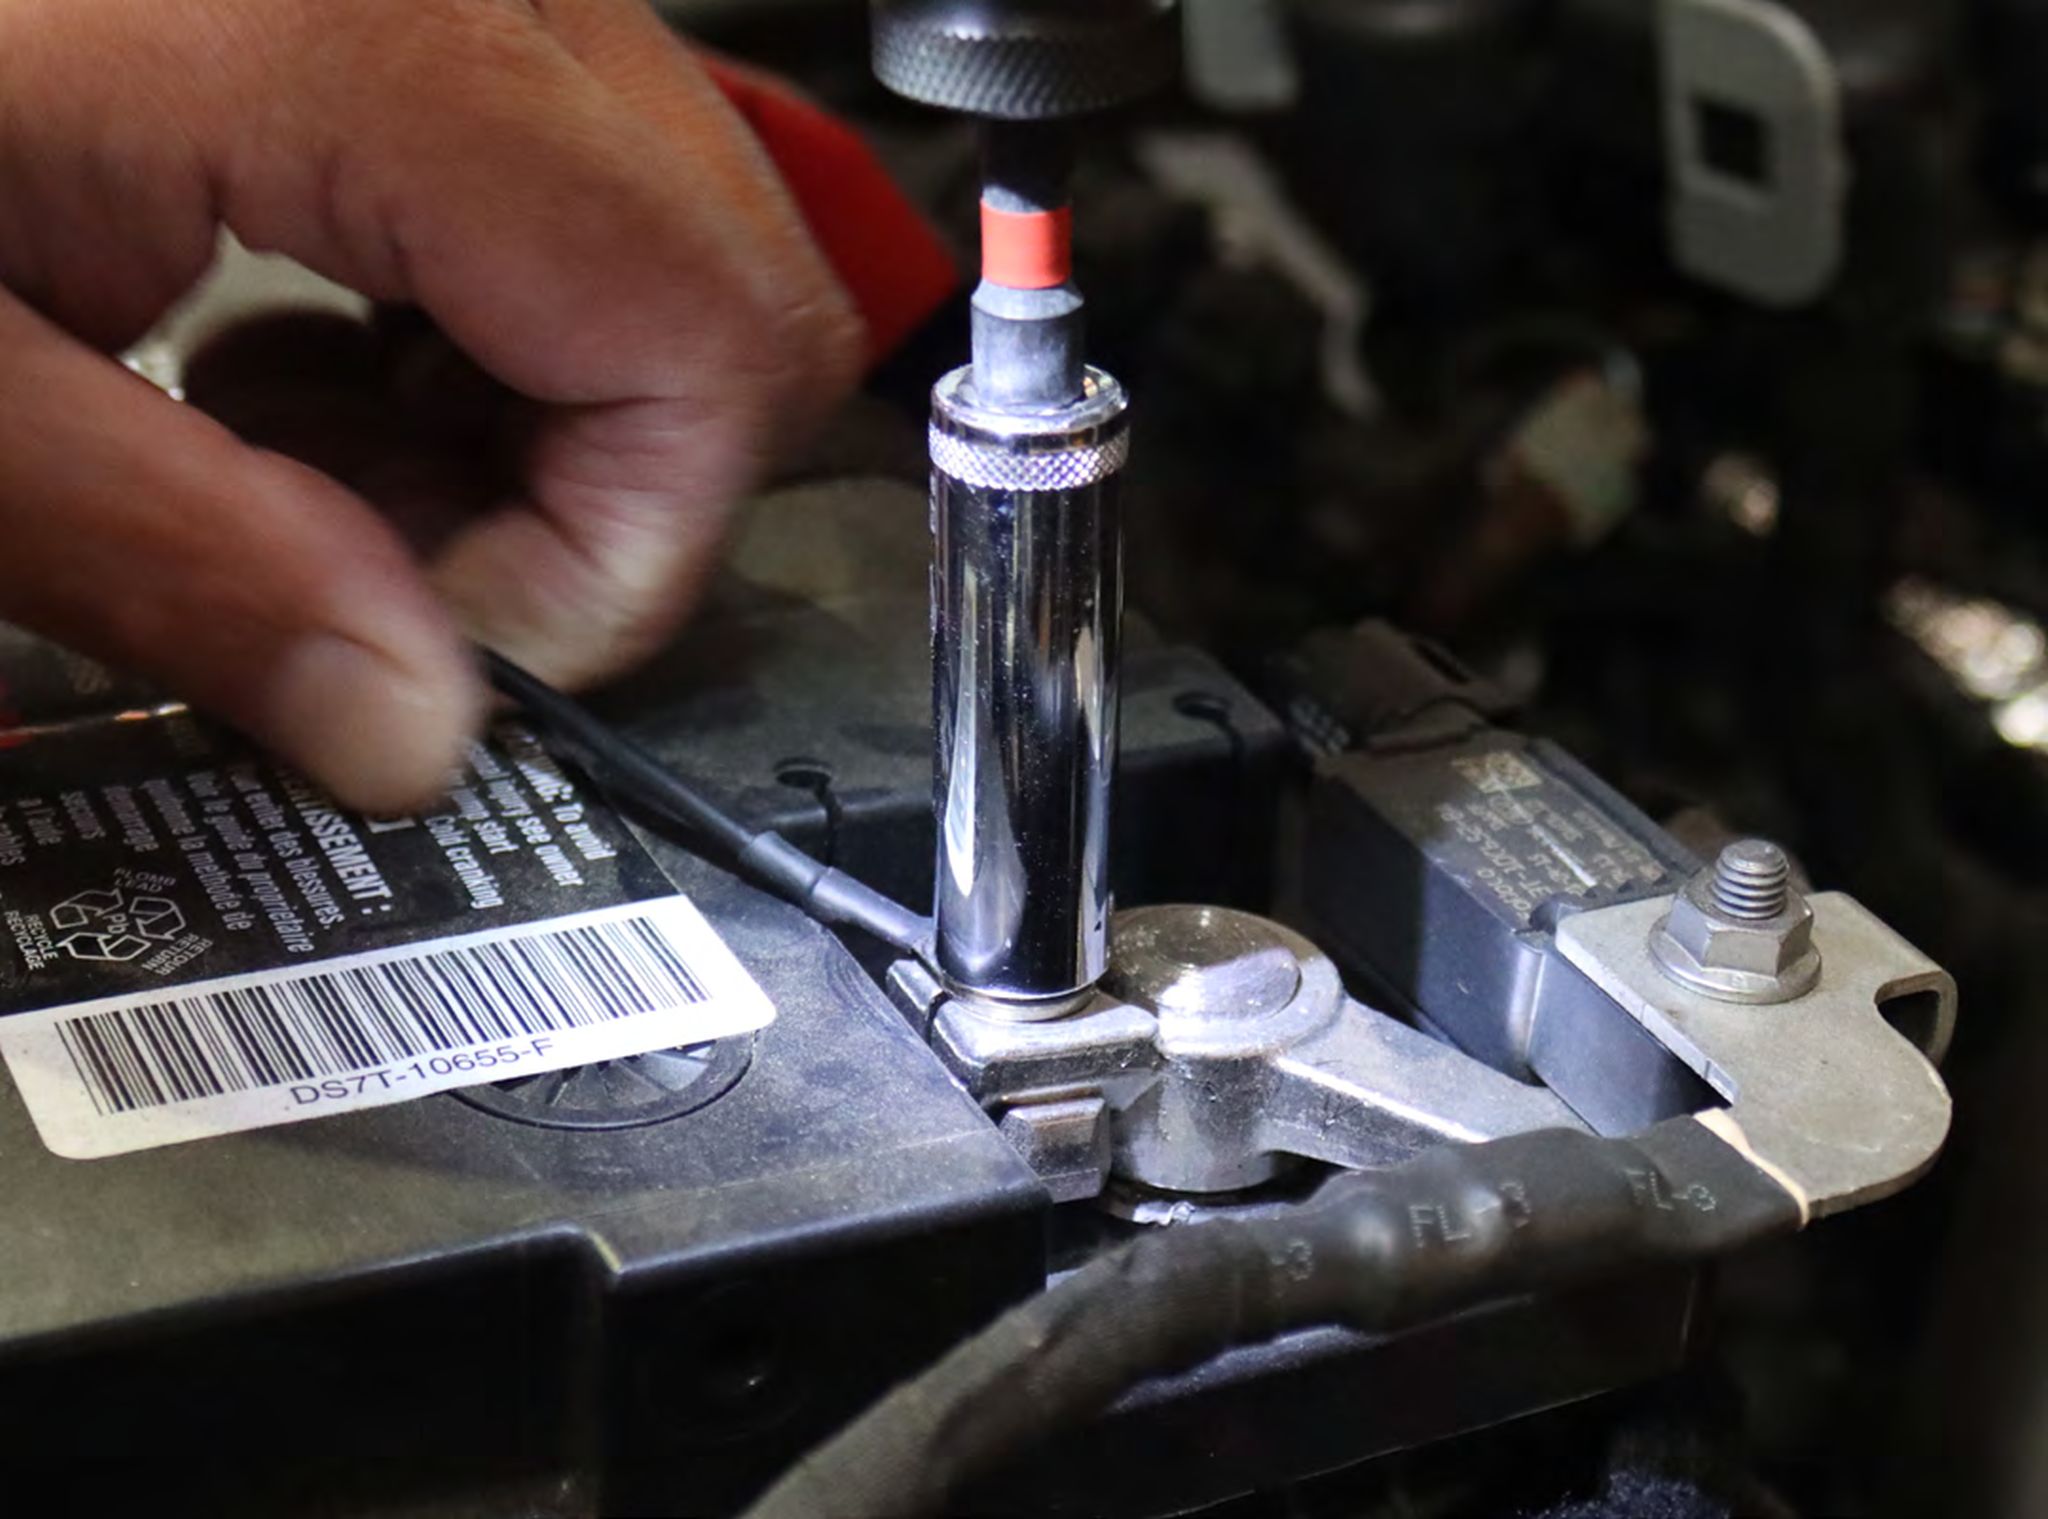
Step 1: DISCONNECTING THE NEGATIVE BATTERY TERMINAL
Whenever working on your vehicle always start by disconnecting the negative battery terminal.

Step 2: REMOVE THE RADIATOR SHROUD
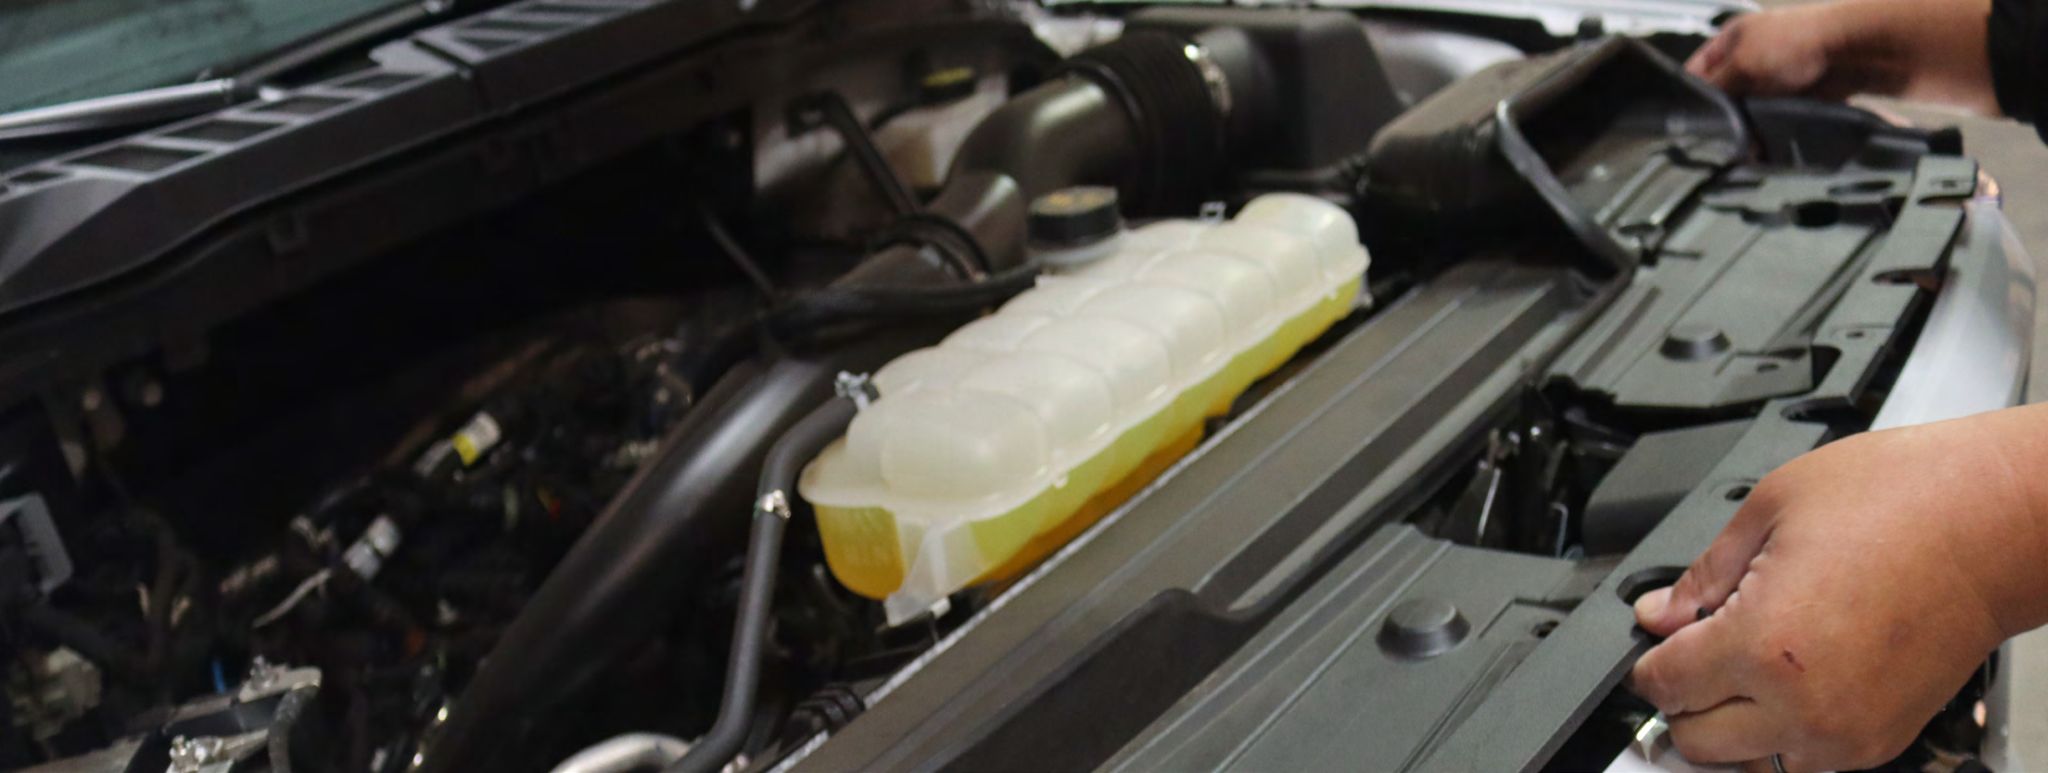
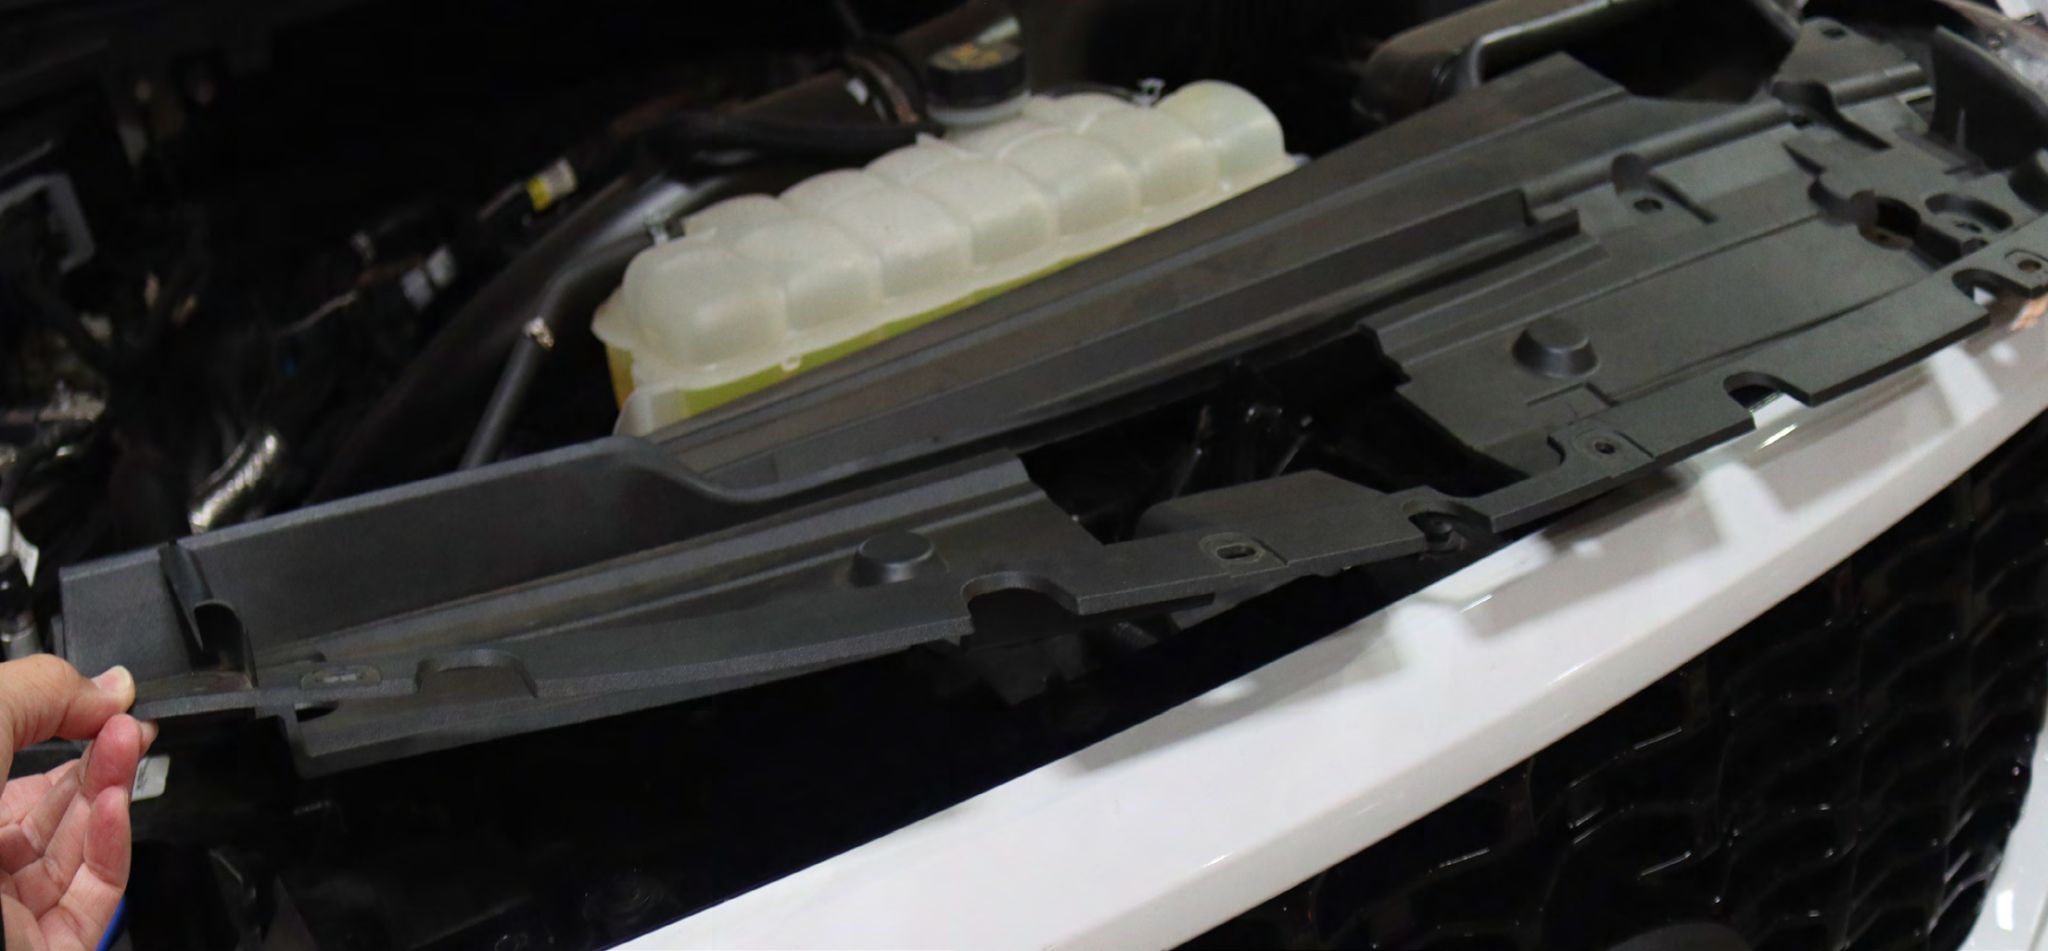
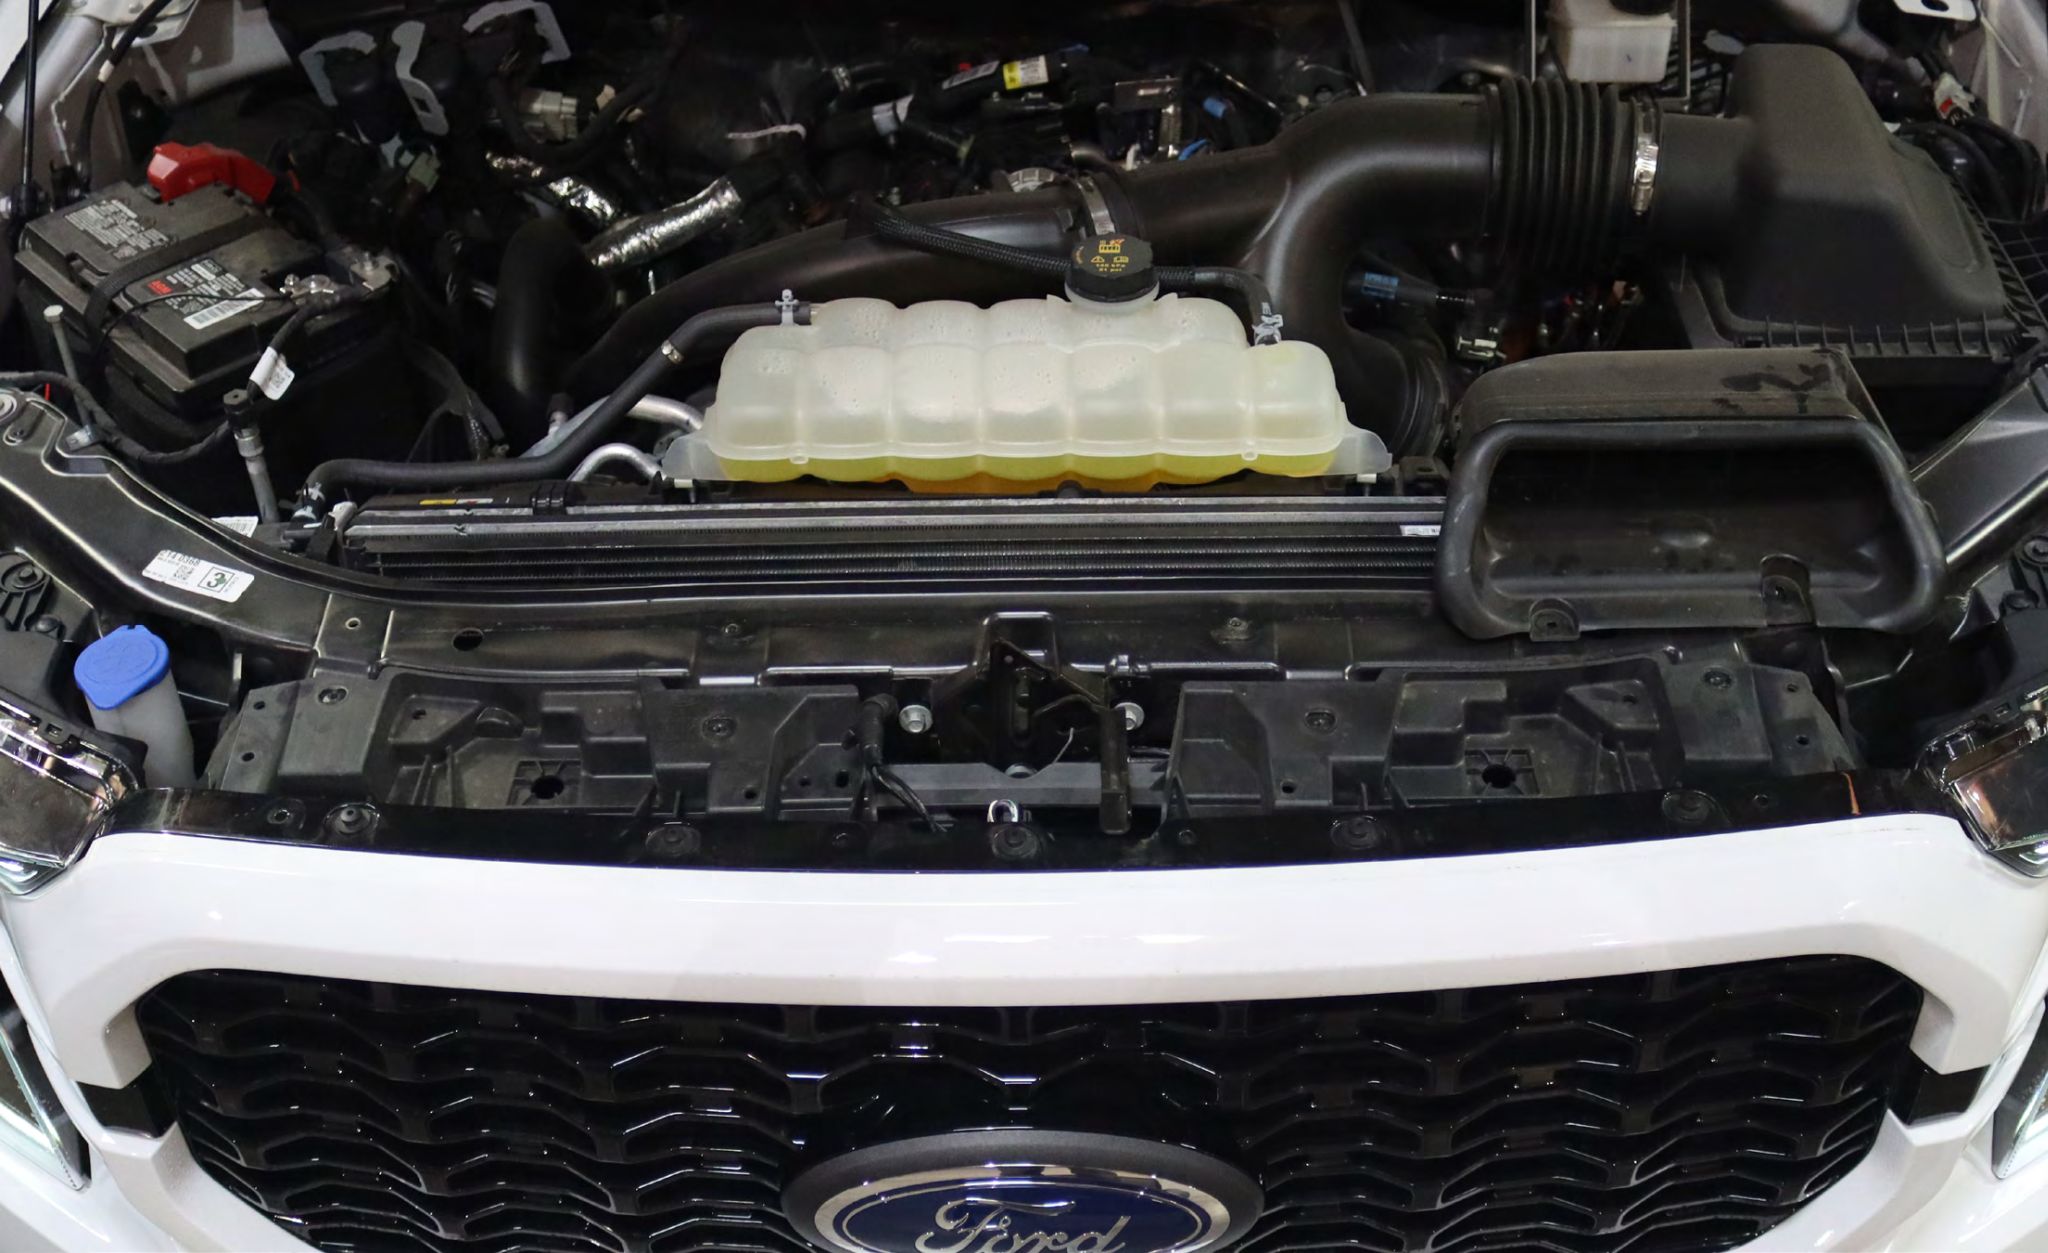
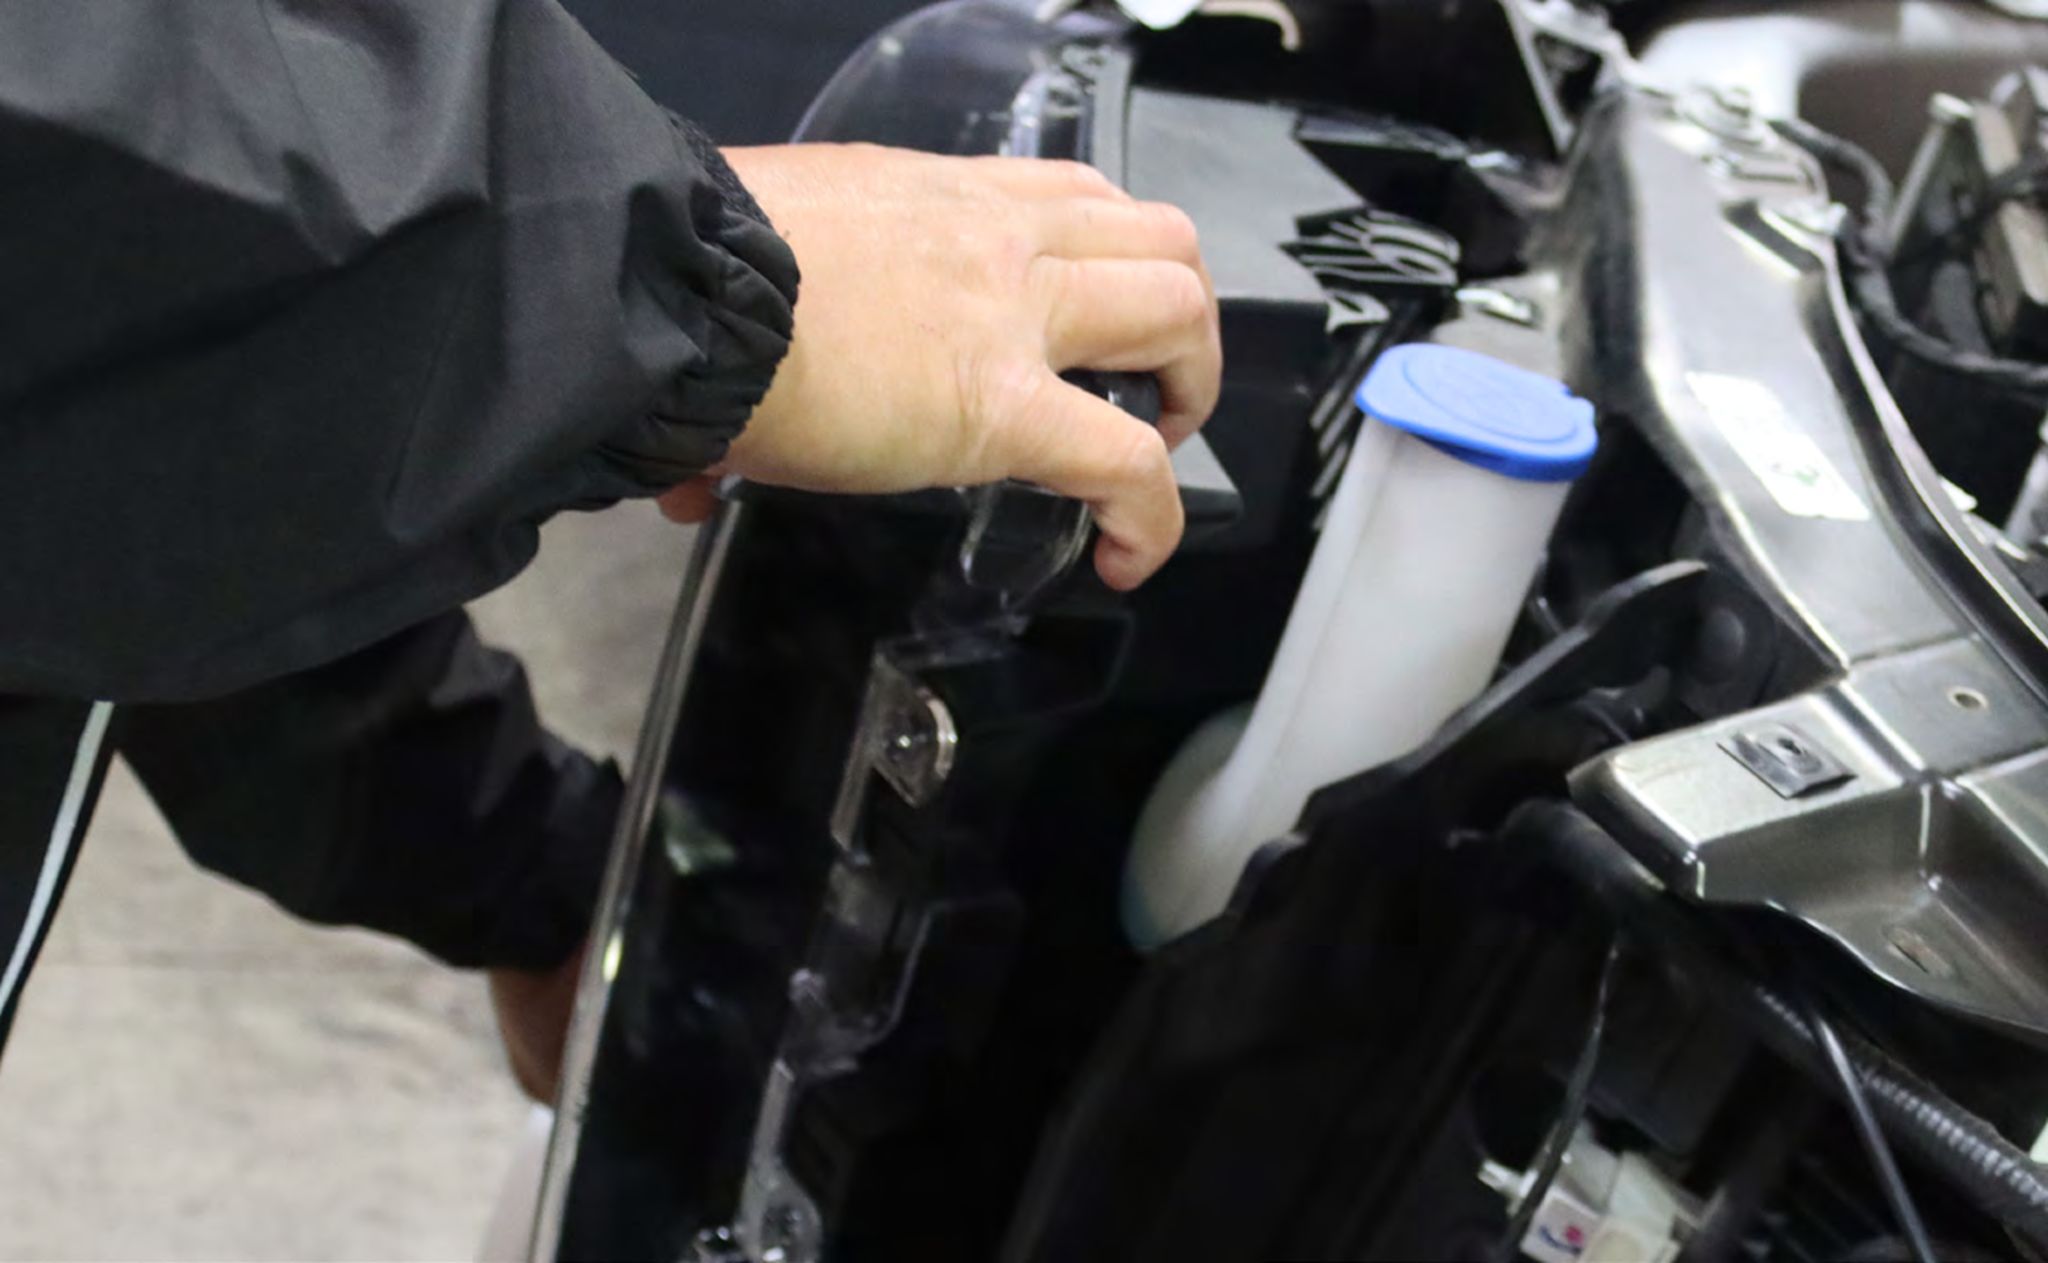
Start by removing all the clips holding the top plastic radiator shroud and remove the shroud and set it aside to be reinstalled later.
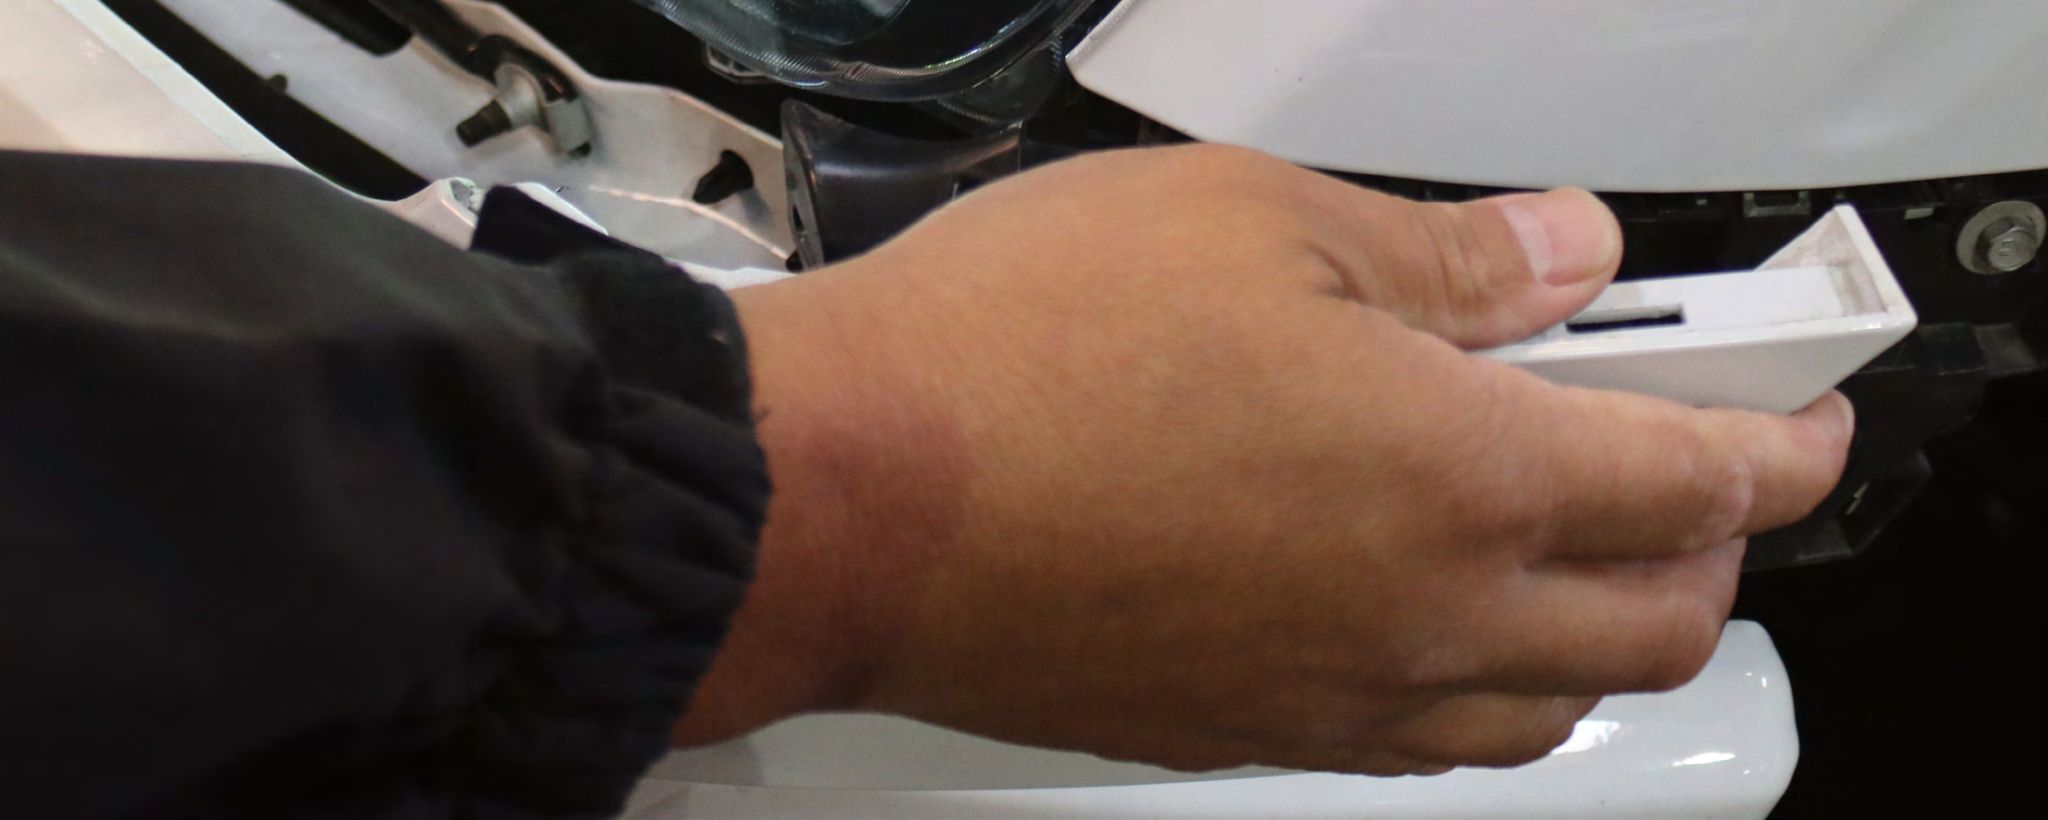
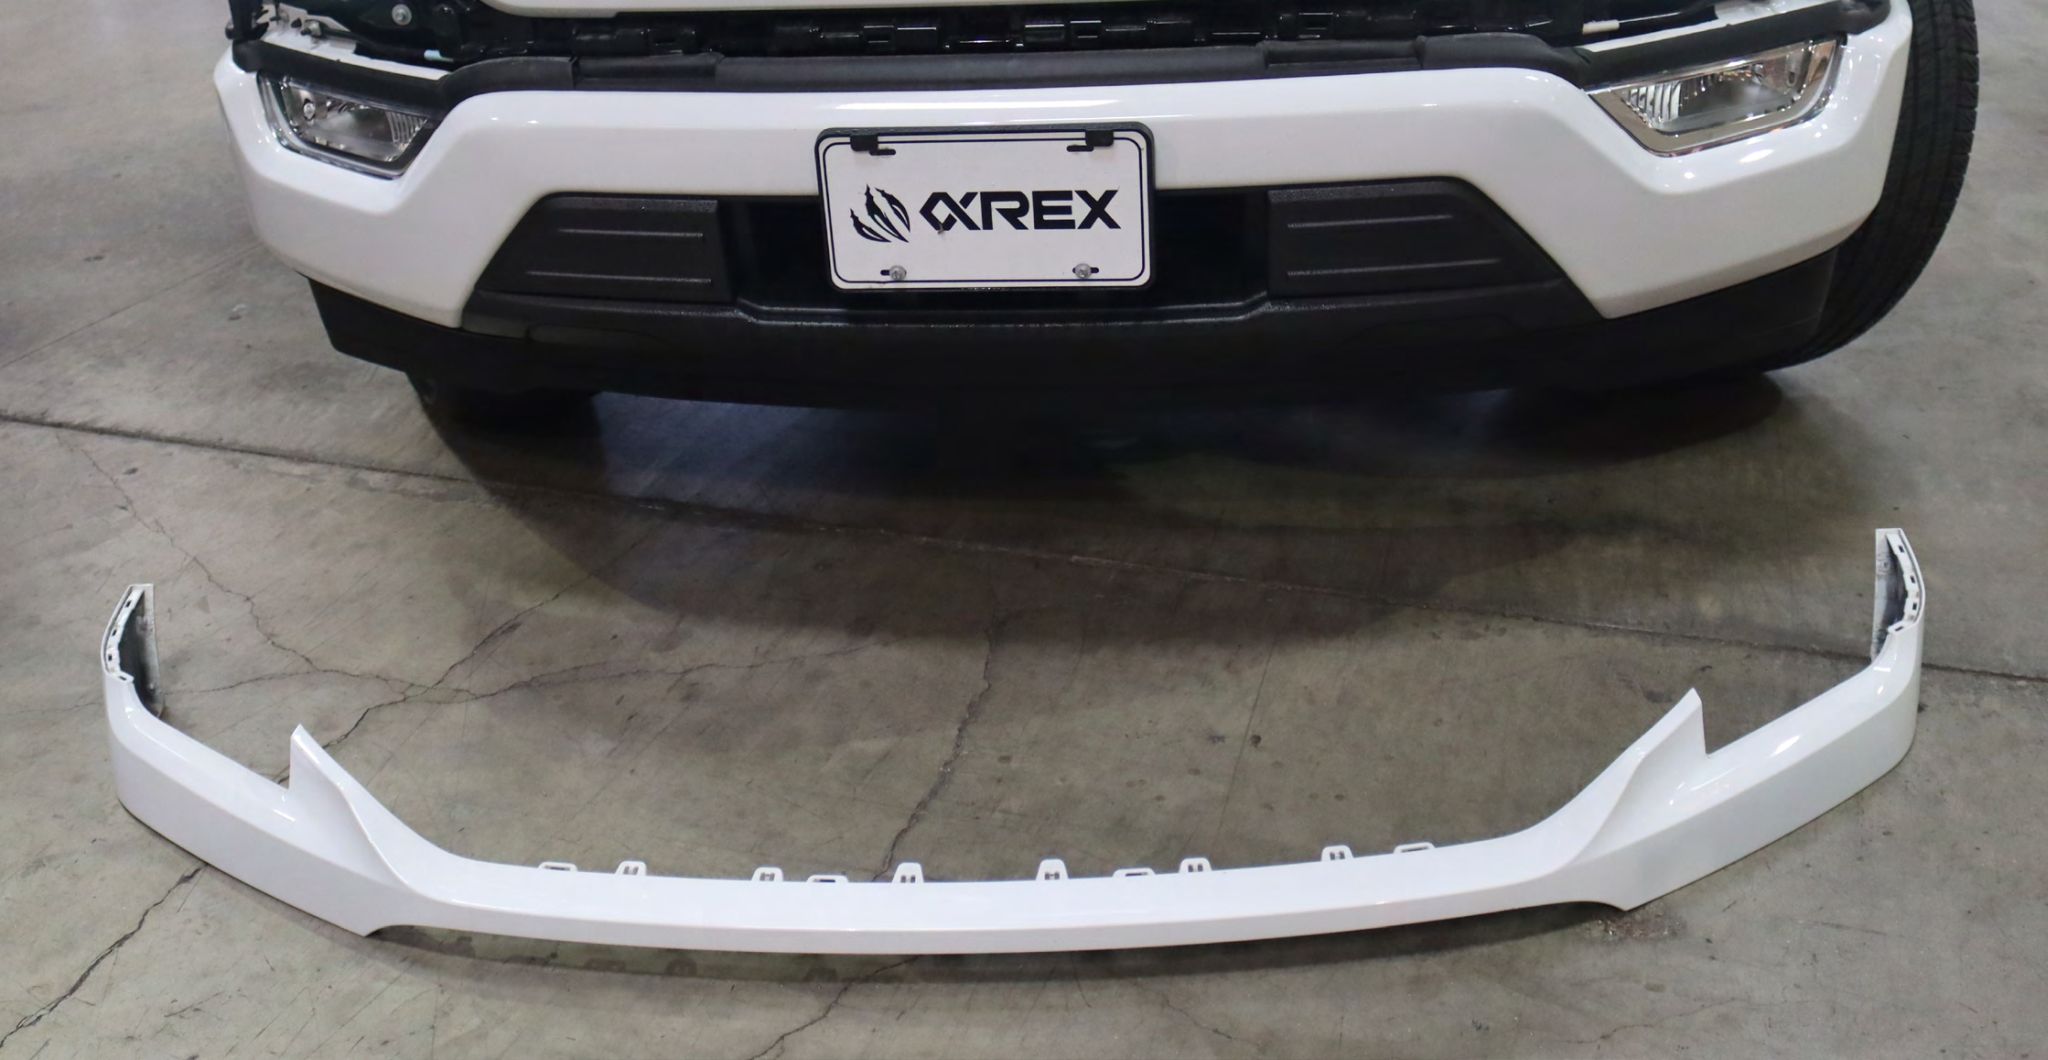
Step 3: REMOVE BUMPER TRIM PIECE
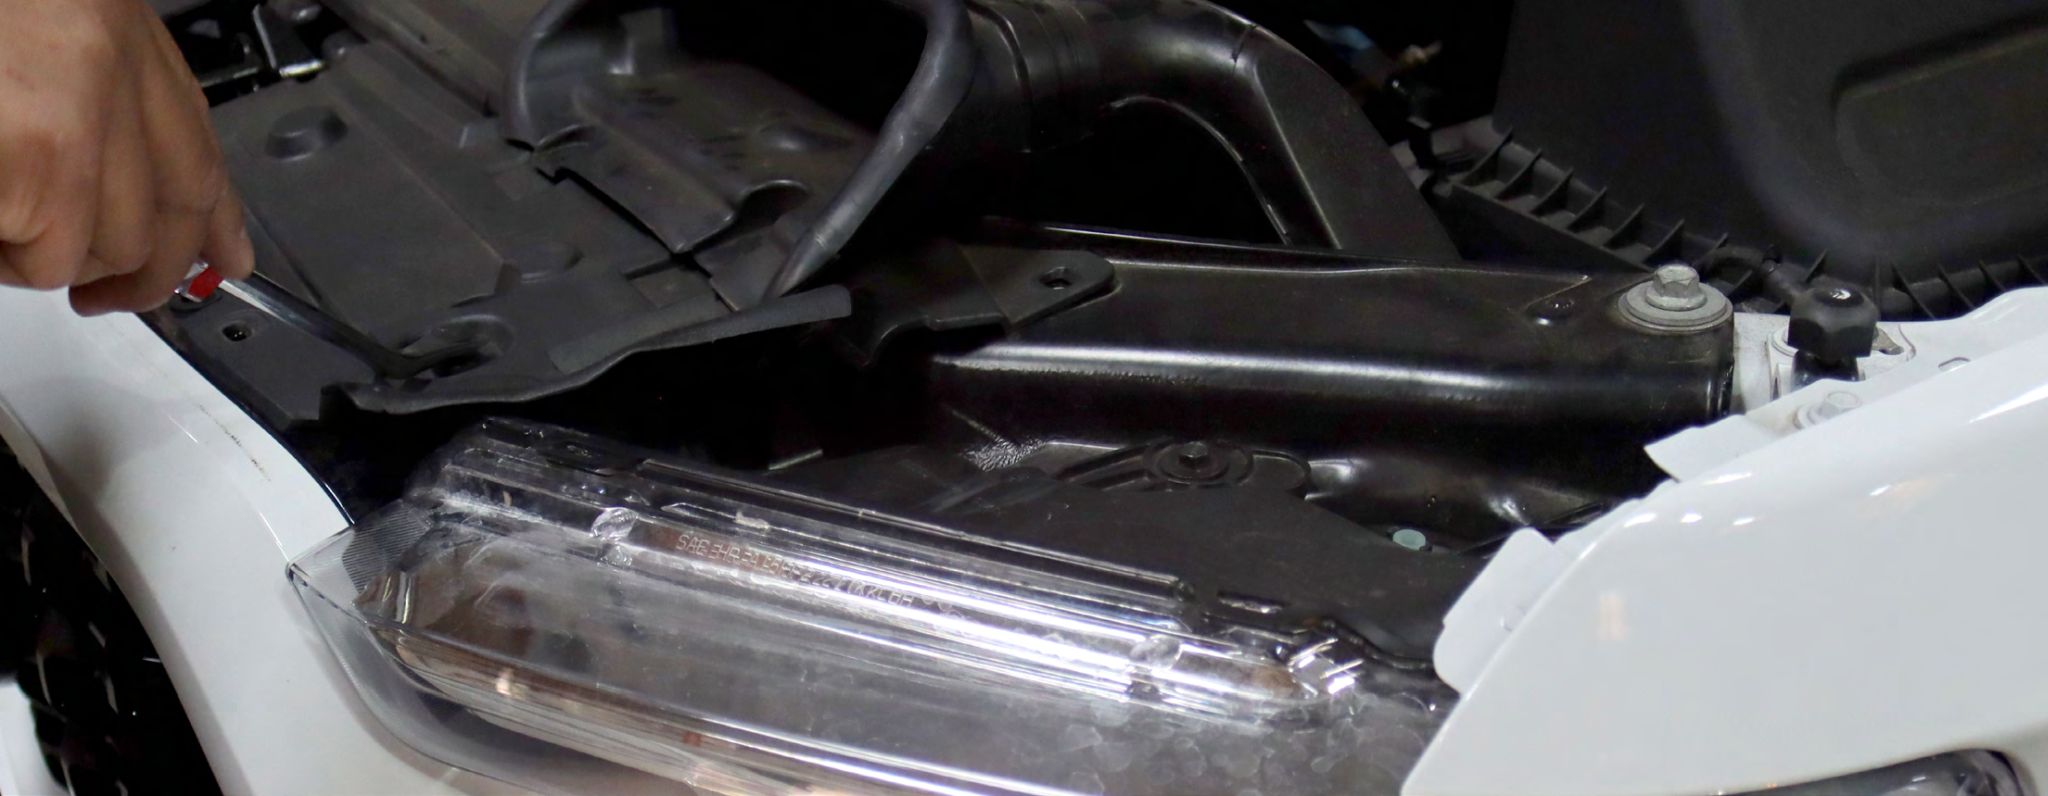
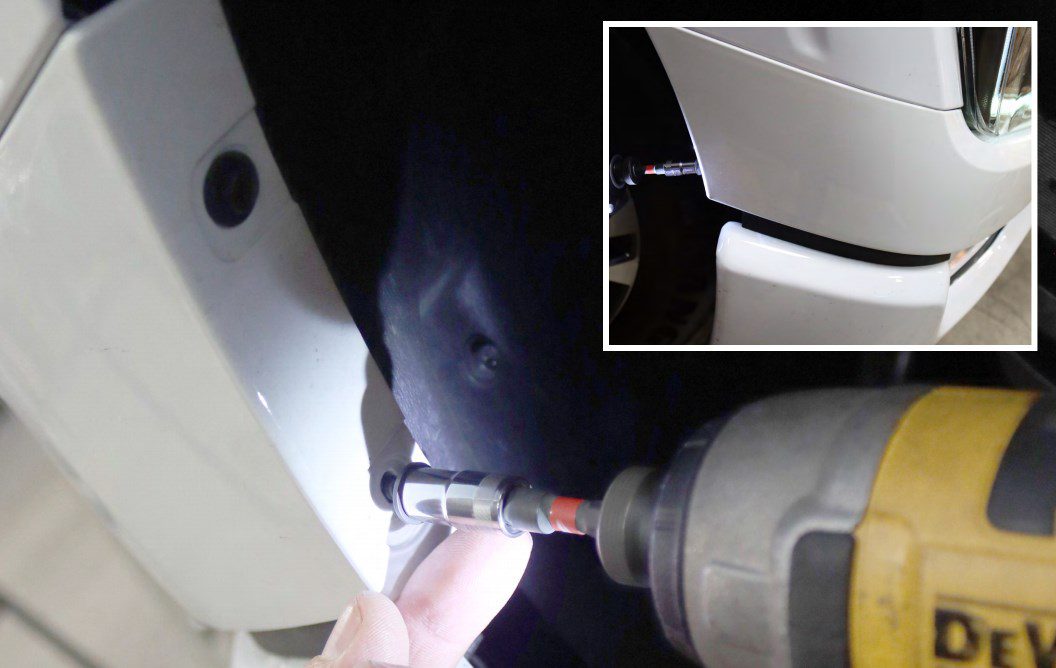
Remove the 2 X 7mm bolts from inside each wheel well.
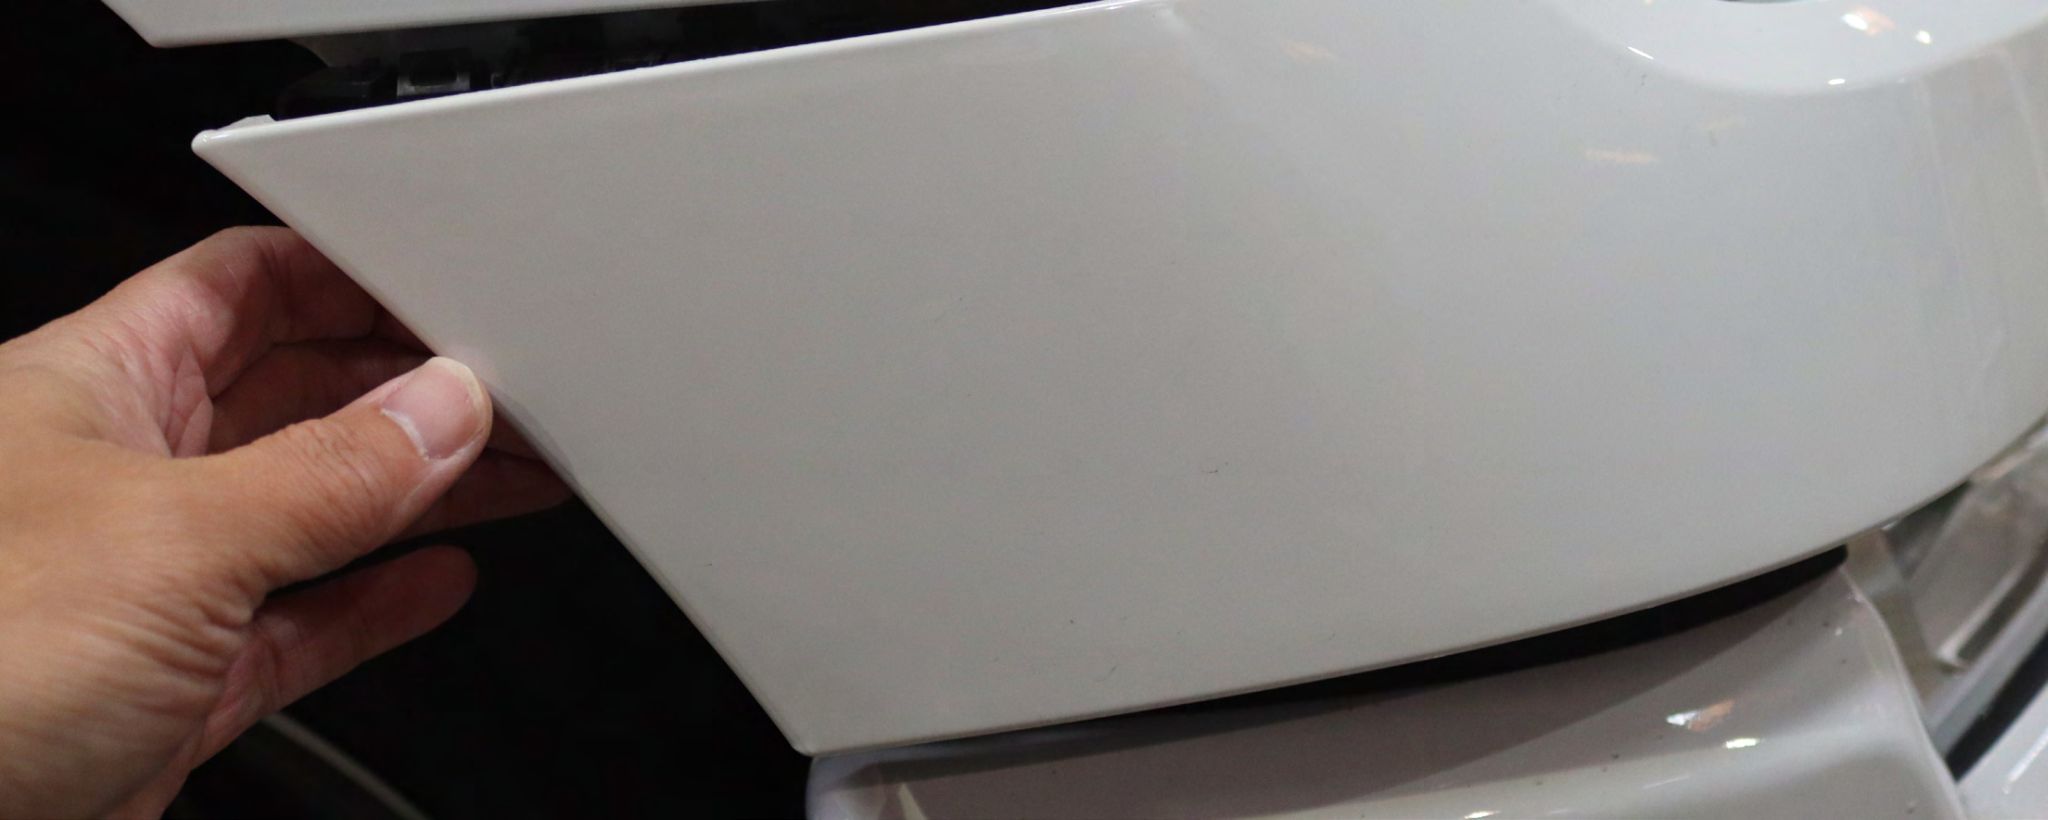
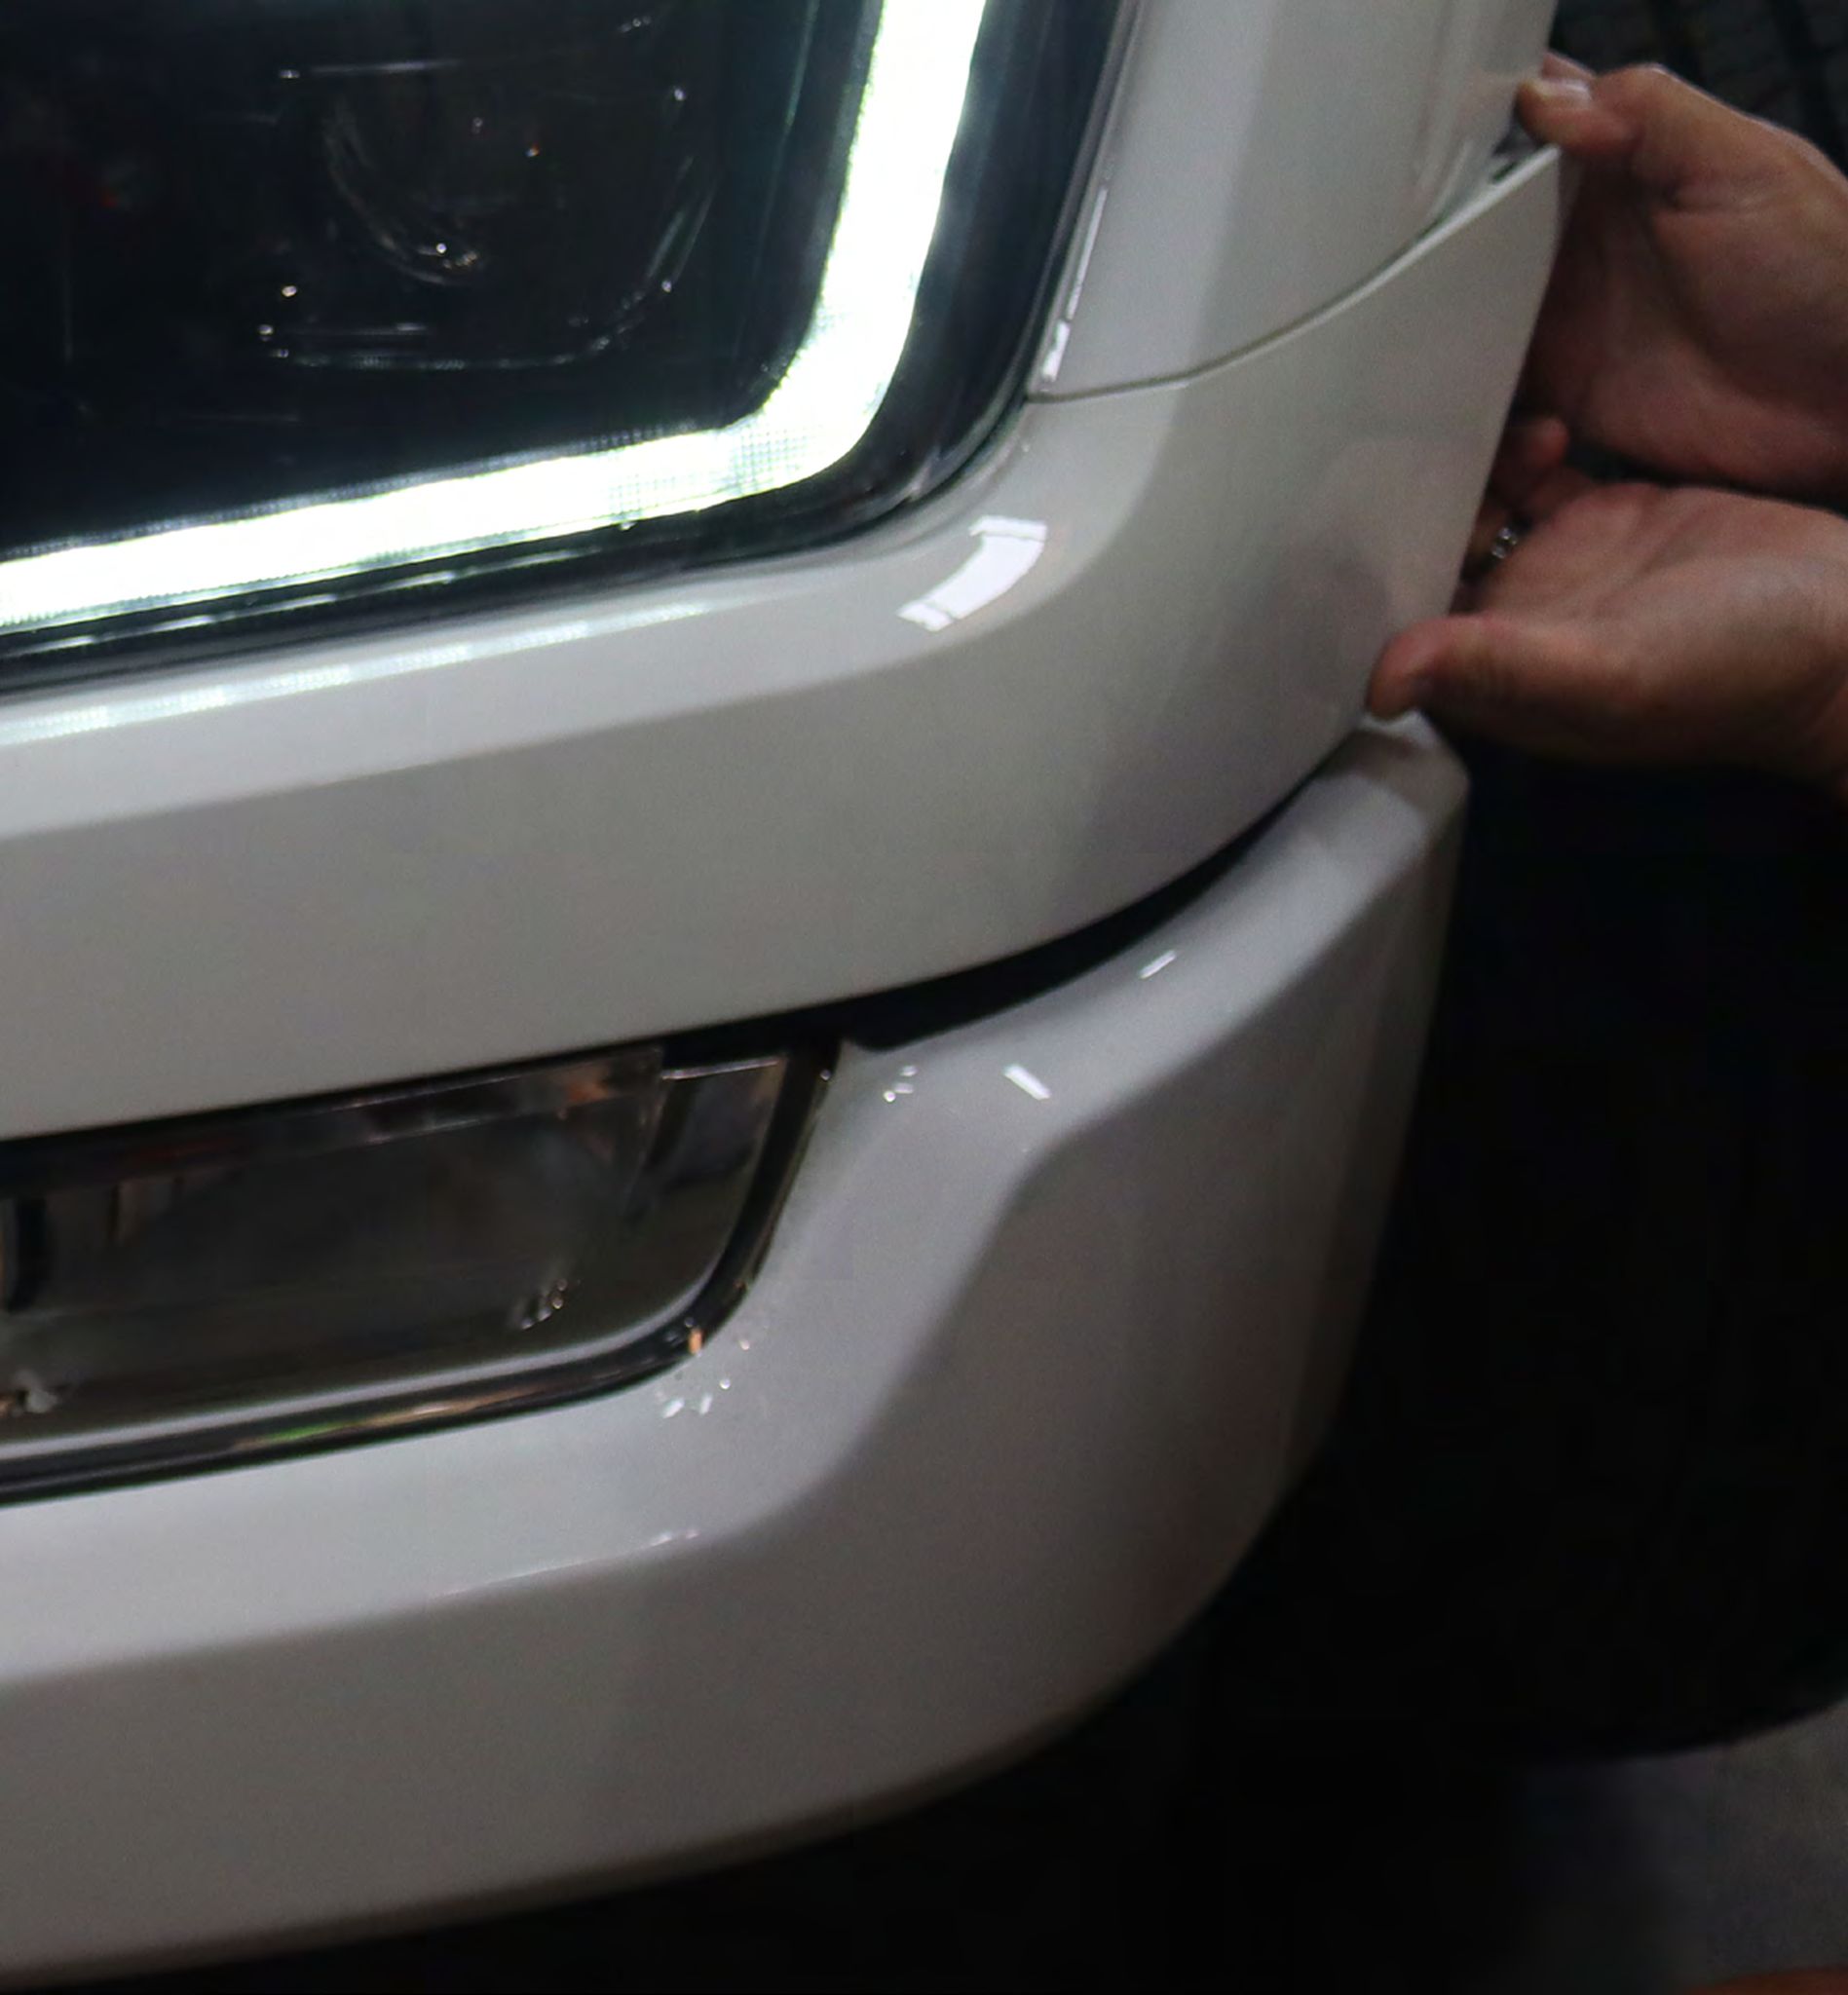
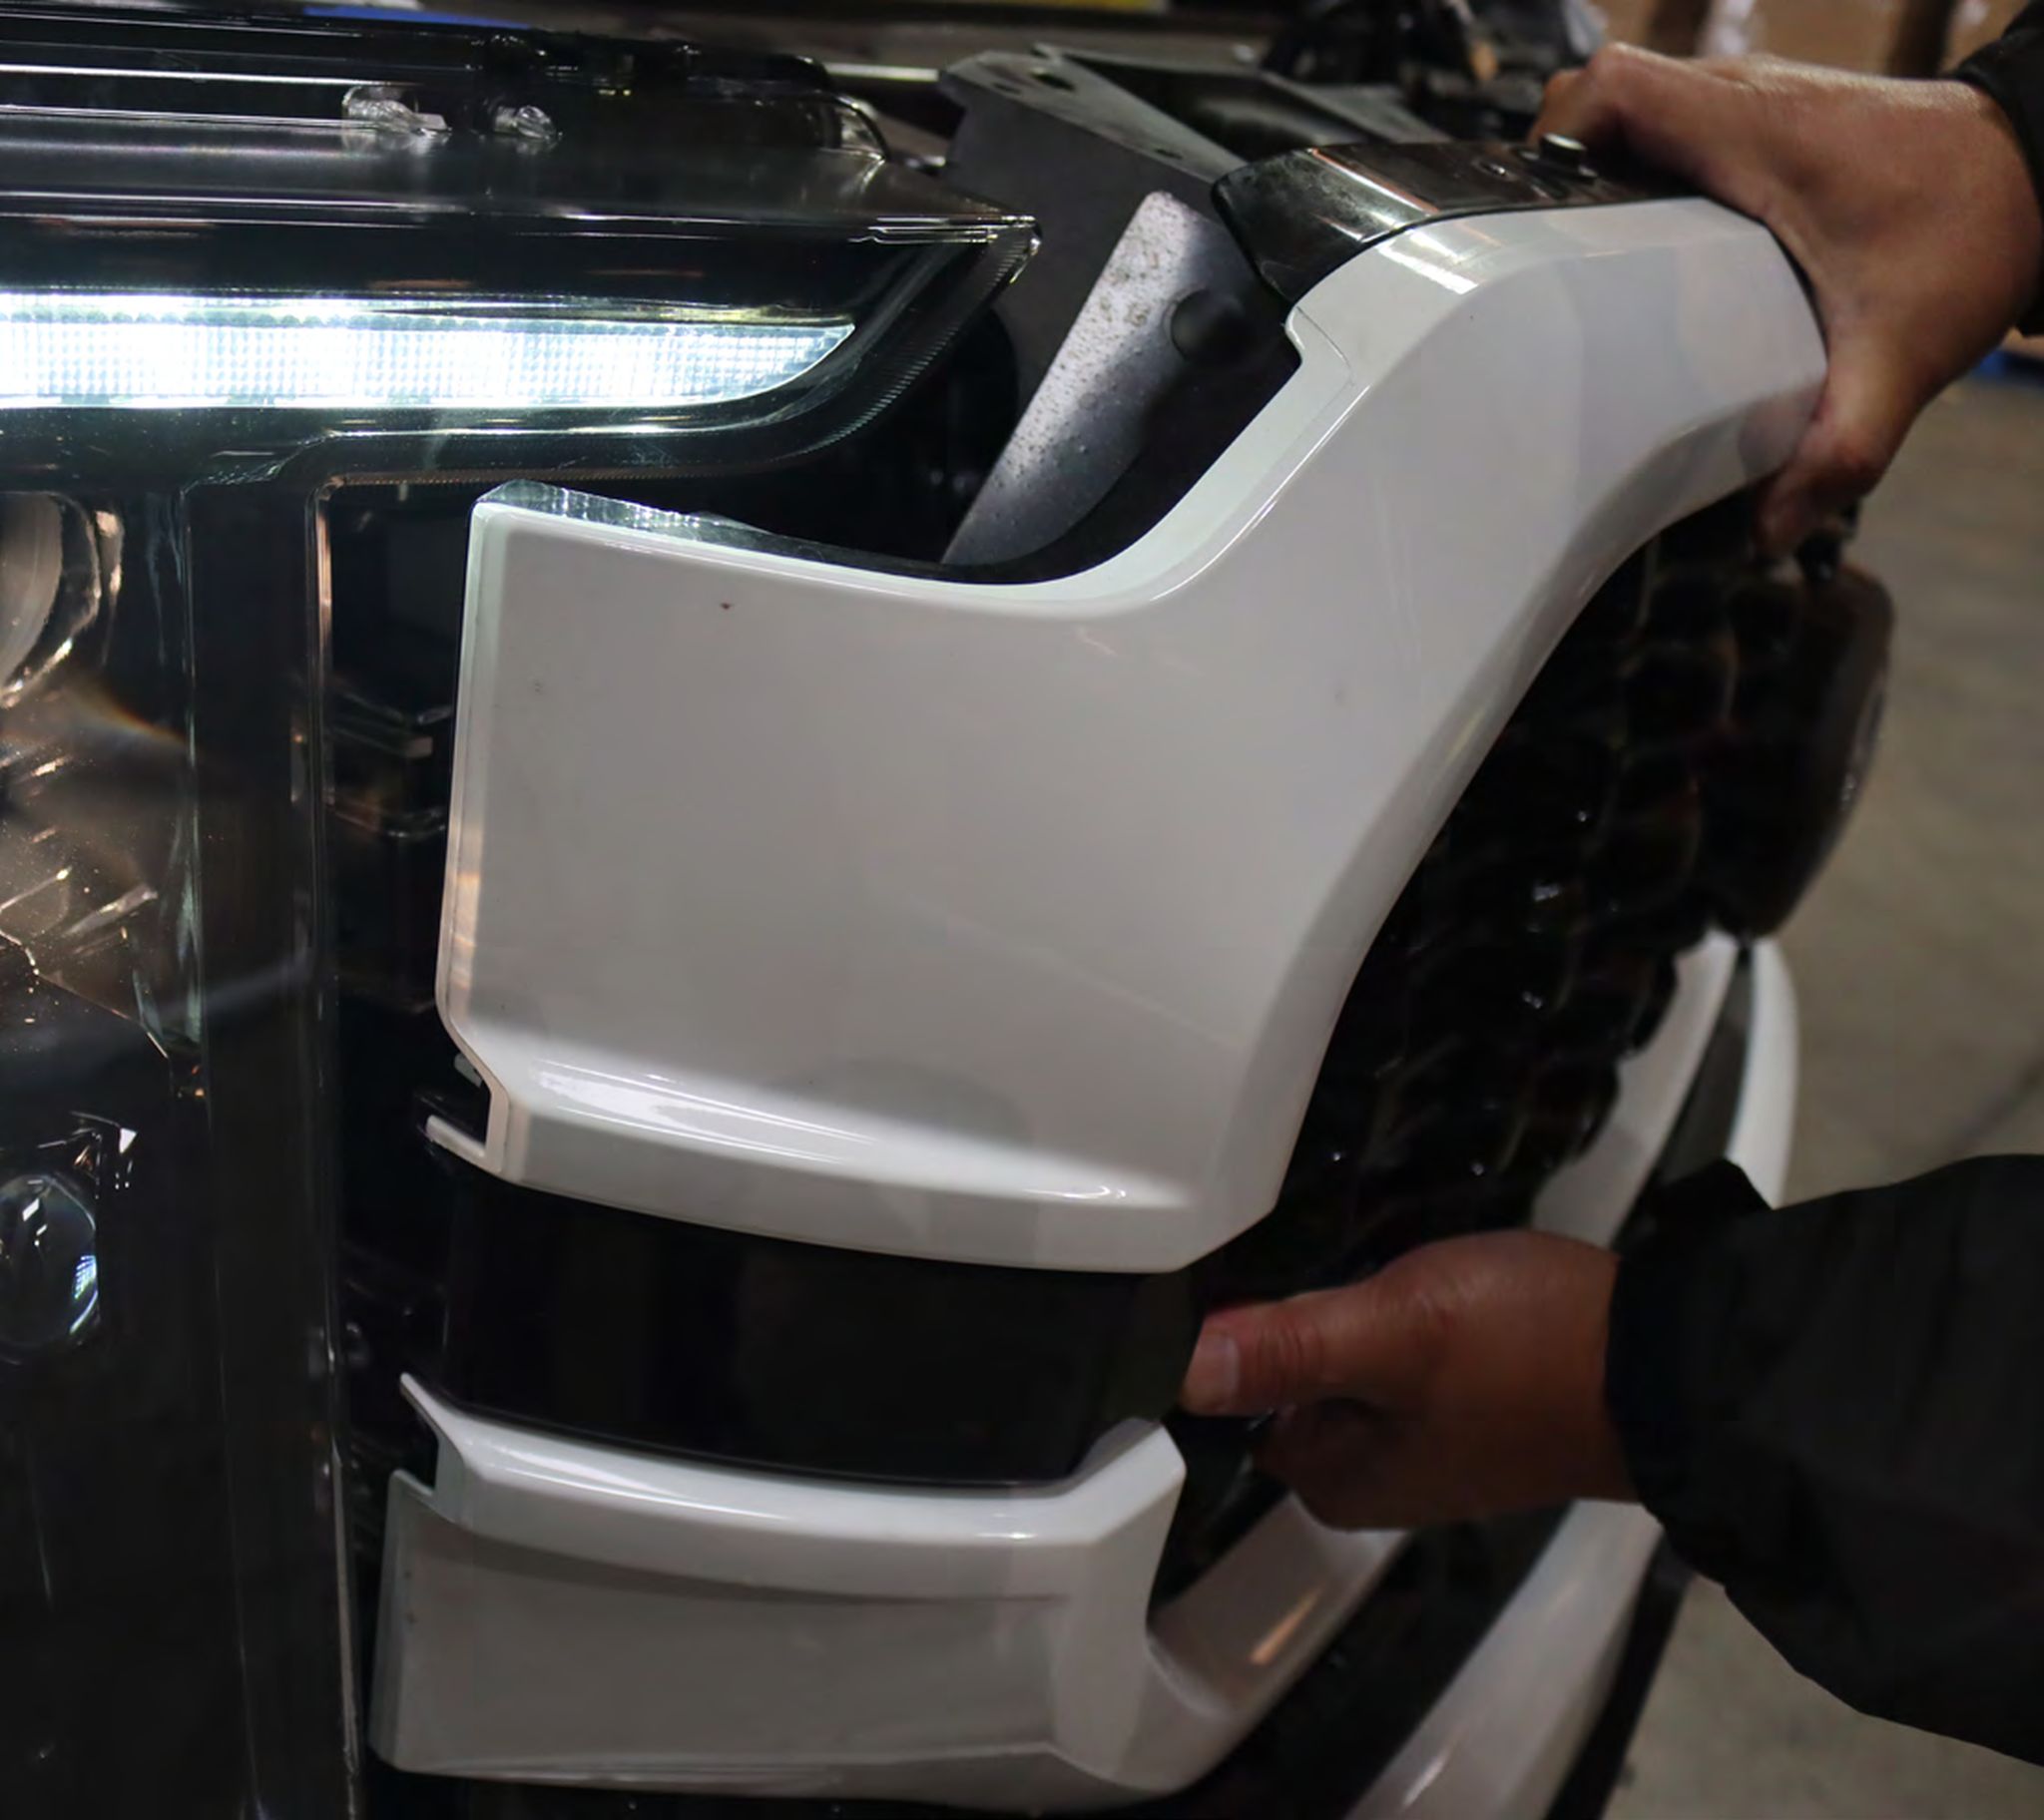
Carefully remove by pulling the trim piece outward and set it aside to be reinstalled later.
Step 4: UNPLUG TWO CONNECTIONS
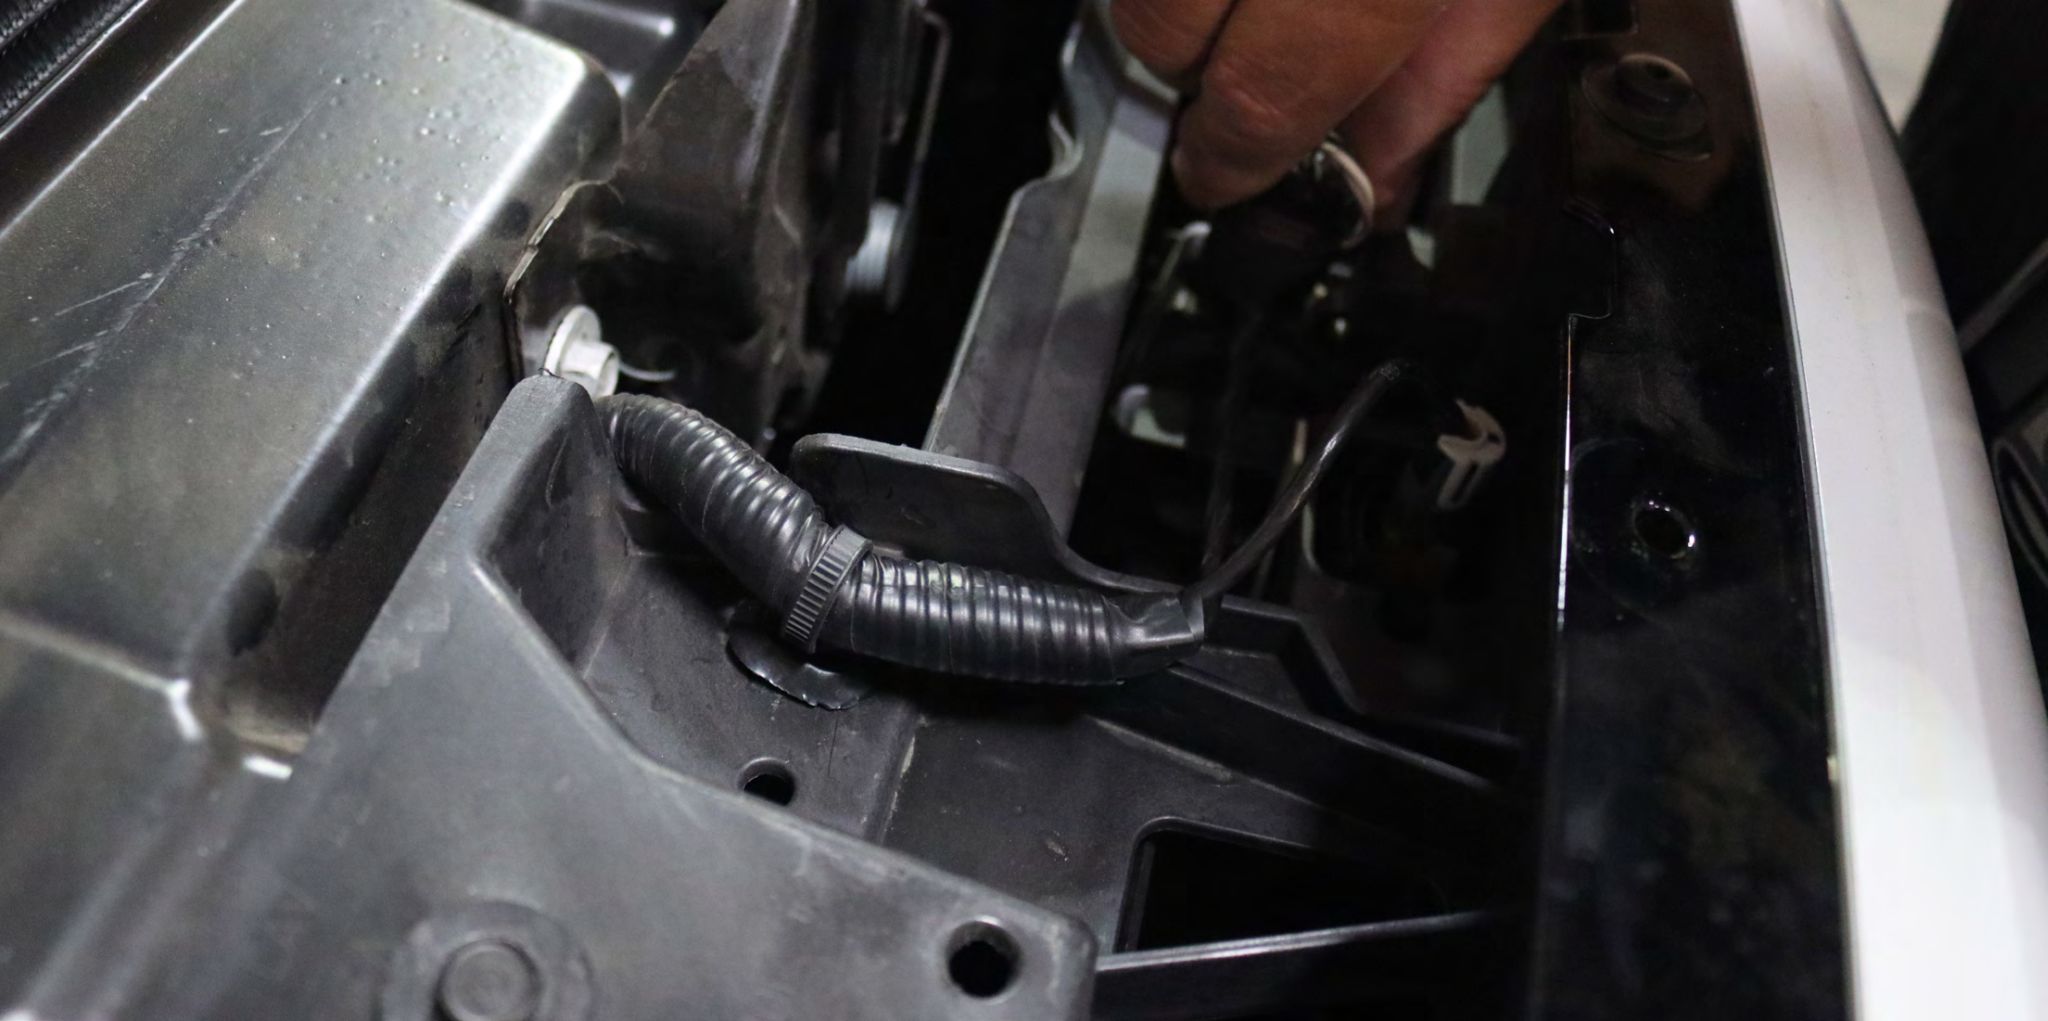
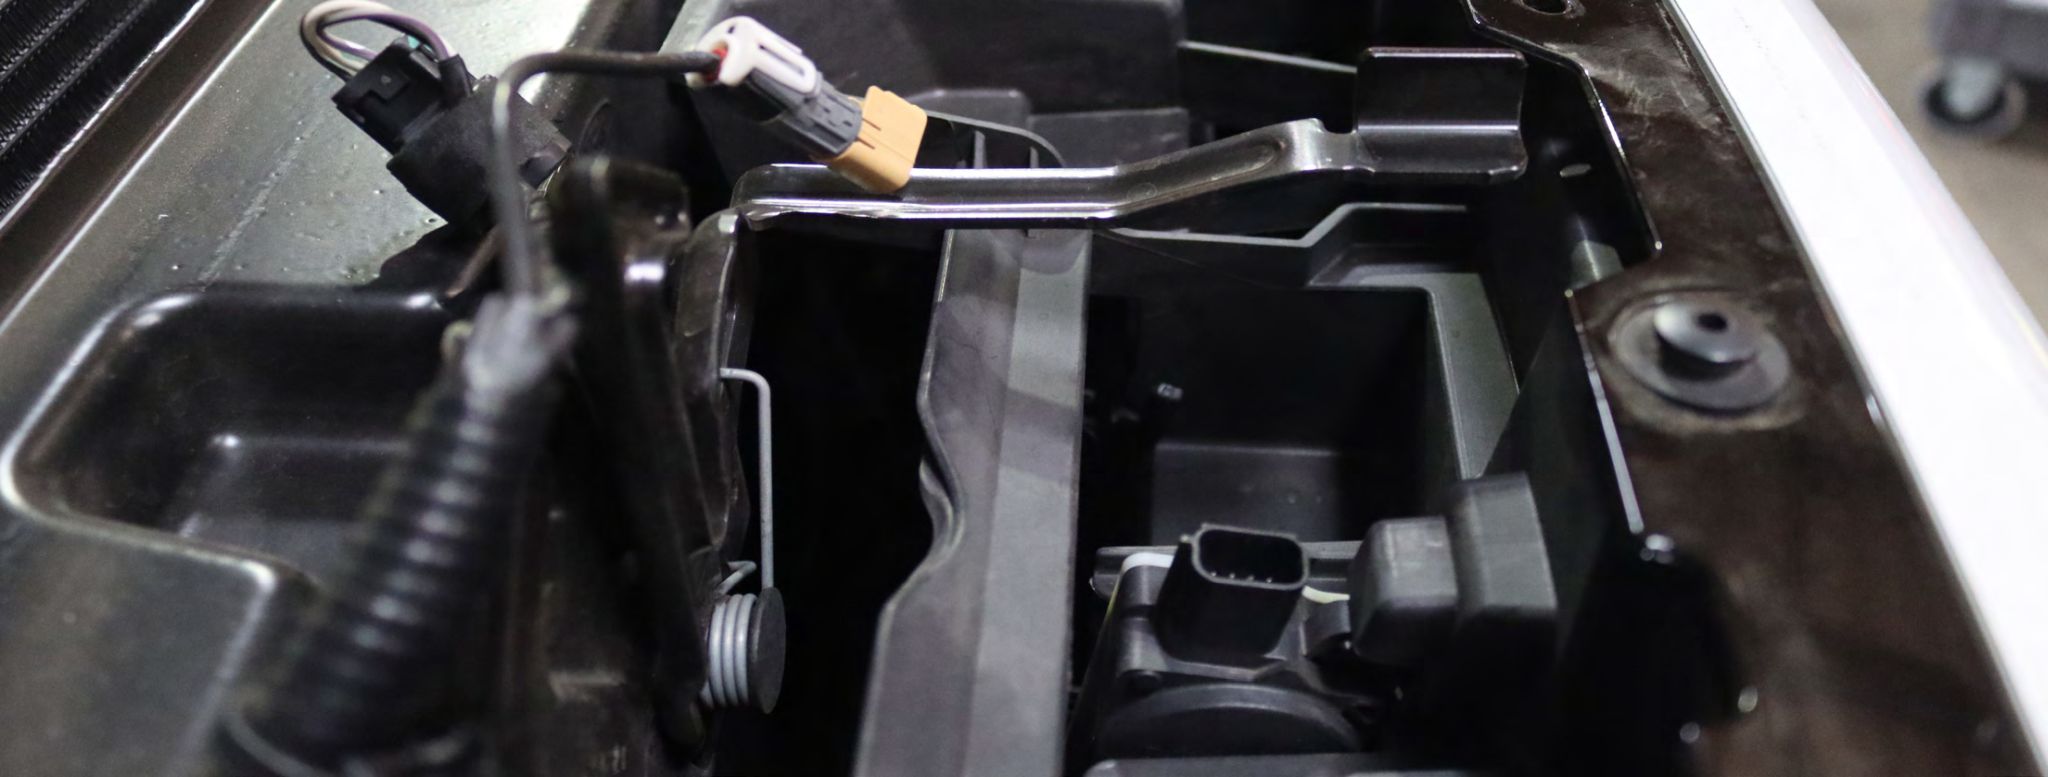
Unplug the two connections for the active grille at the top of the radiator area.
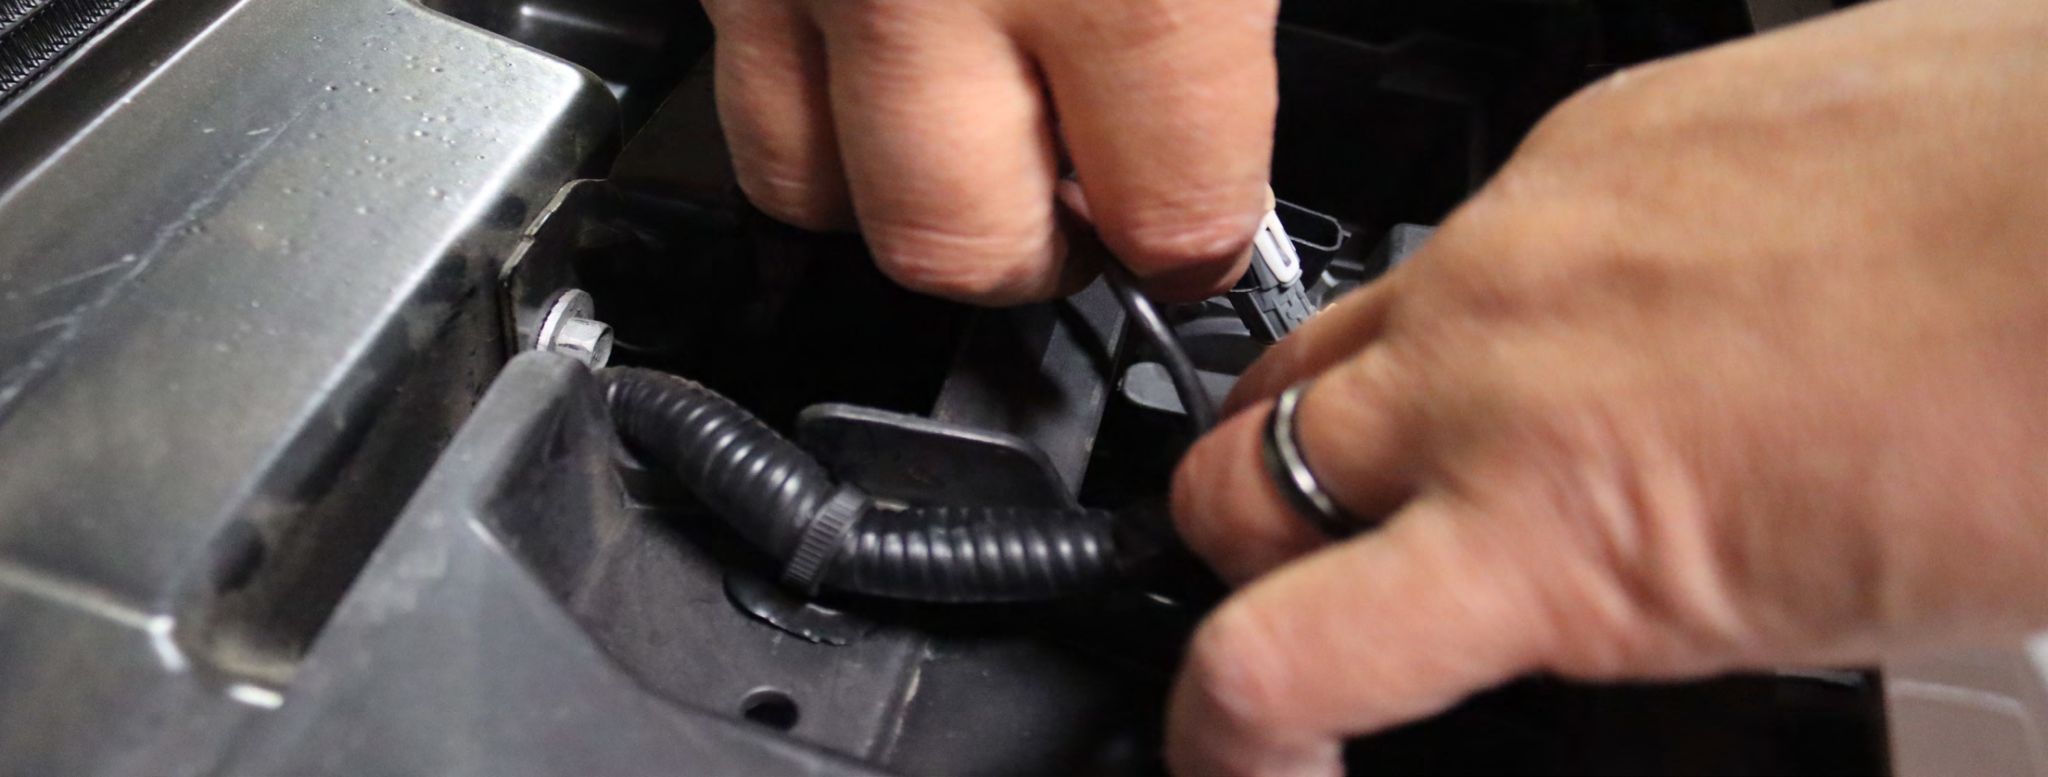
Step 5: REMOVE THE GRILLE
Remove the 8mm bolt from below each side of the grille.
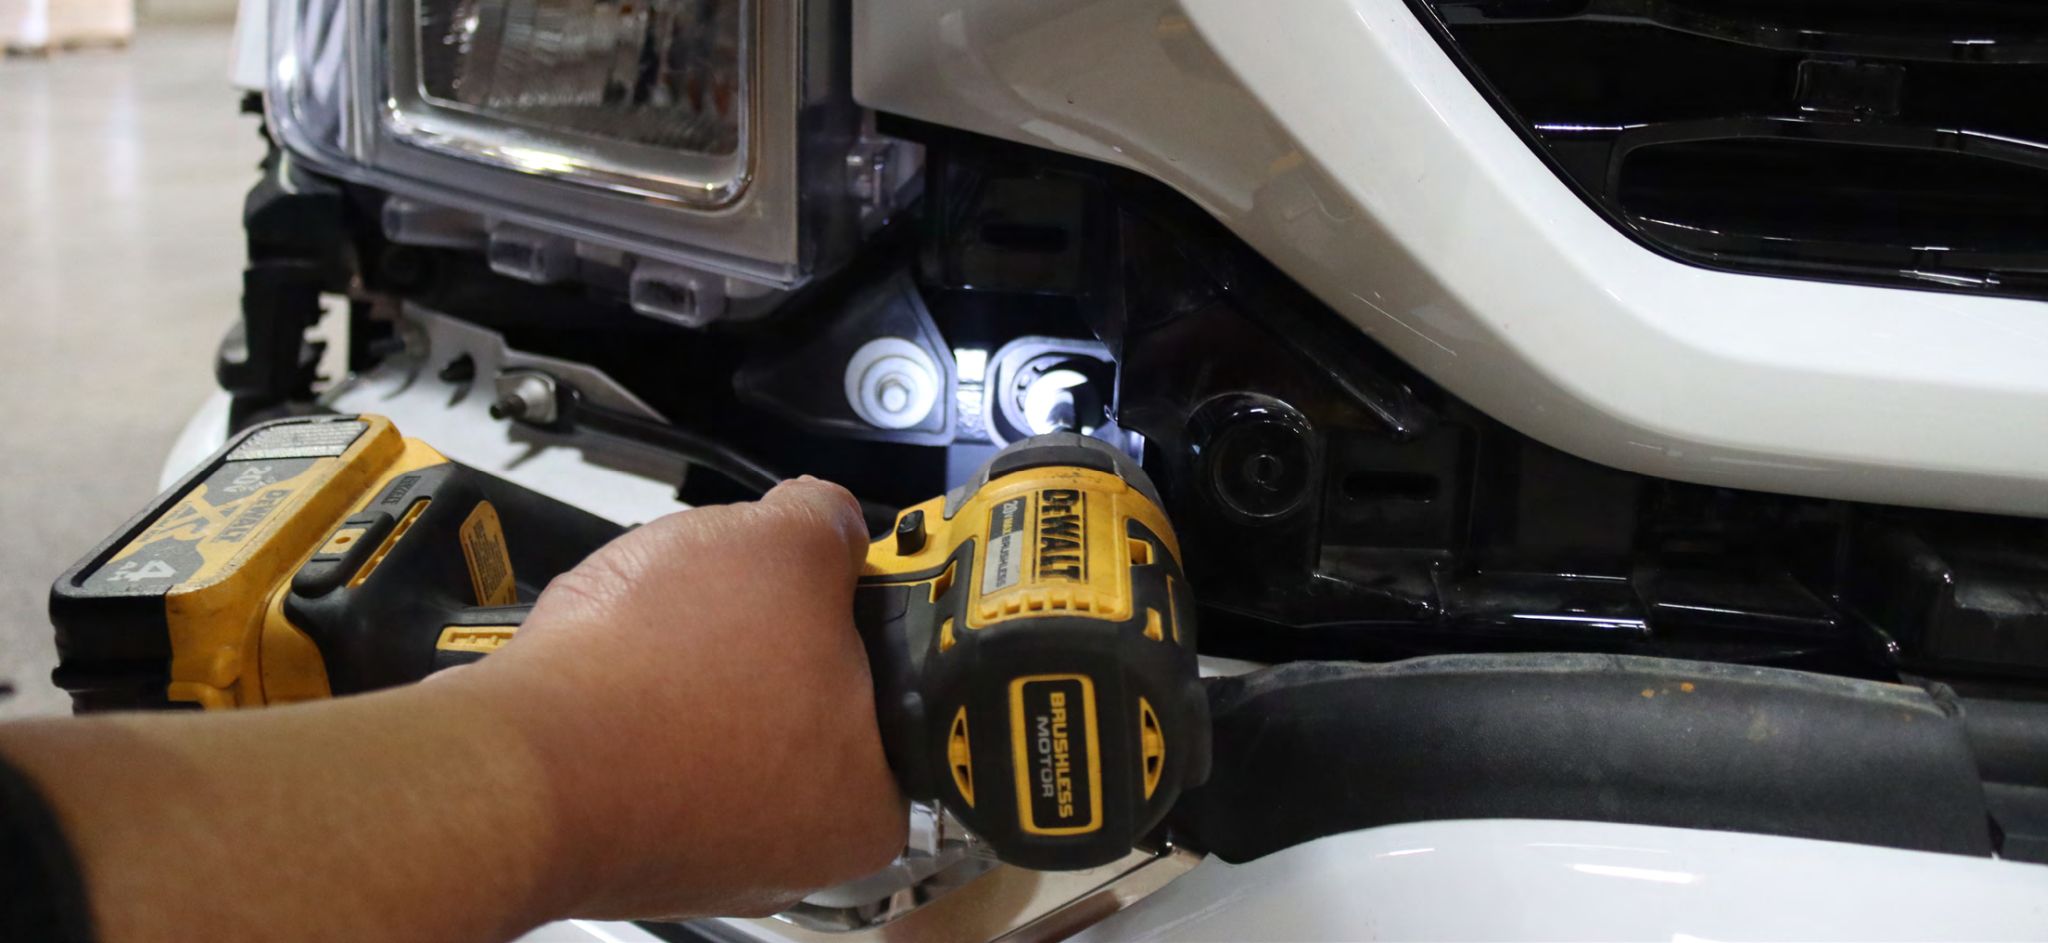
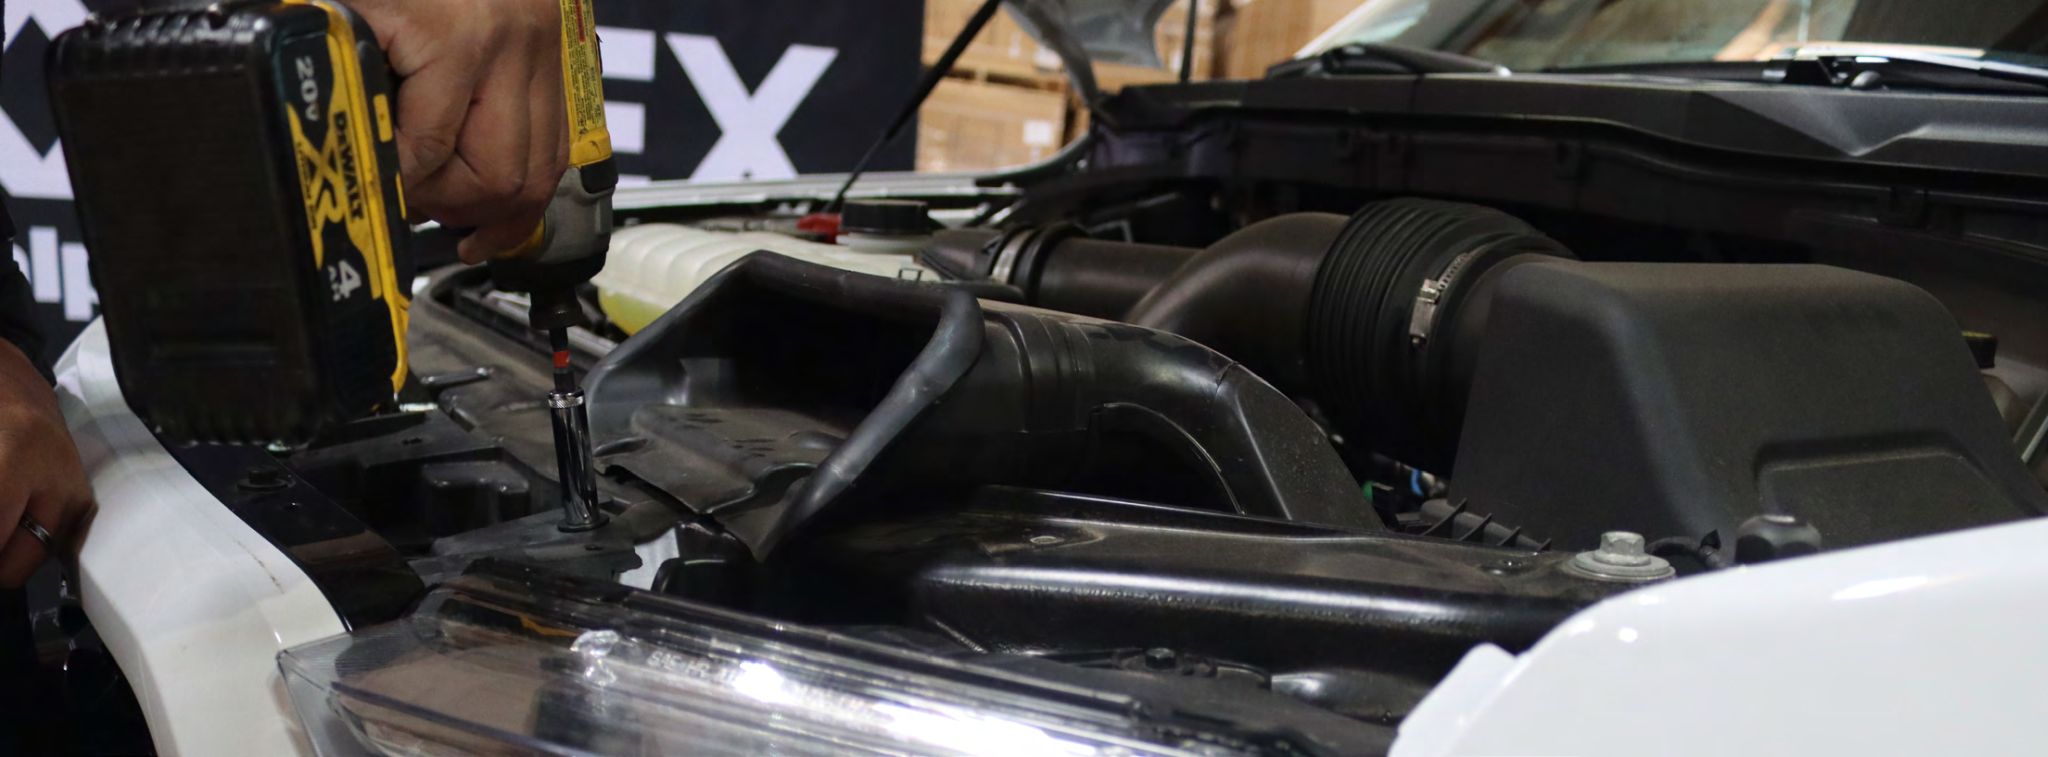
Release the two plastic tension clips and pull it outward gently by removing the grille assembly and set it aside to be reinstalled later.
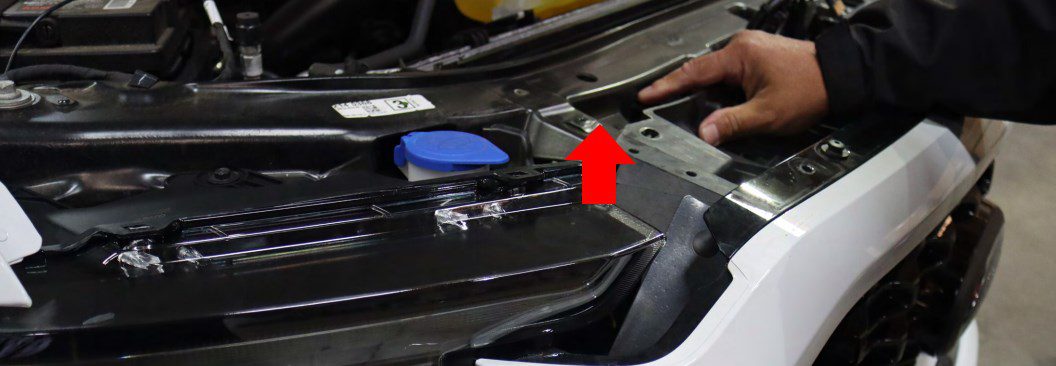
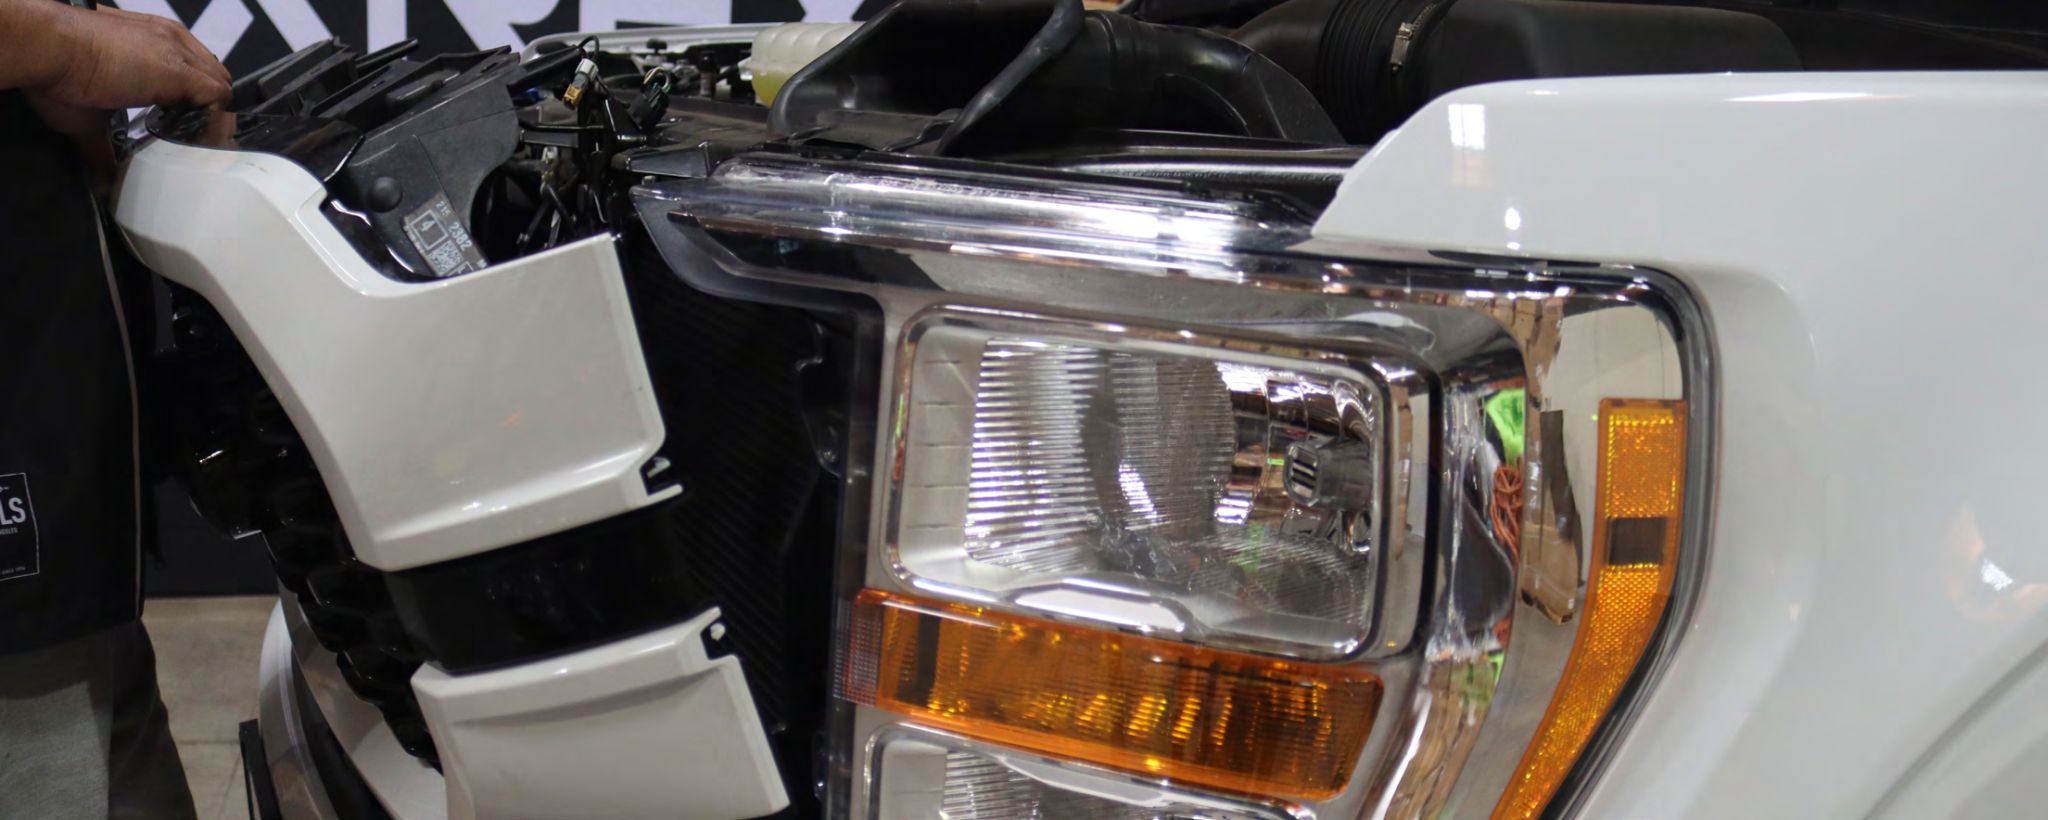
Step 6: REMOVE HEADLIGHT BOLTS
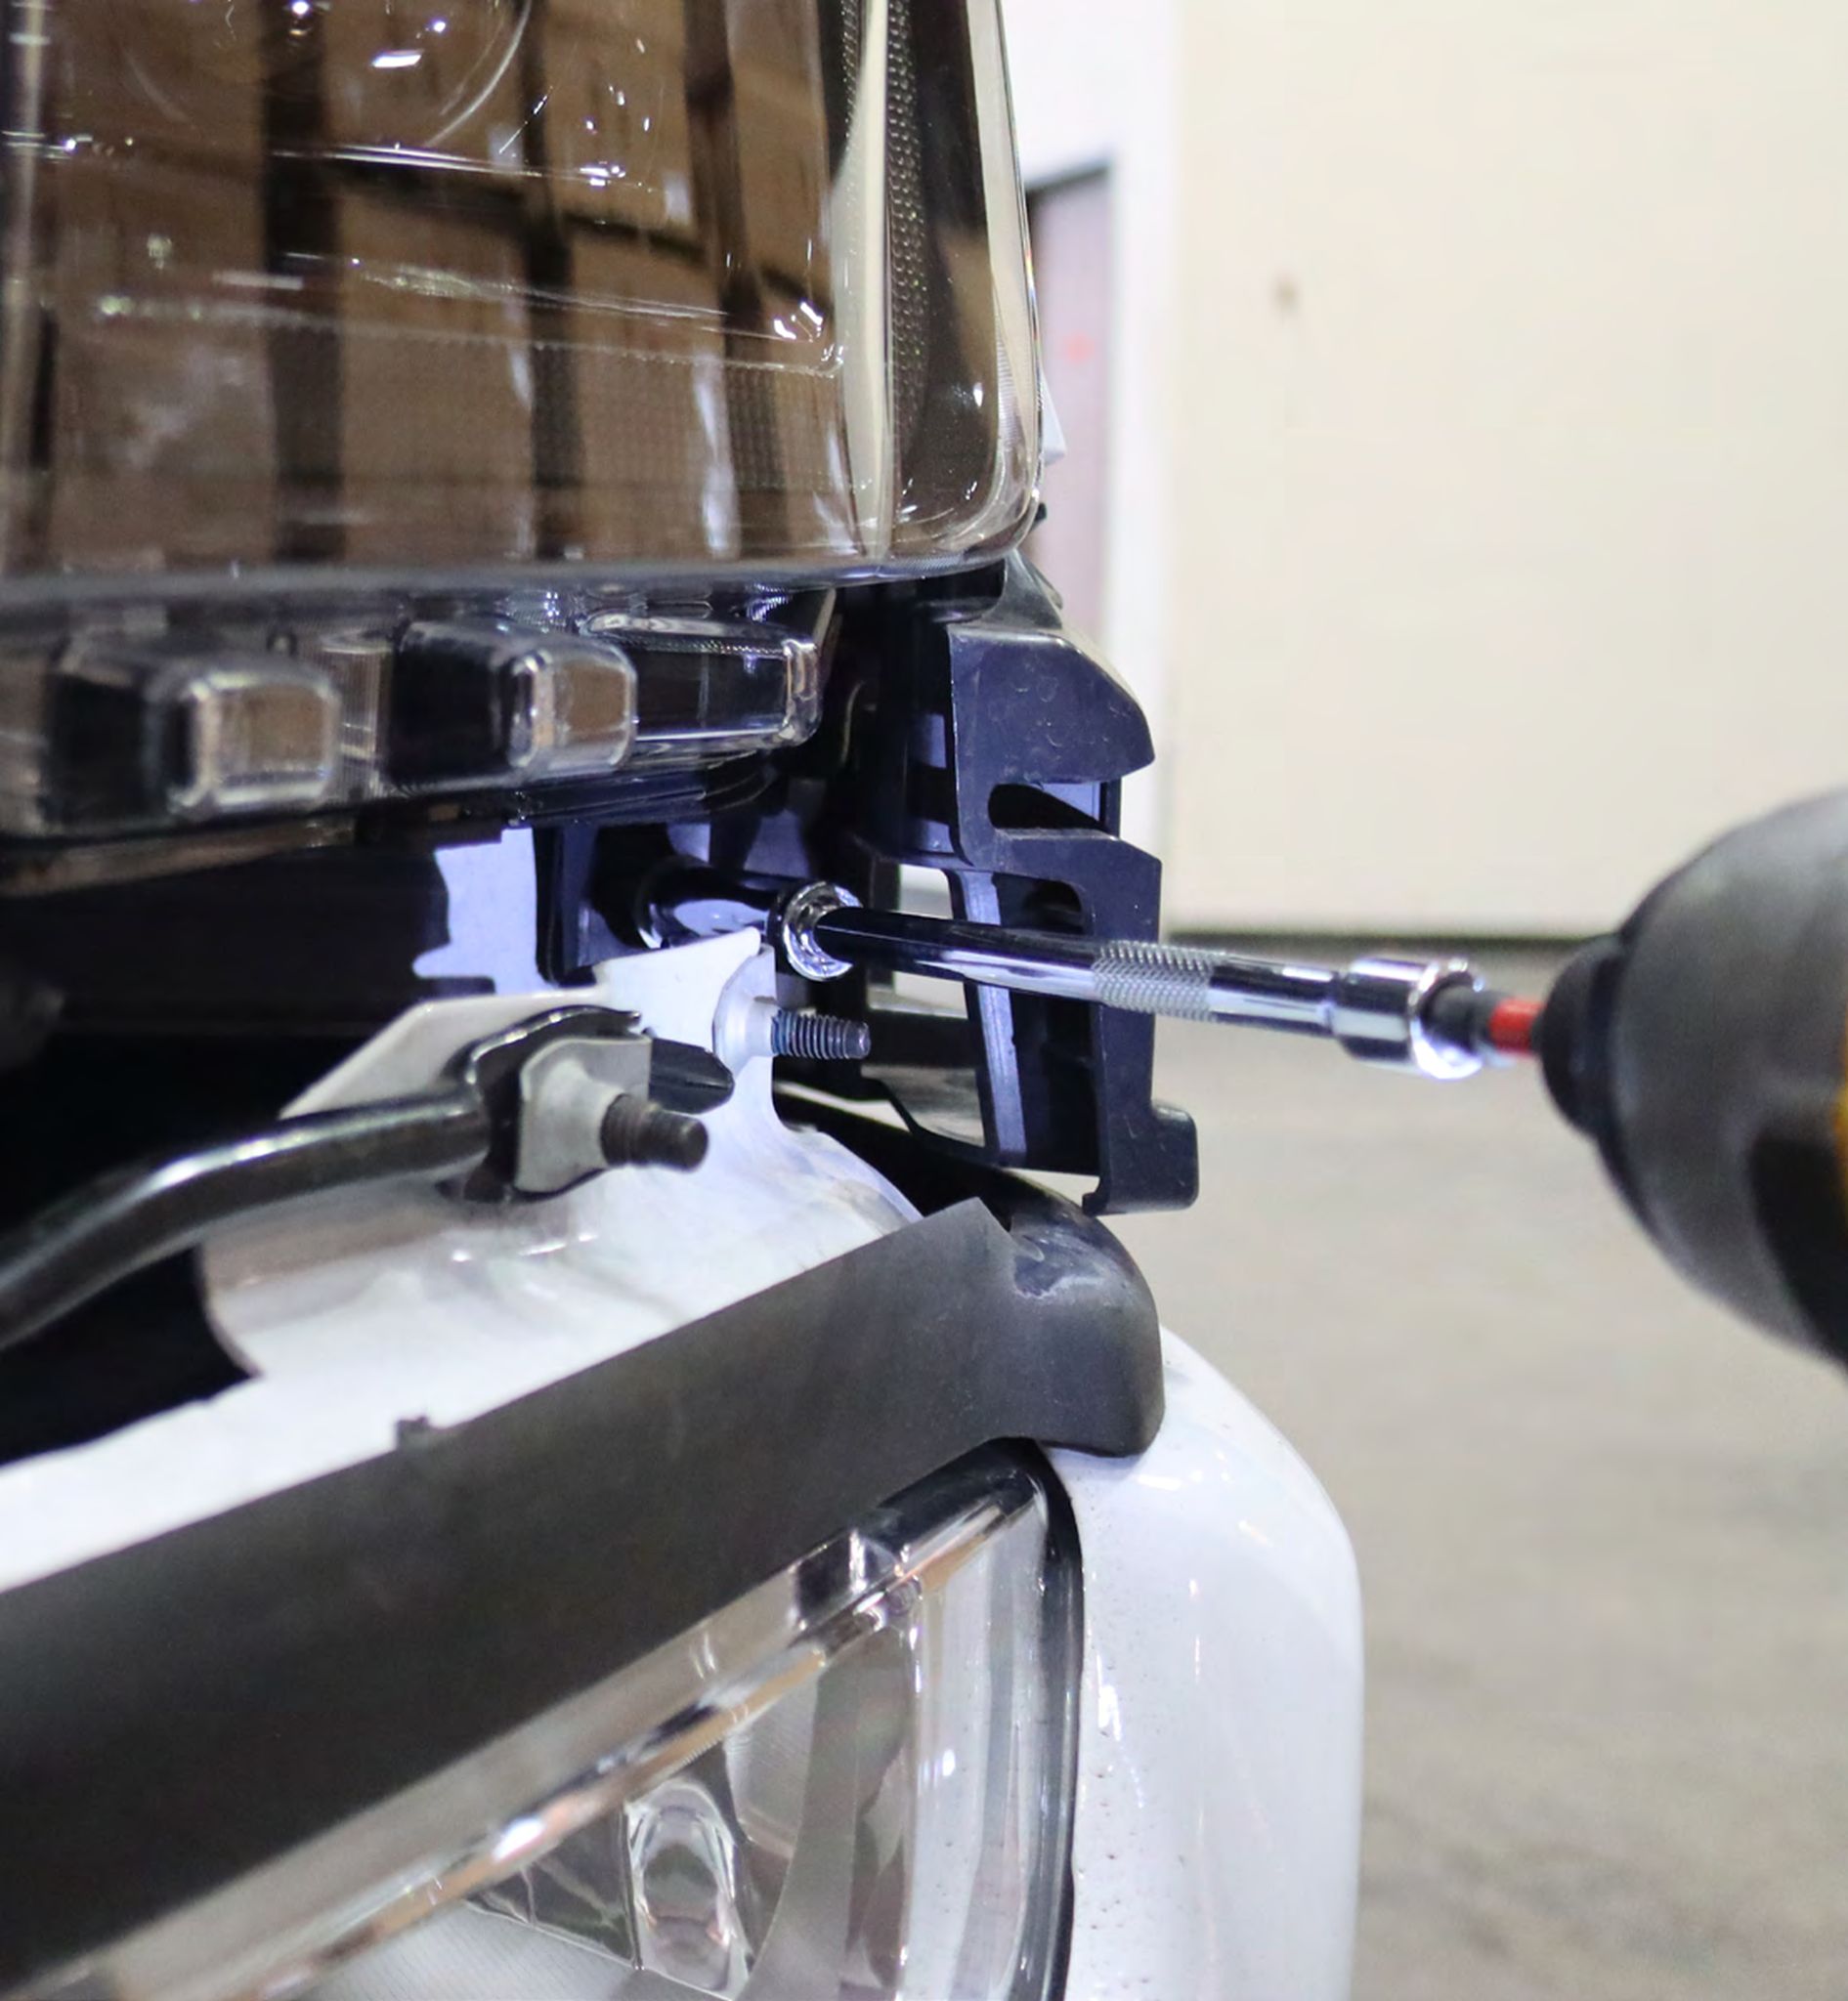
Remove the bolts attaching the headlight to the truck. Each headlight has 2 X 8mm screw bolts on the bottom and 1 X 10mm nut. One push clip on the top and 4 X 10mm bolts.
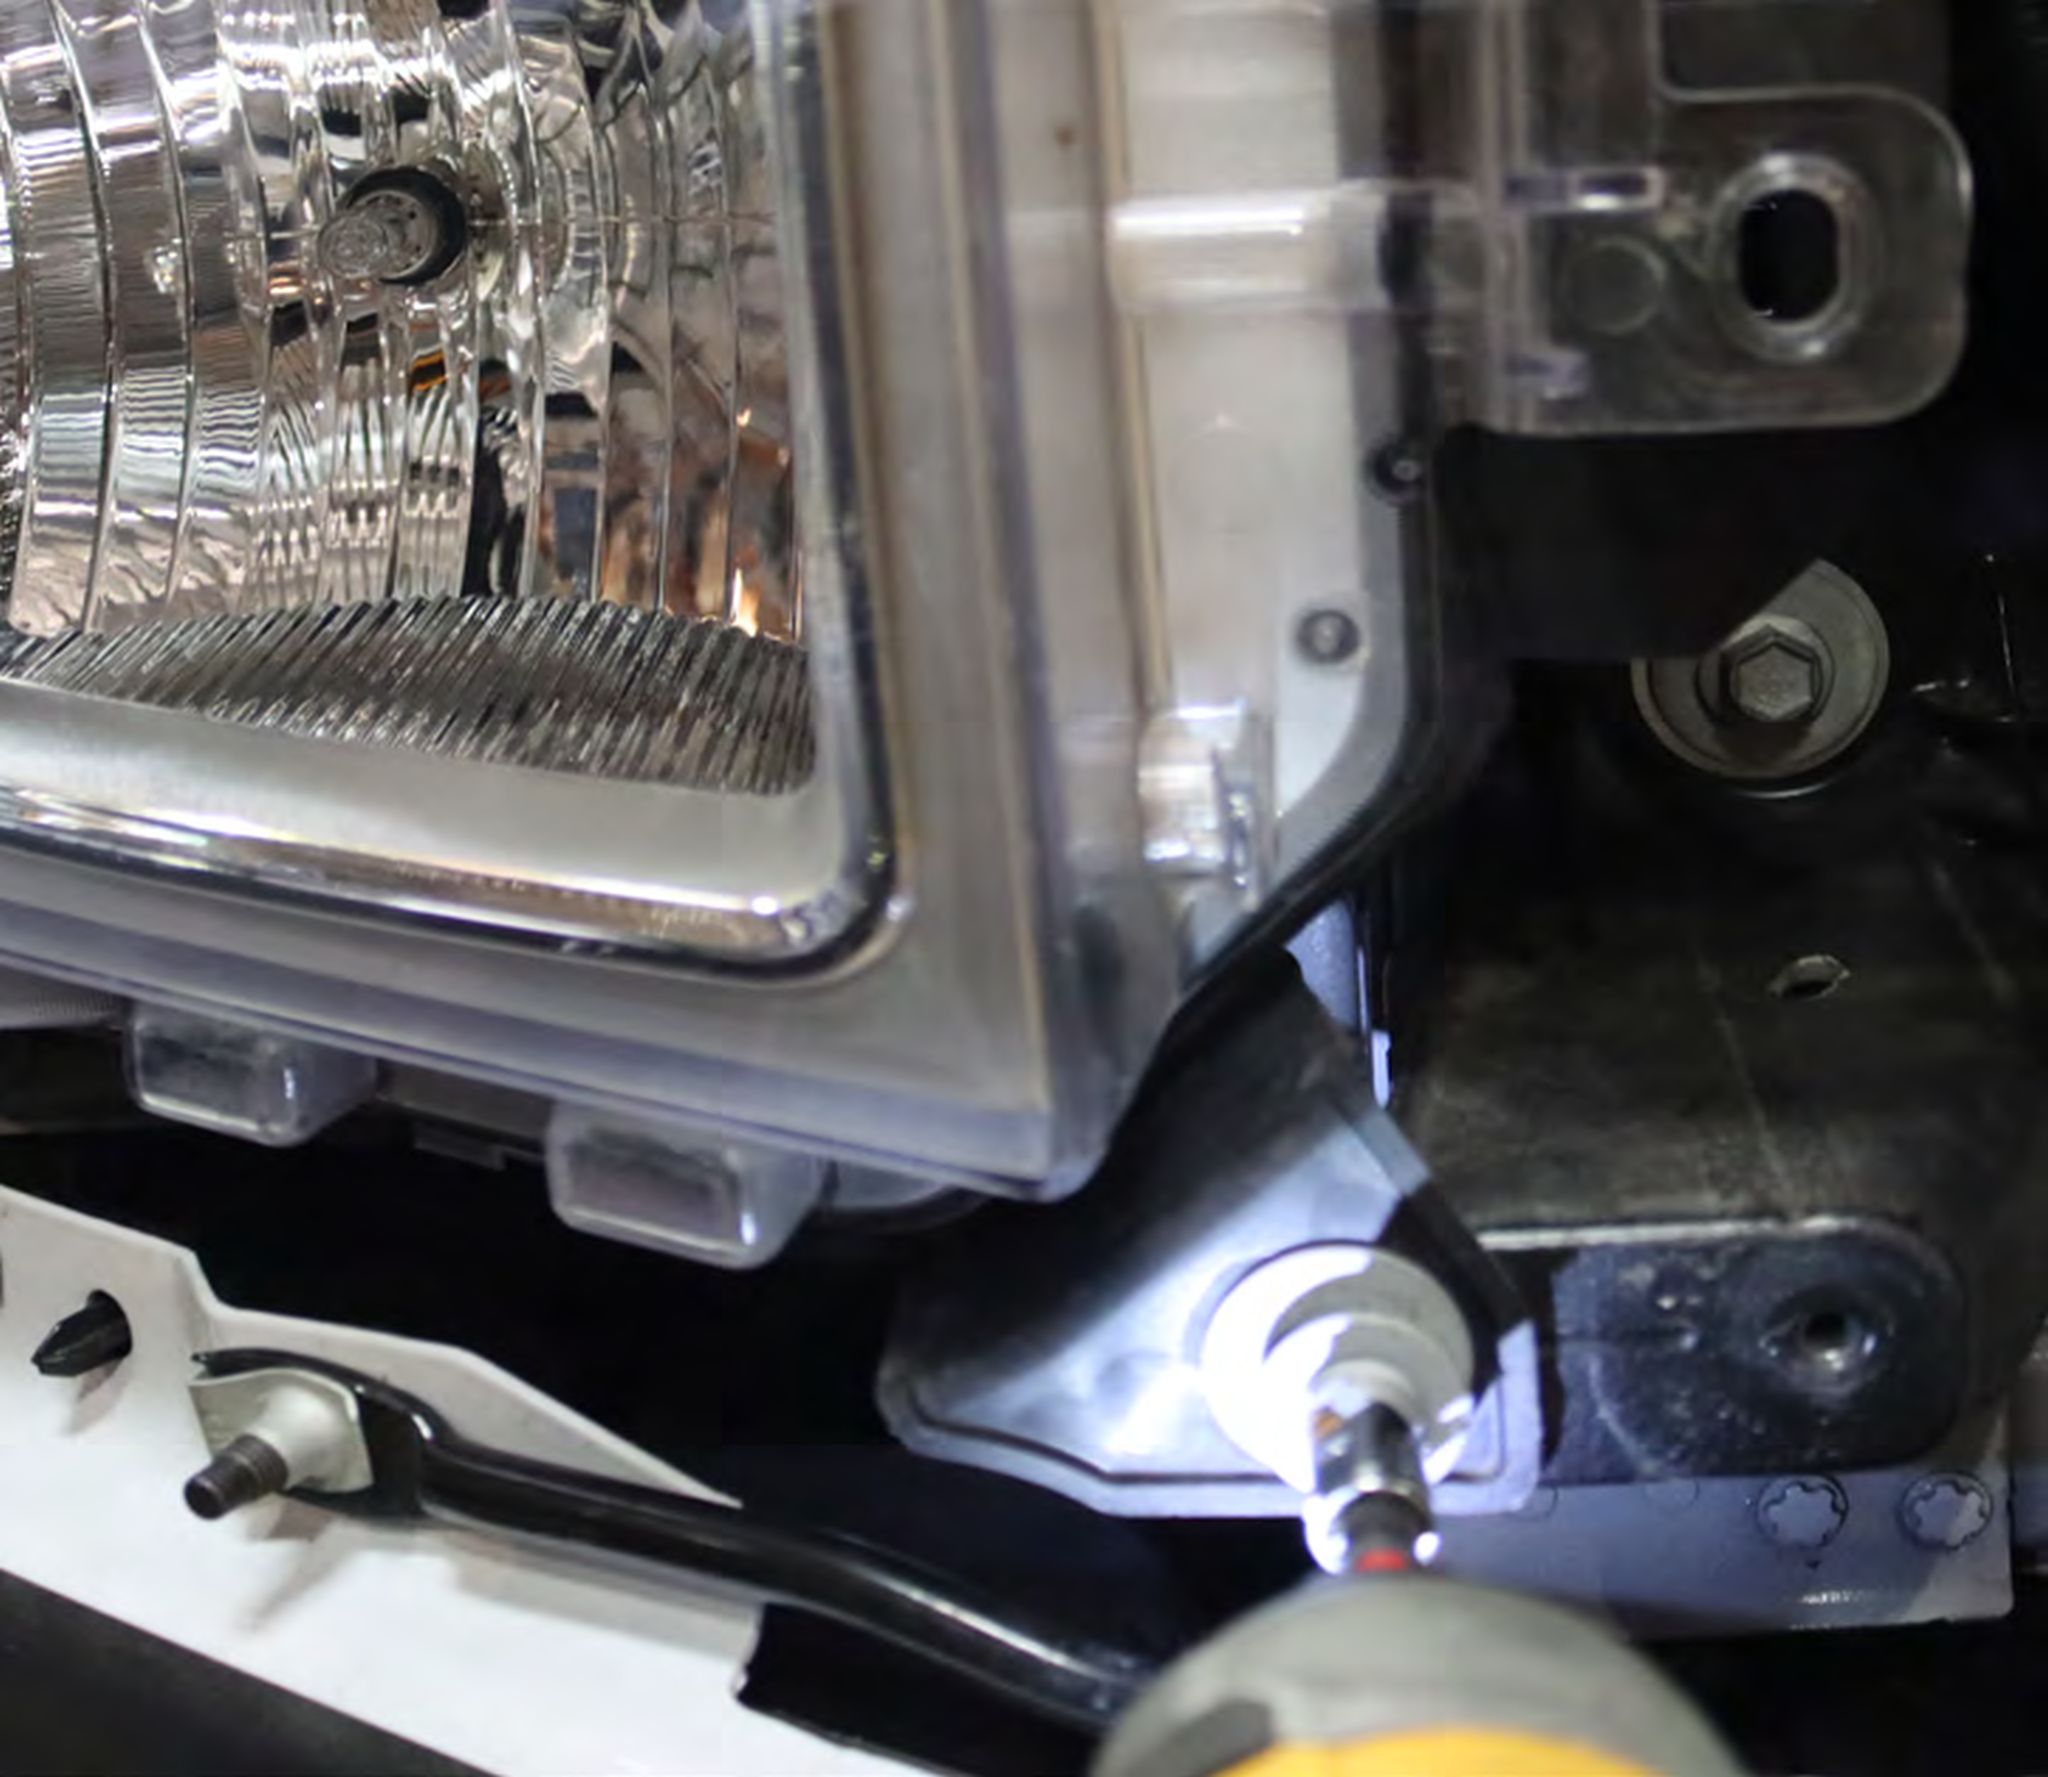
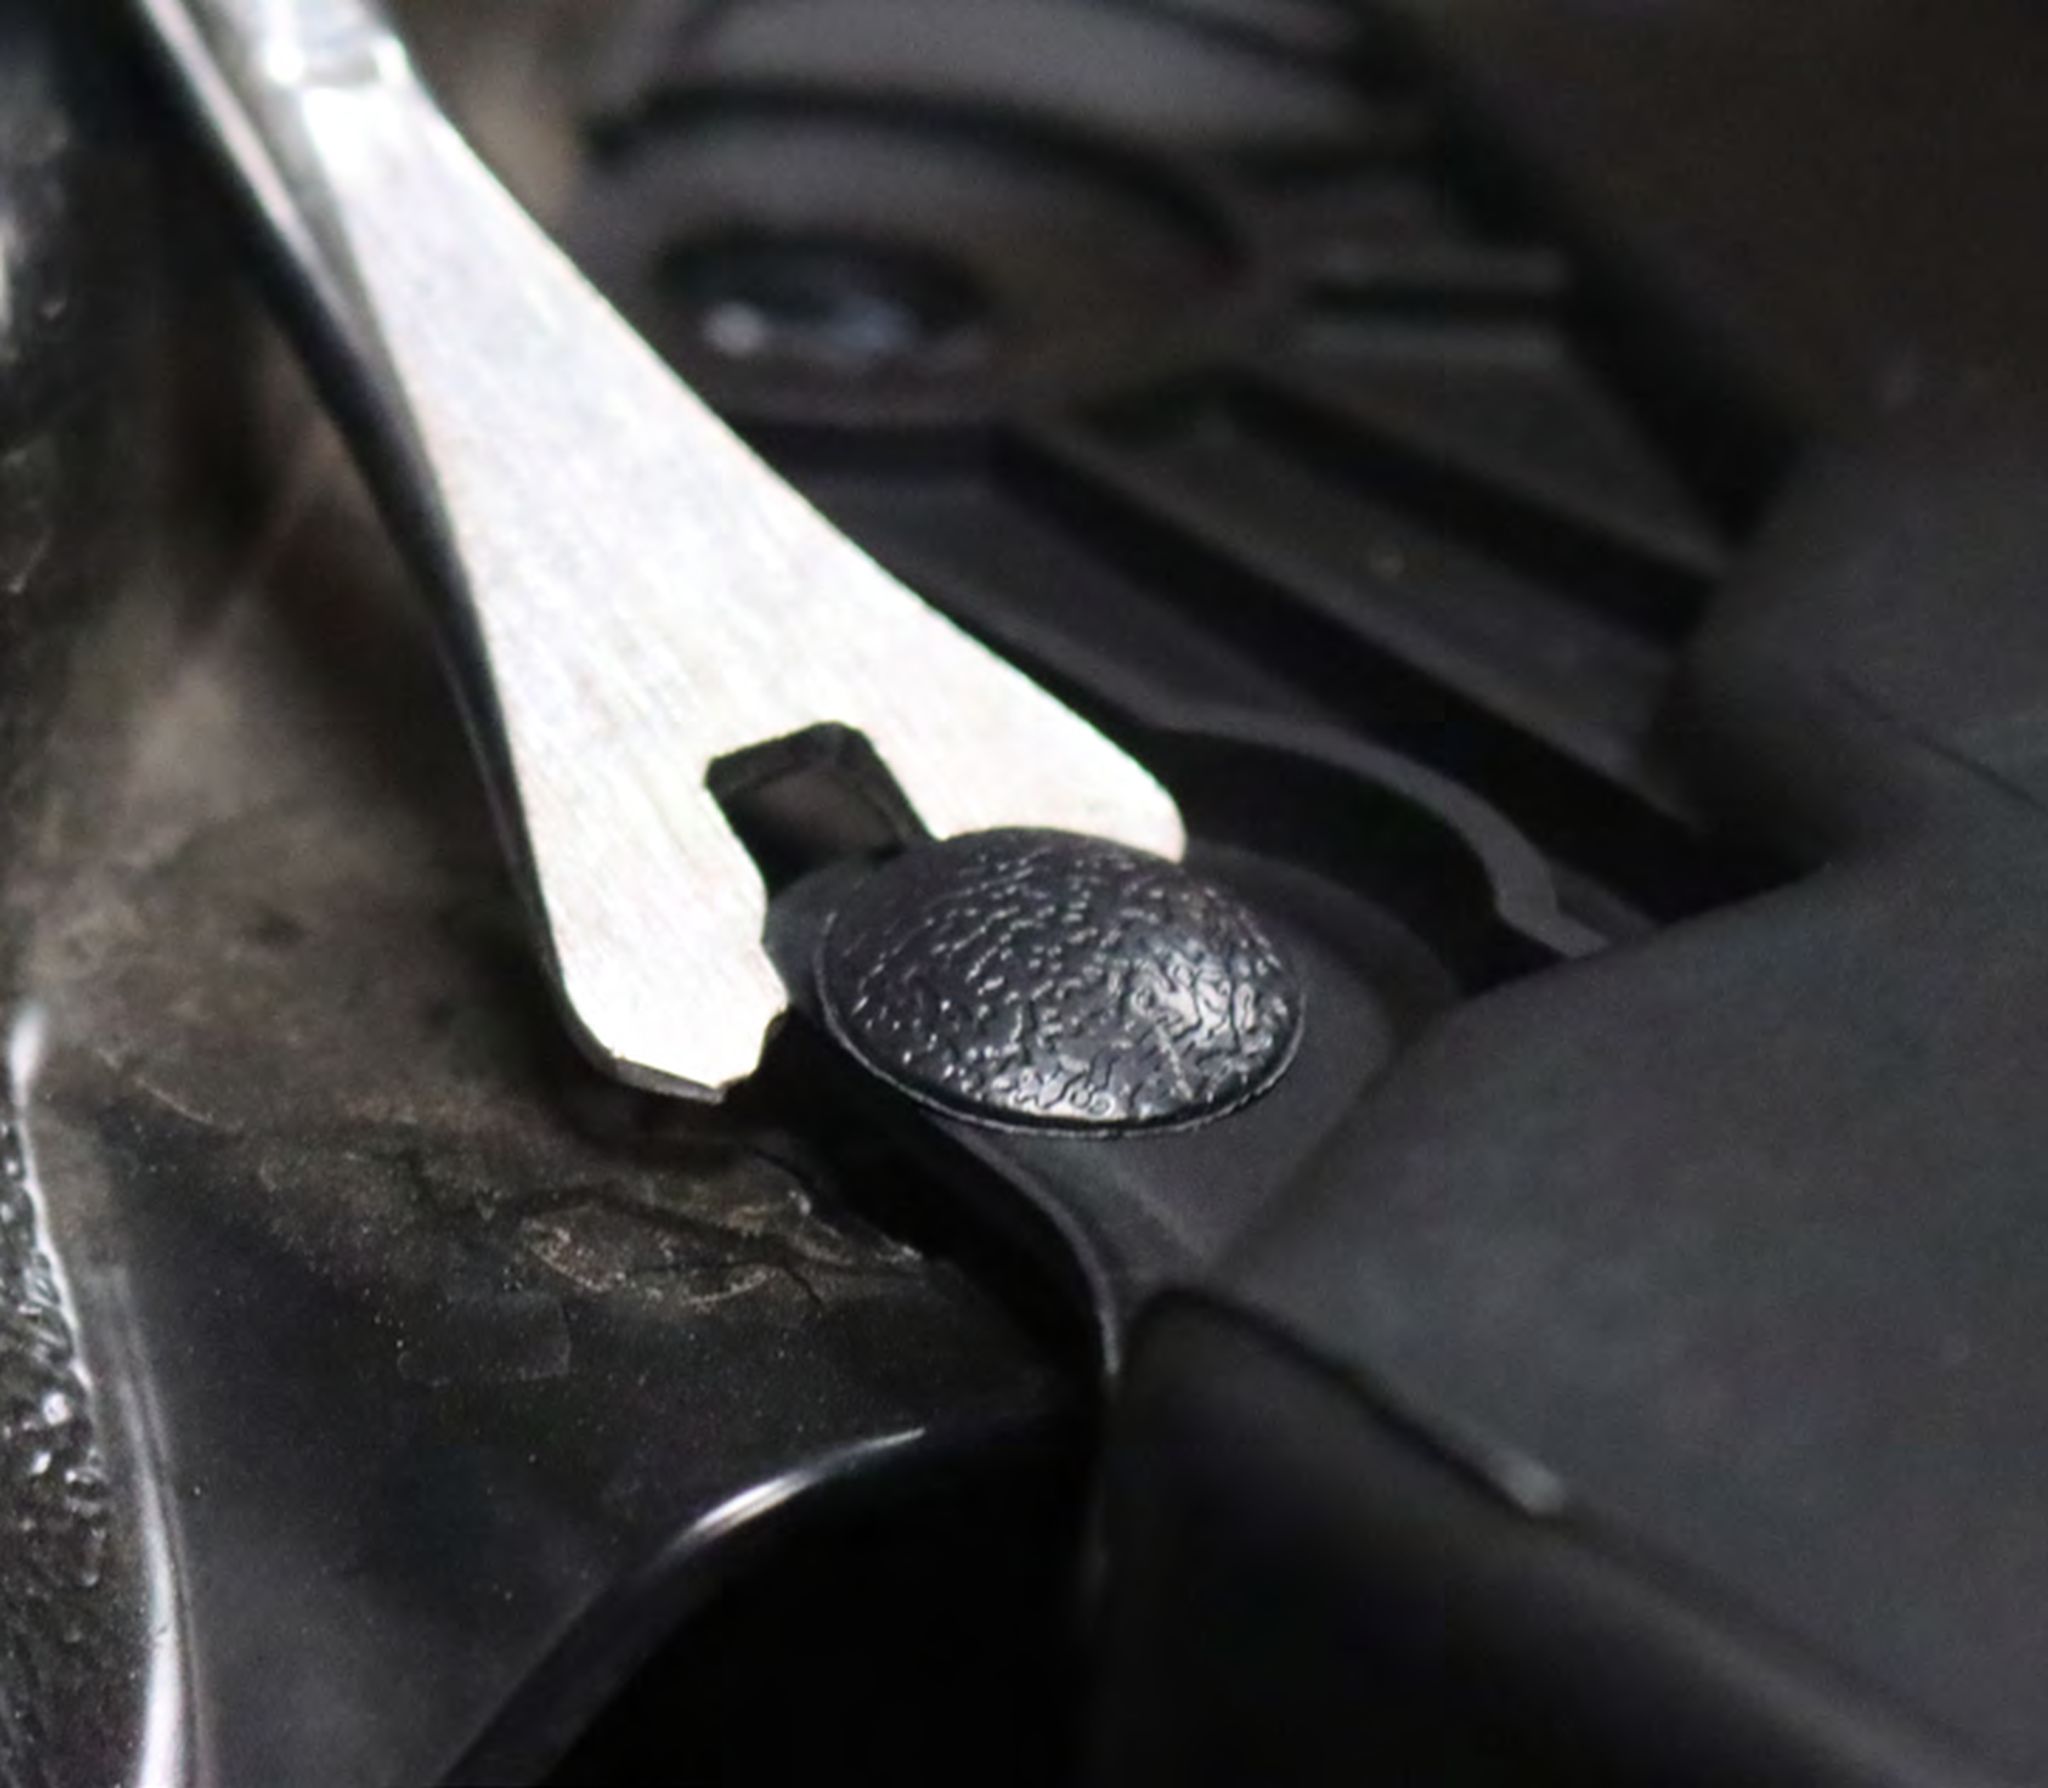
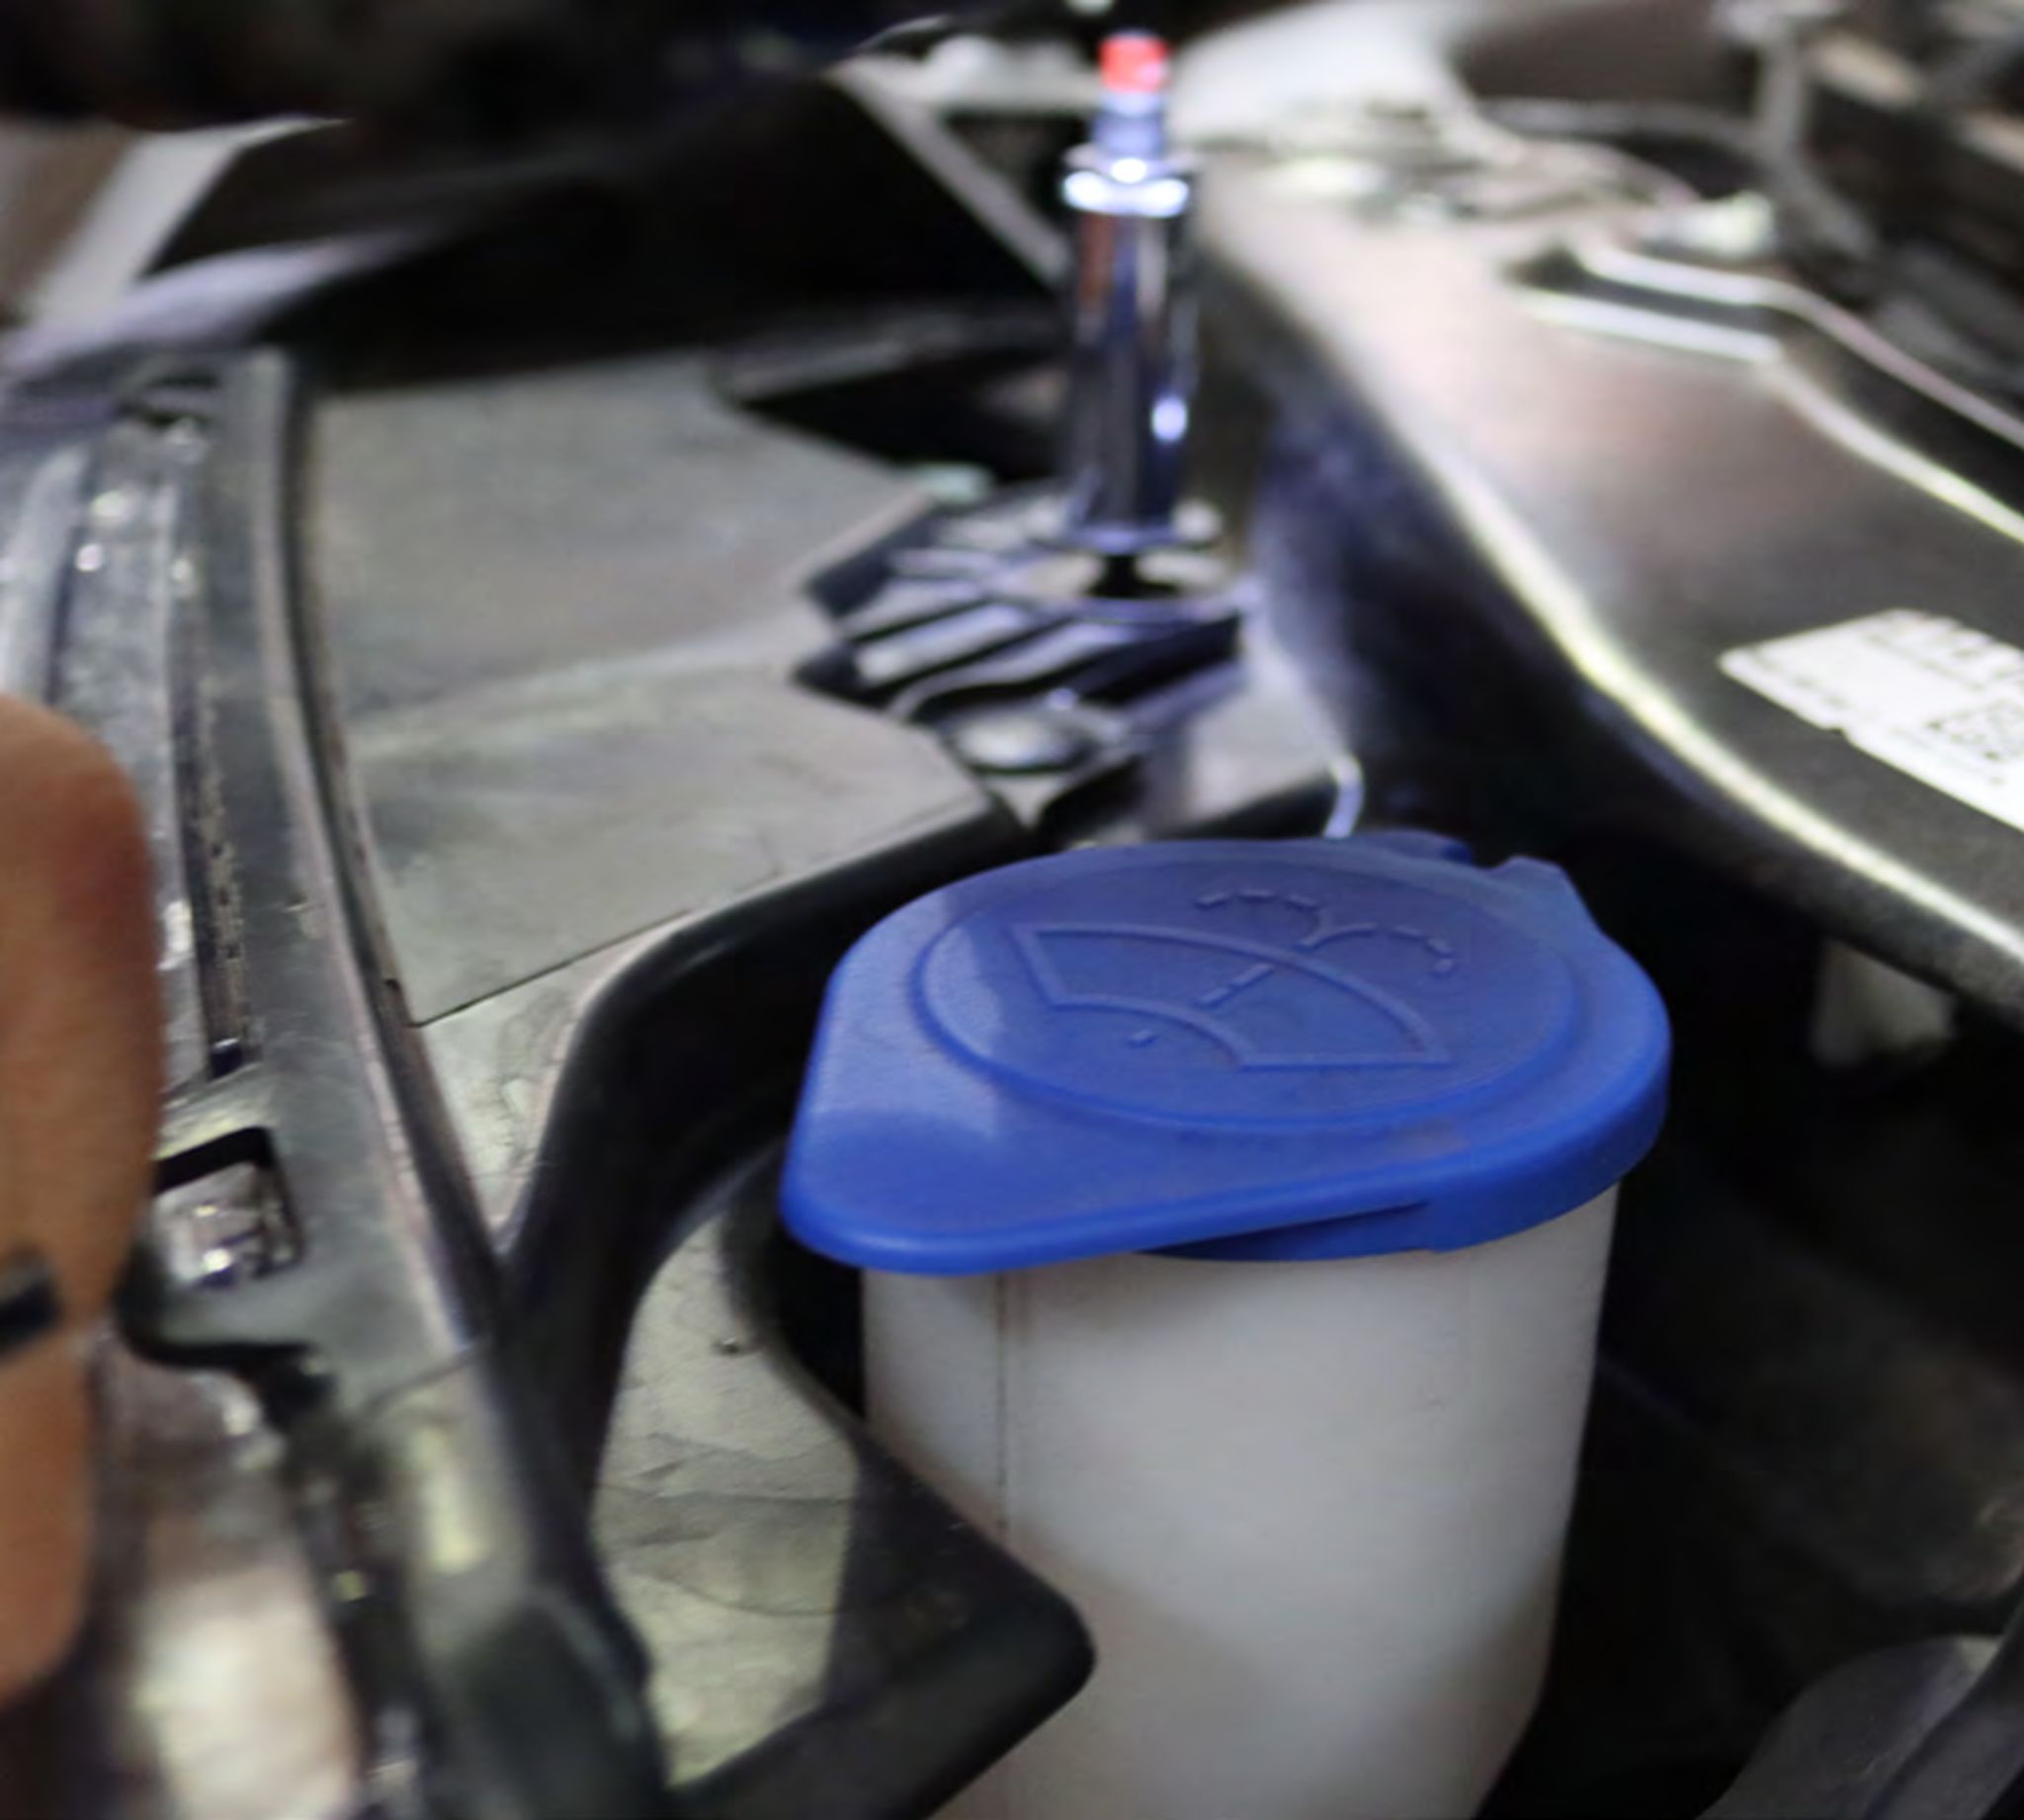
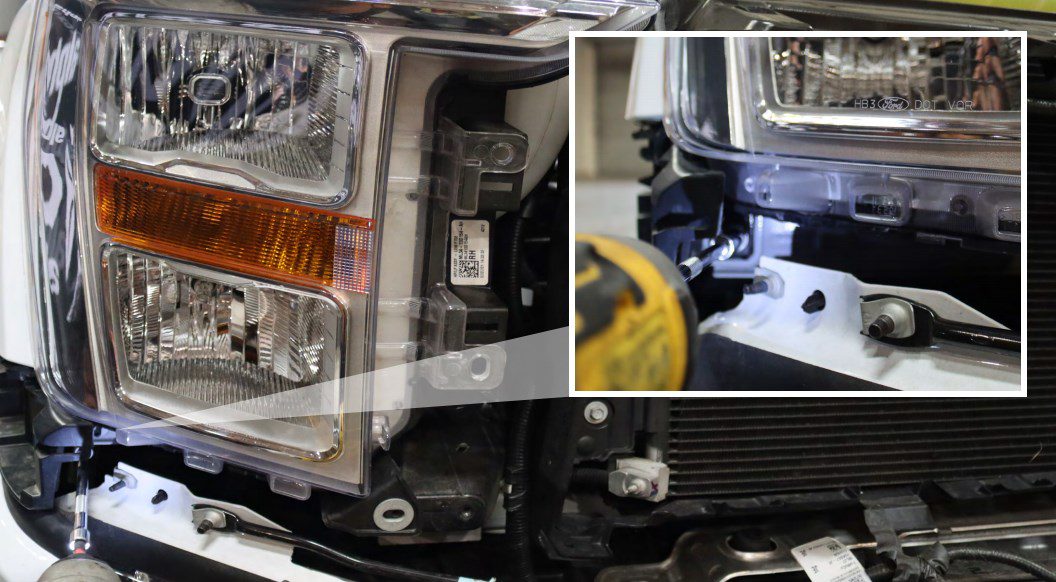
Carefully remove the headlight by sliding it outward.
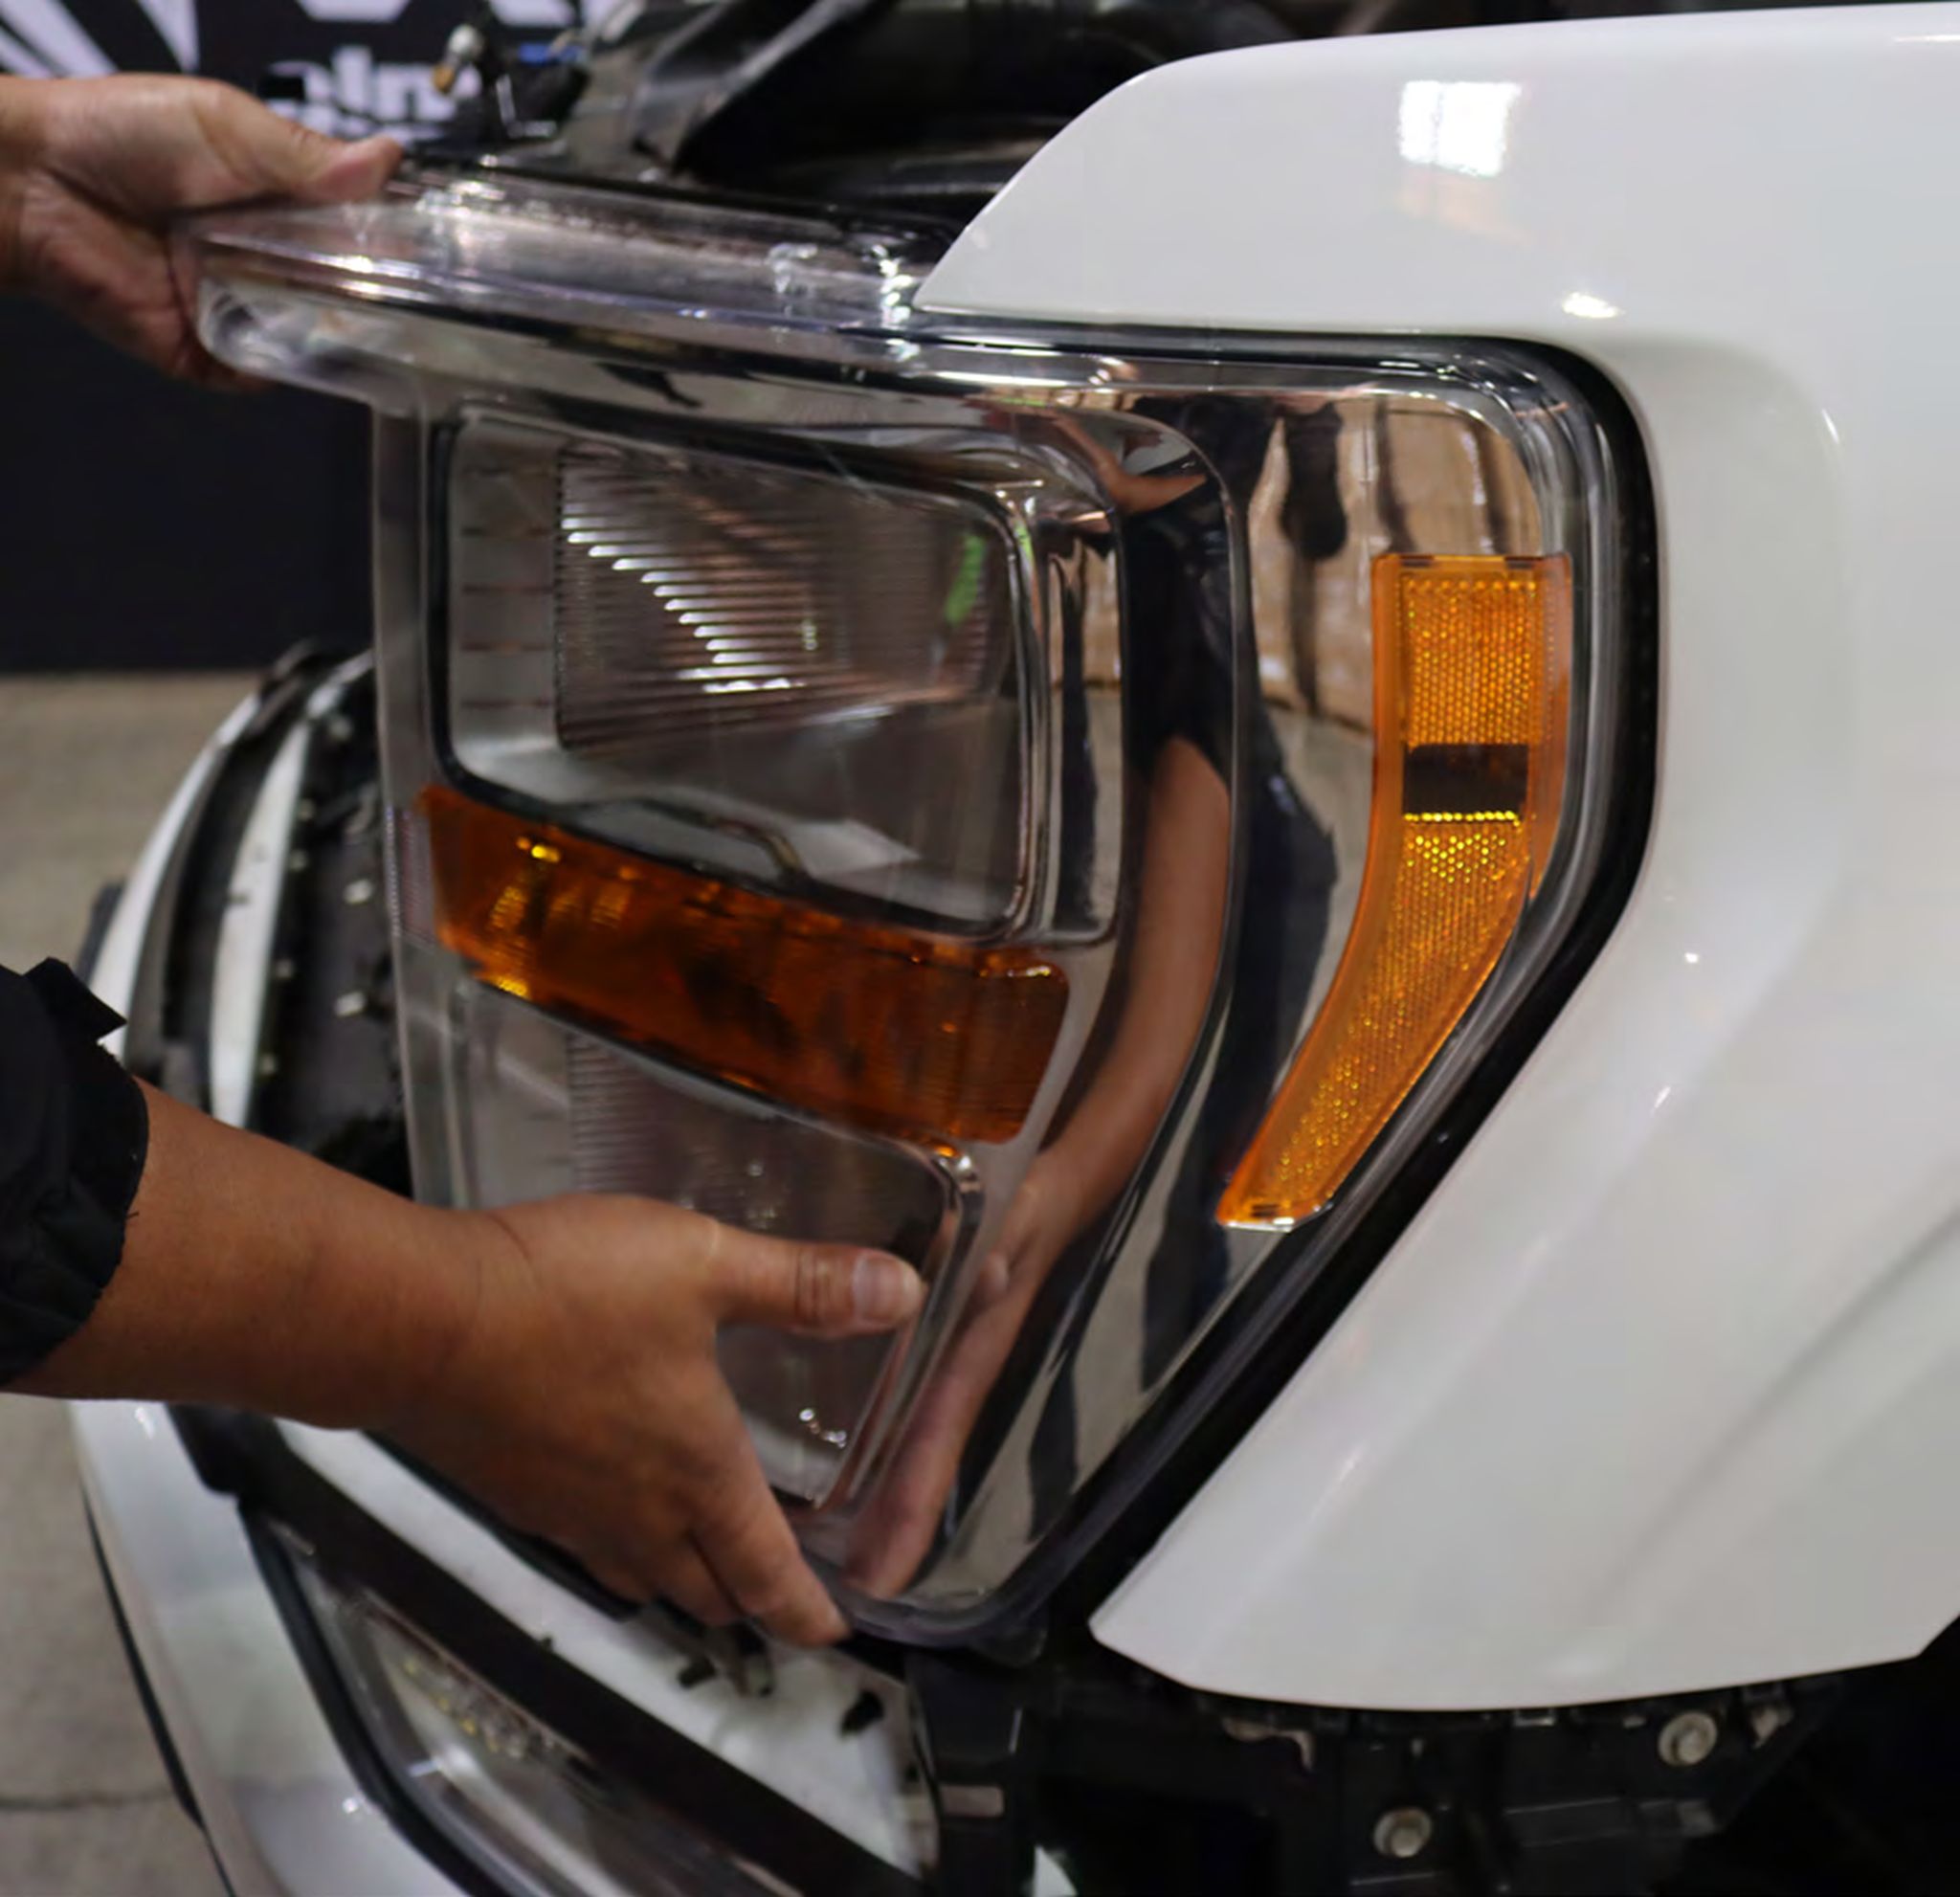
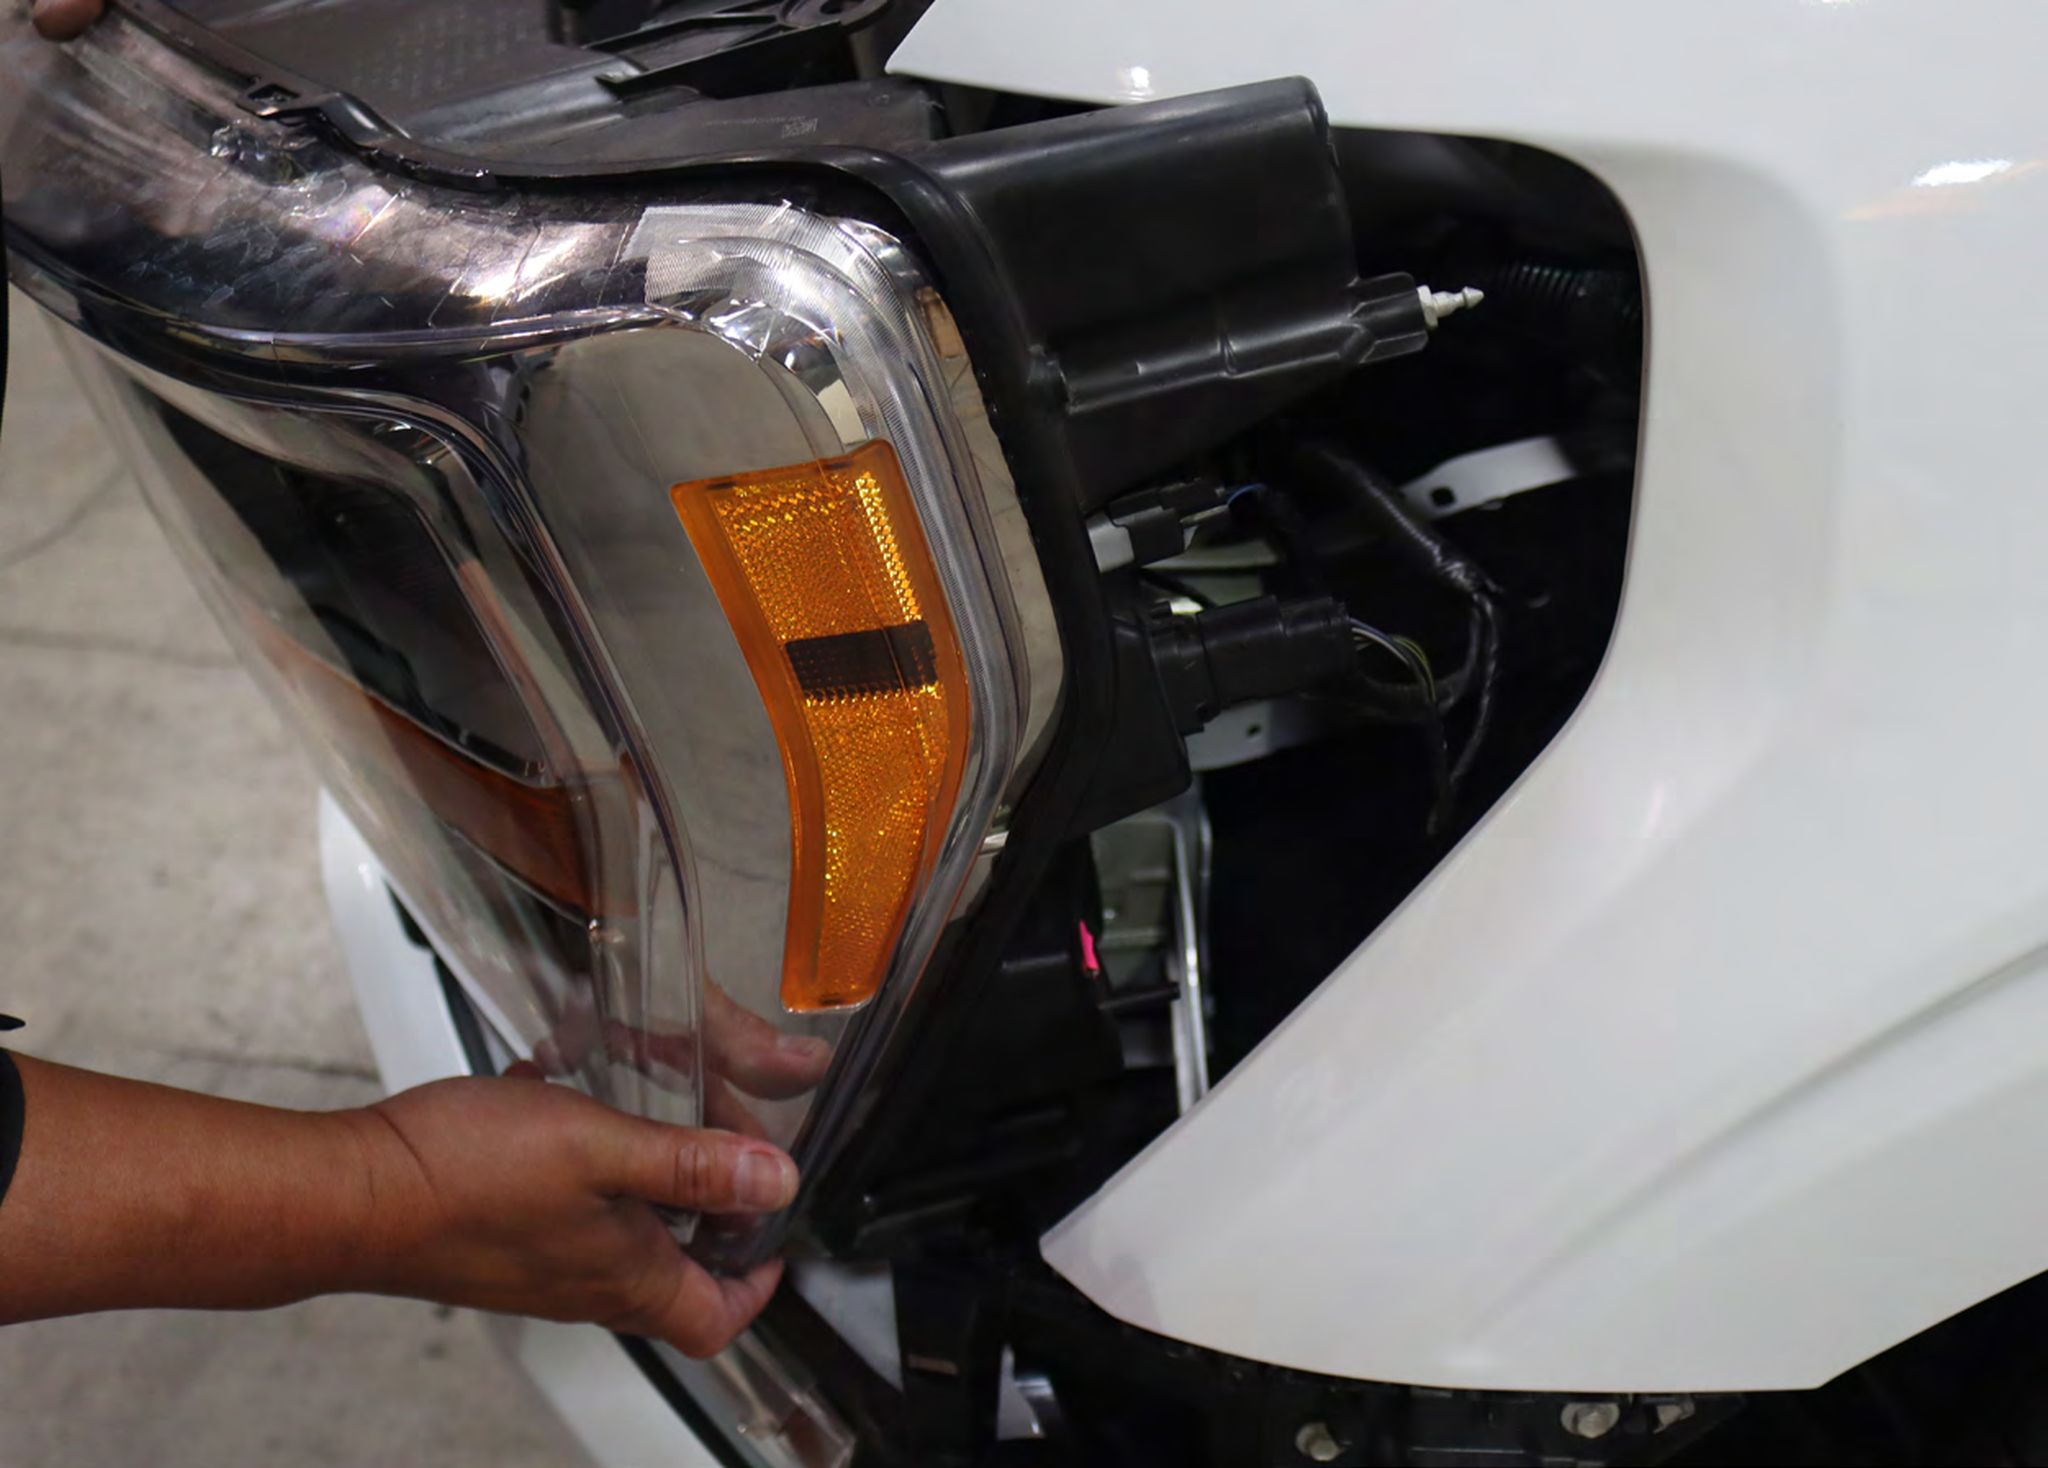
Step 7: UNPLUG HEADLIGHT WIRING CONNECTION
Unplug the wiring connection from the back of each headlight housing and set it aside.
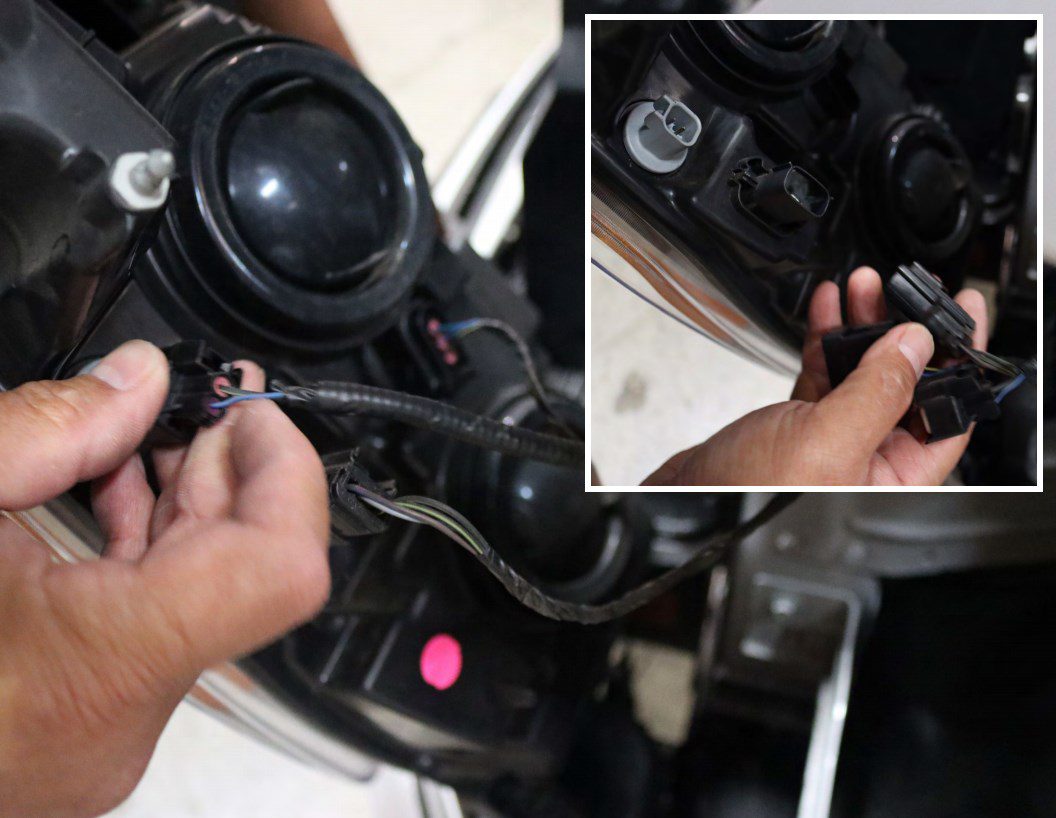
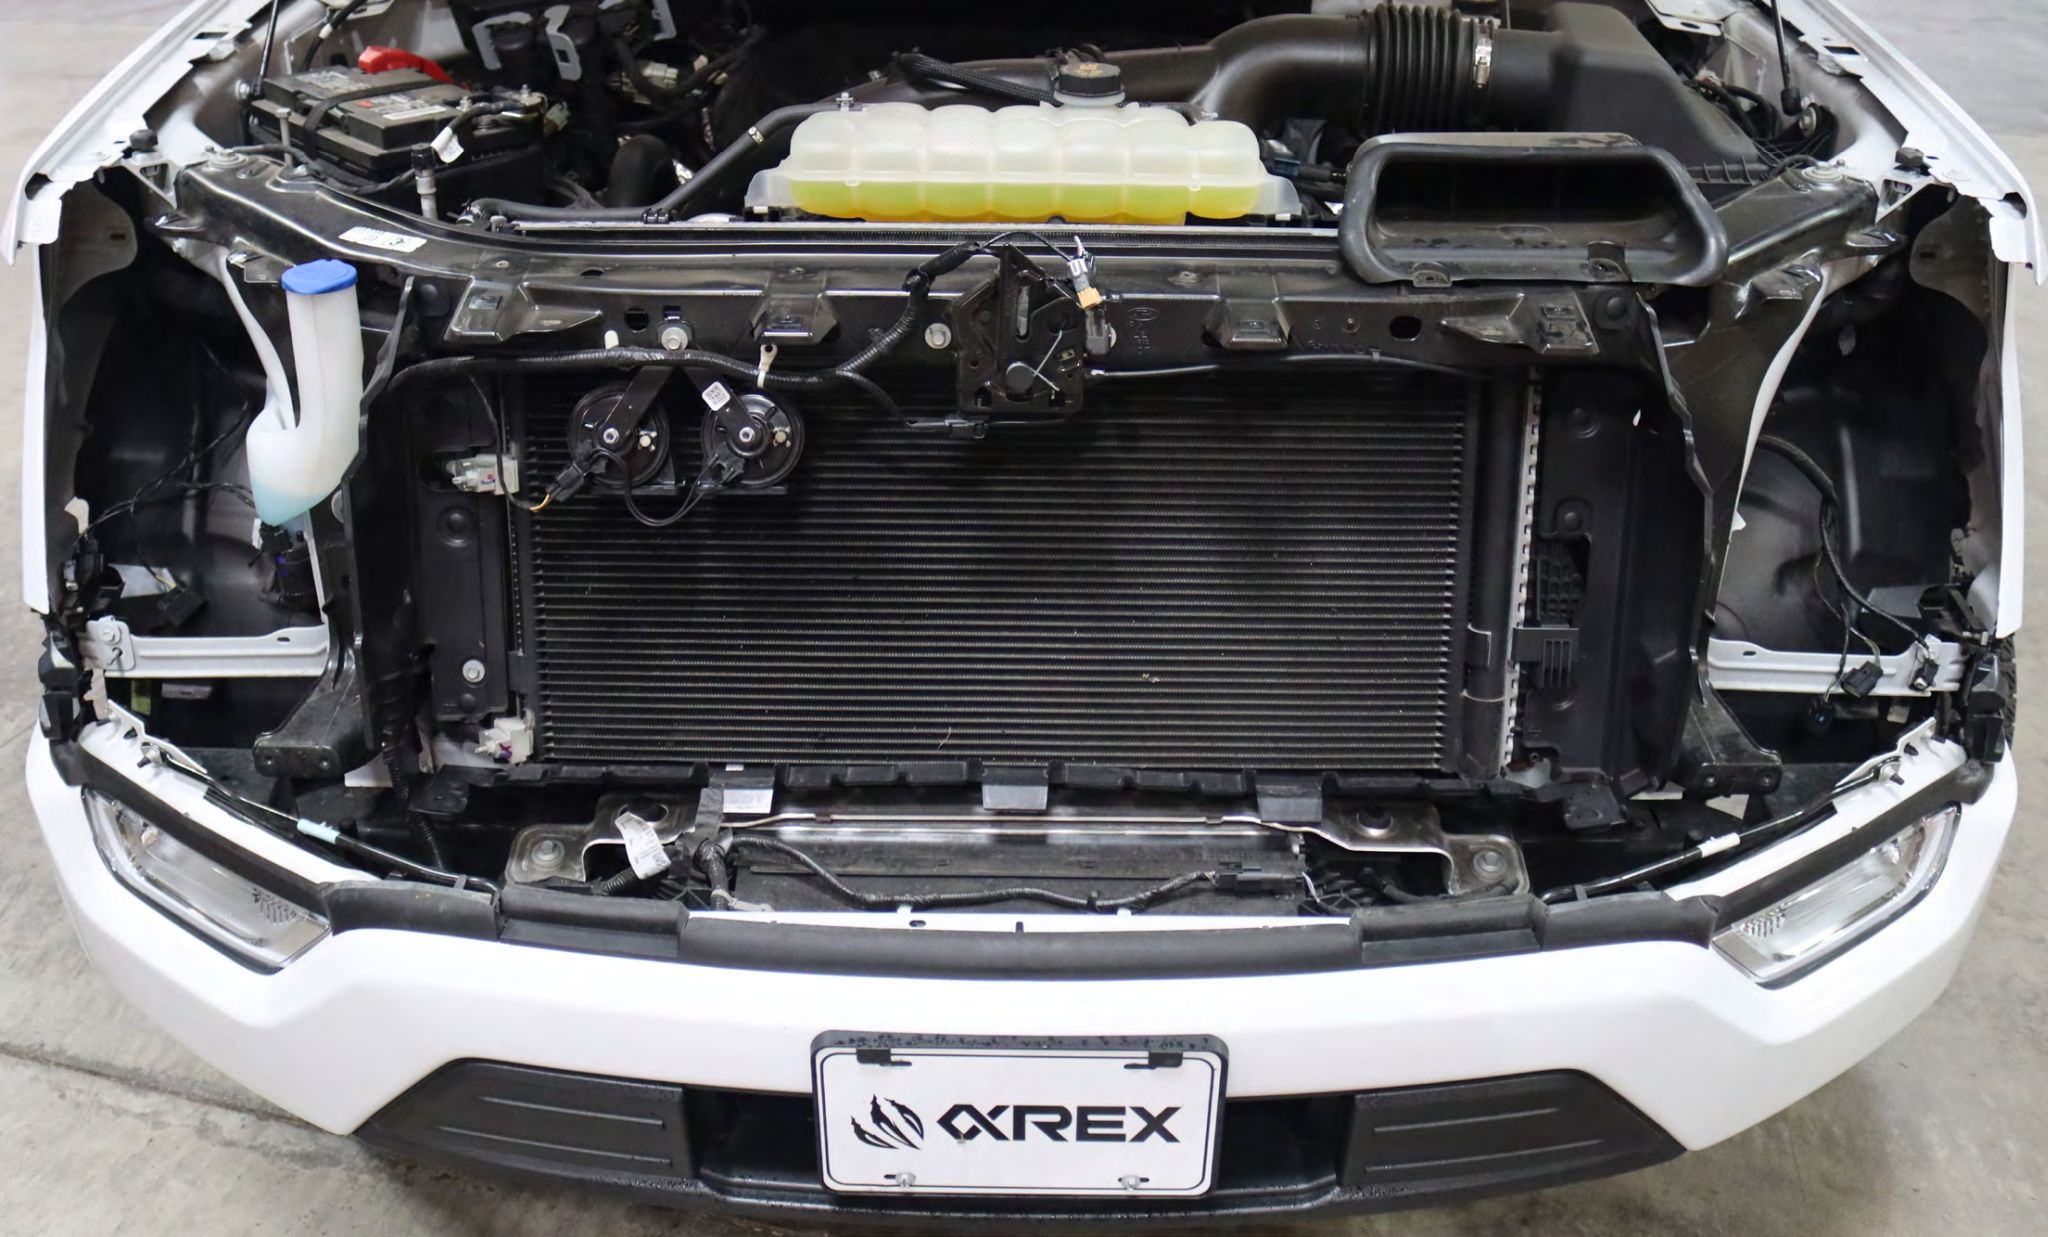
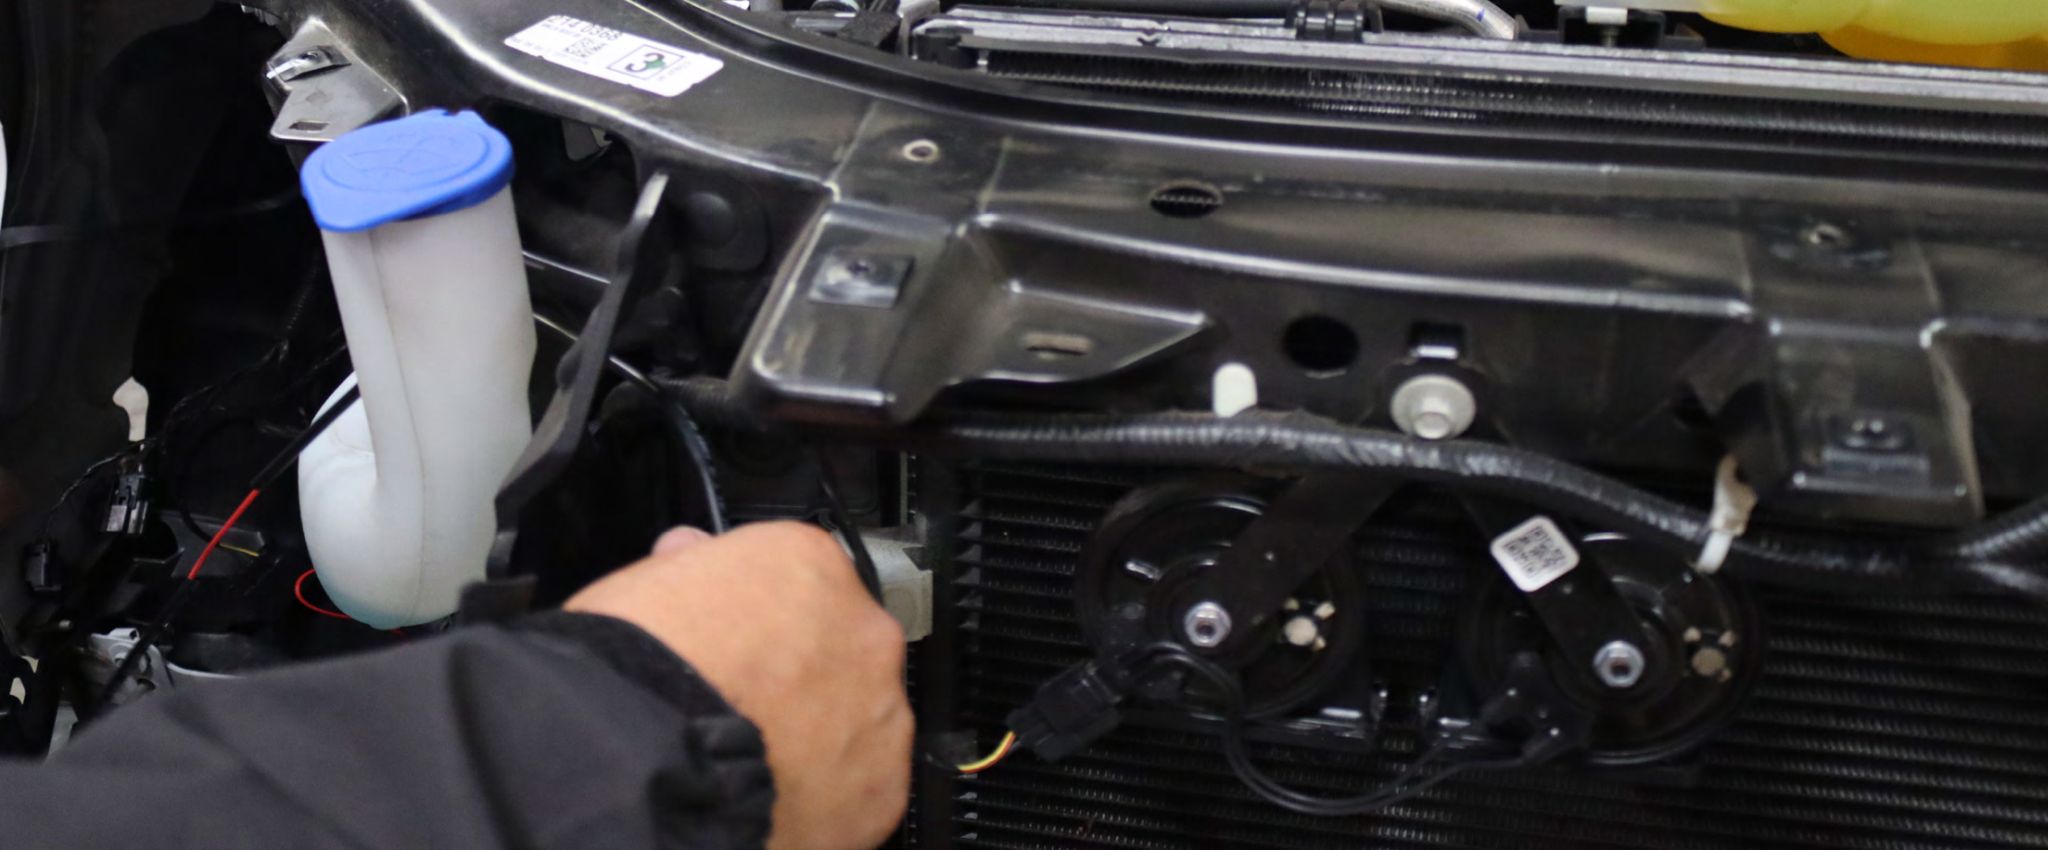
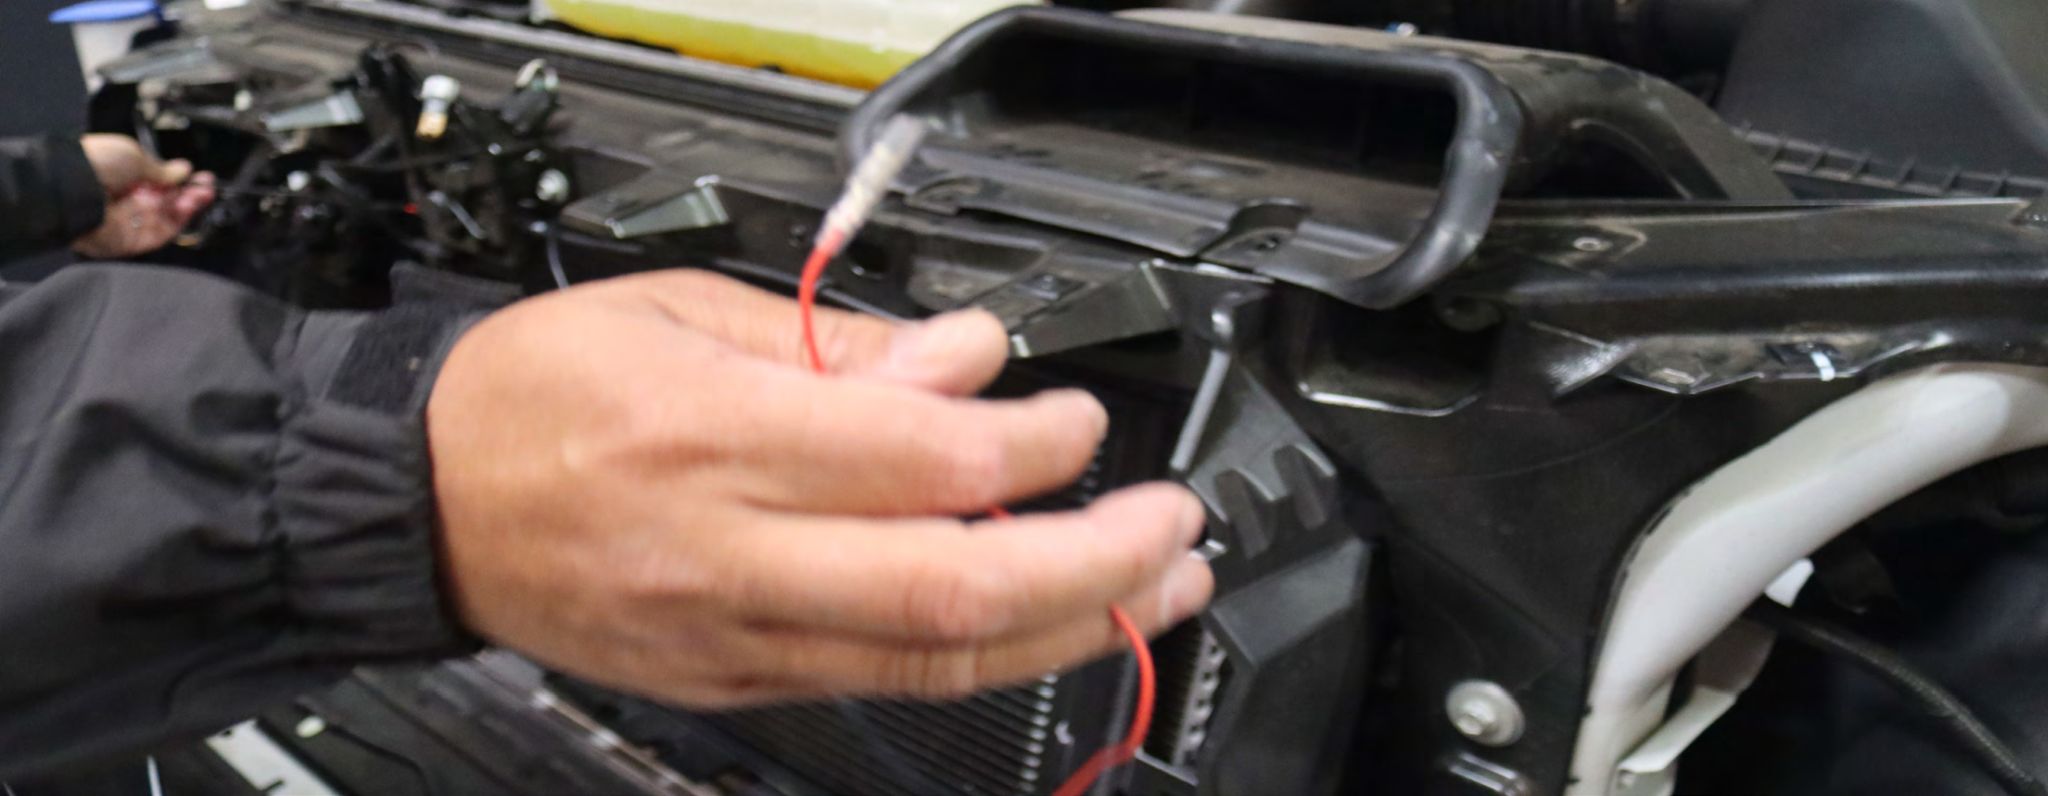
Step 8: ROUTE THE DRL HARNESS
Route the daytime running lights harness to the two headlights.
Start at the passenger side which is closest to the trucks battery.
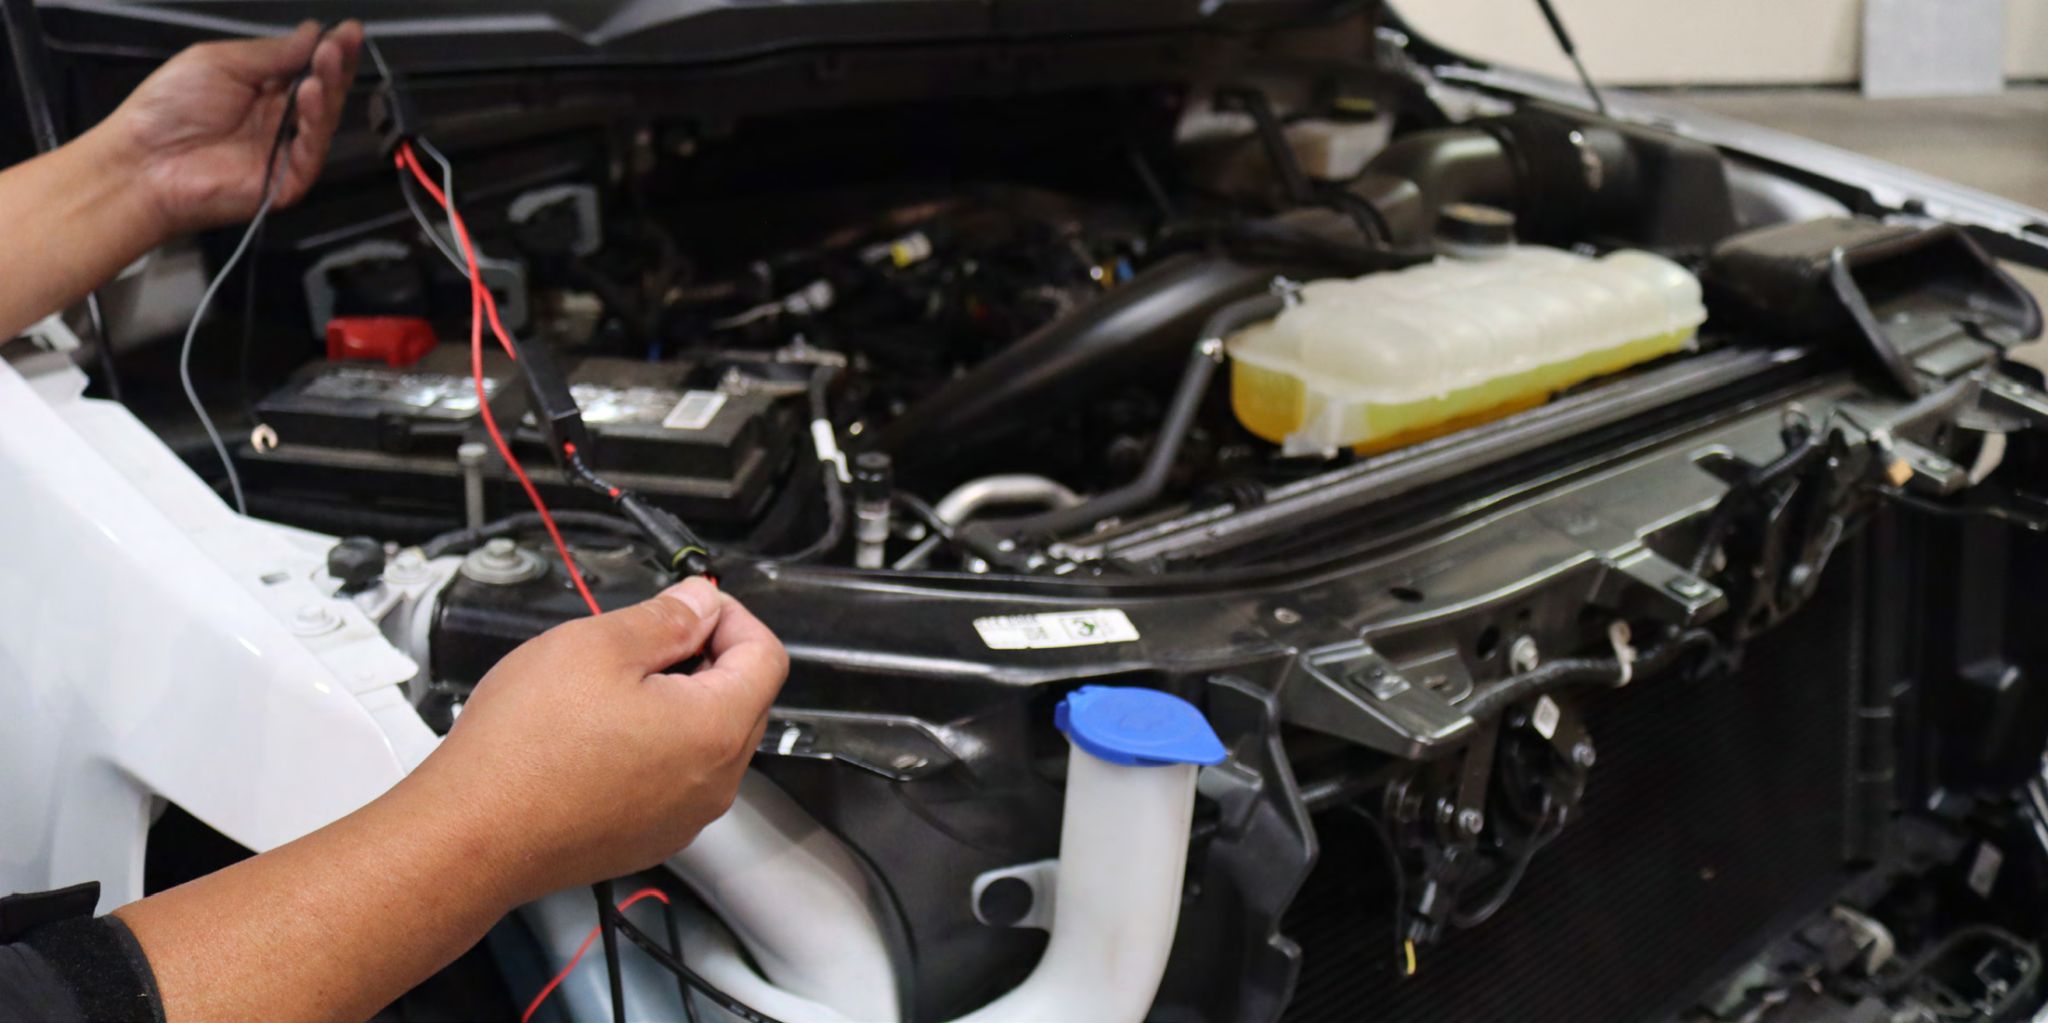
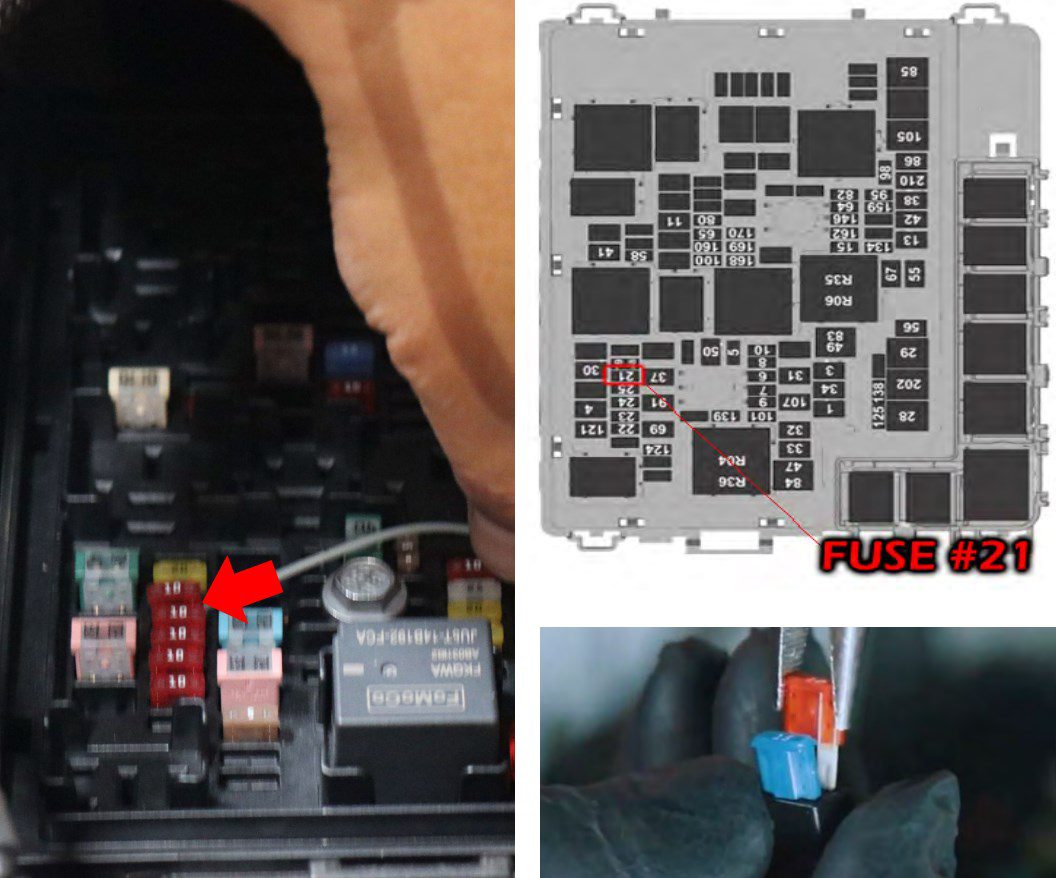
Step 9: CONNECT DRL HARNESS TO THE FUSE TAP
Go to the fuse box and tap into fuse number 21.
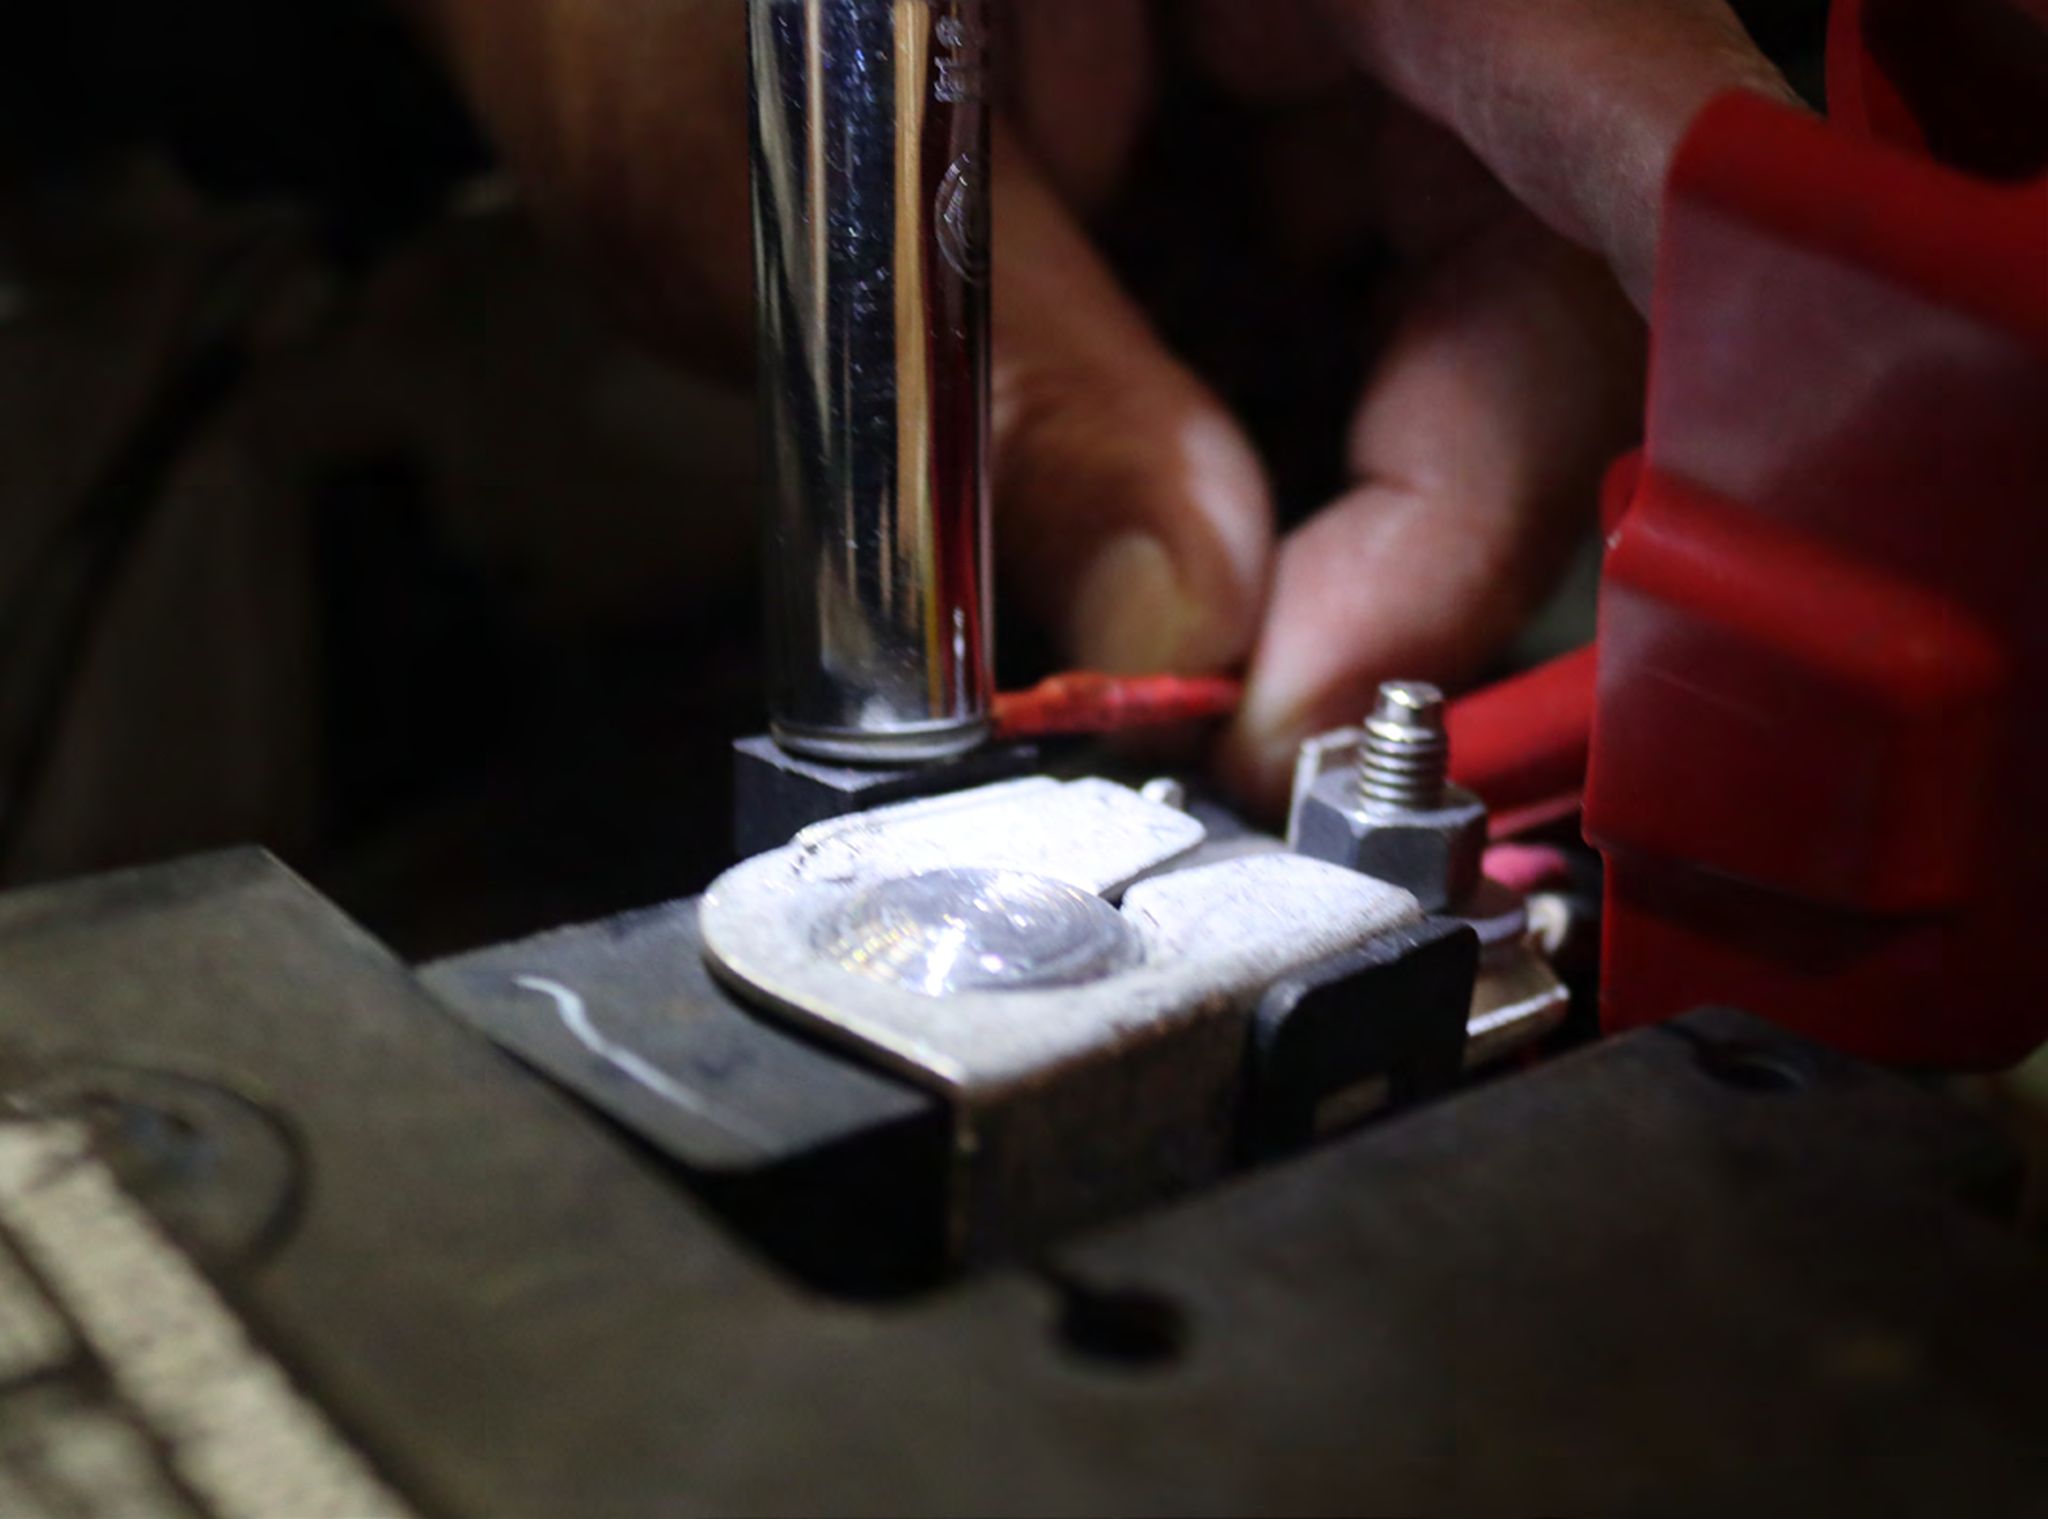
Connect the red wire to the battery positive terminal and the black wire to the battery negative terminal.
Zip tie and secure the daytime running lights harness.

Step 10: INSTALL ALPHAREX HEADLIGHTS
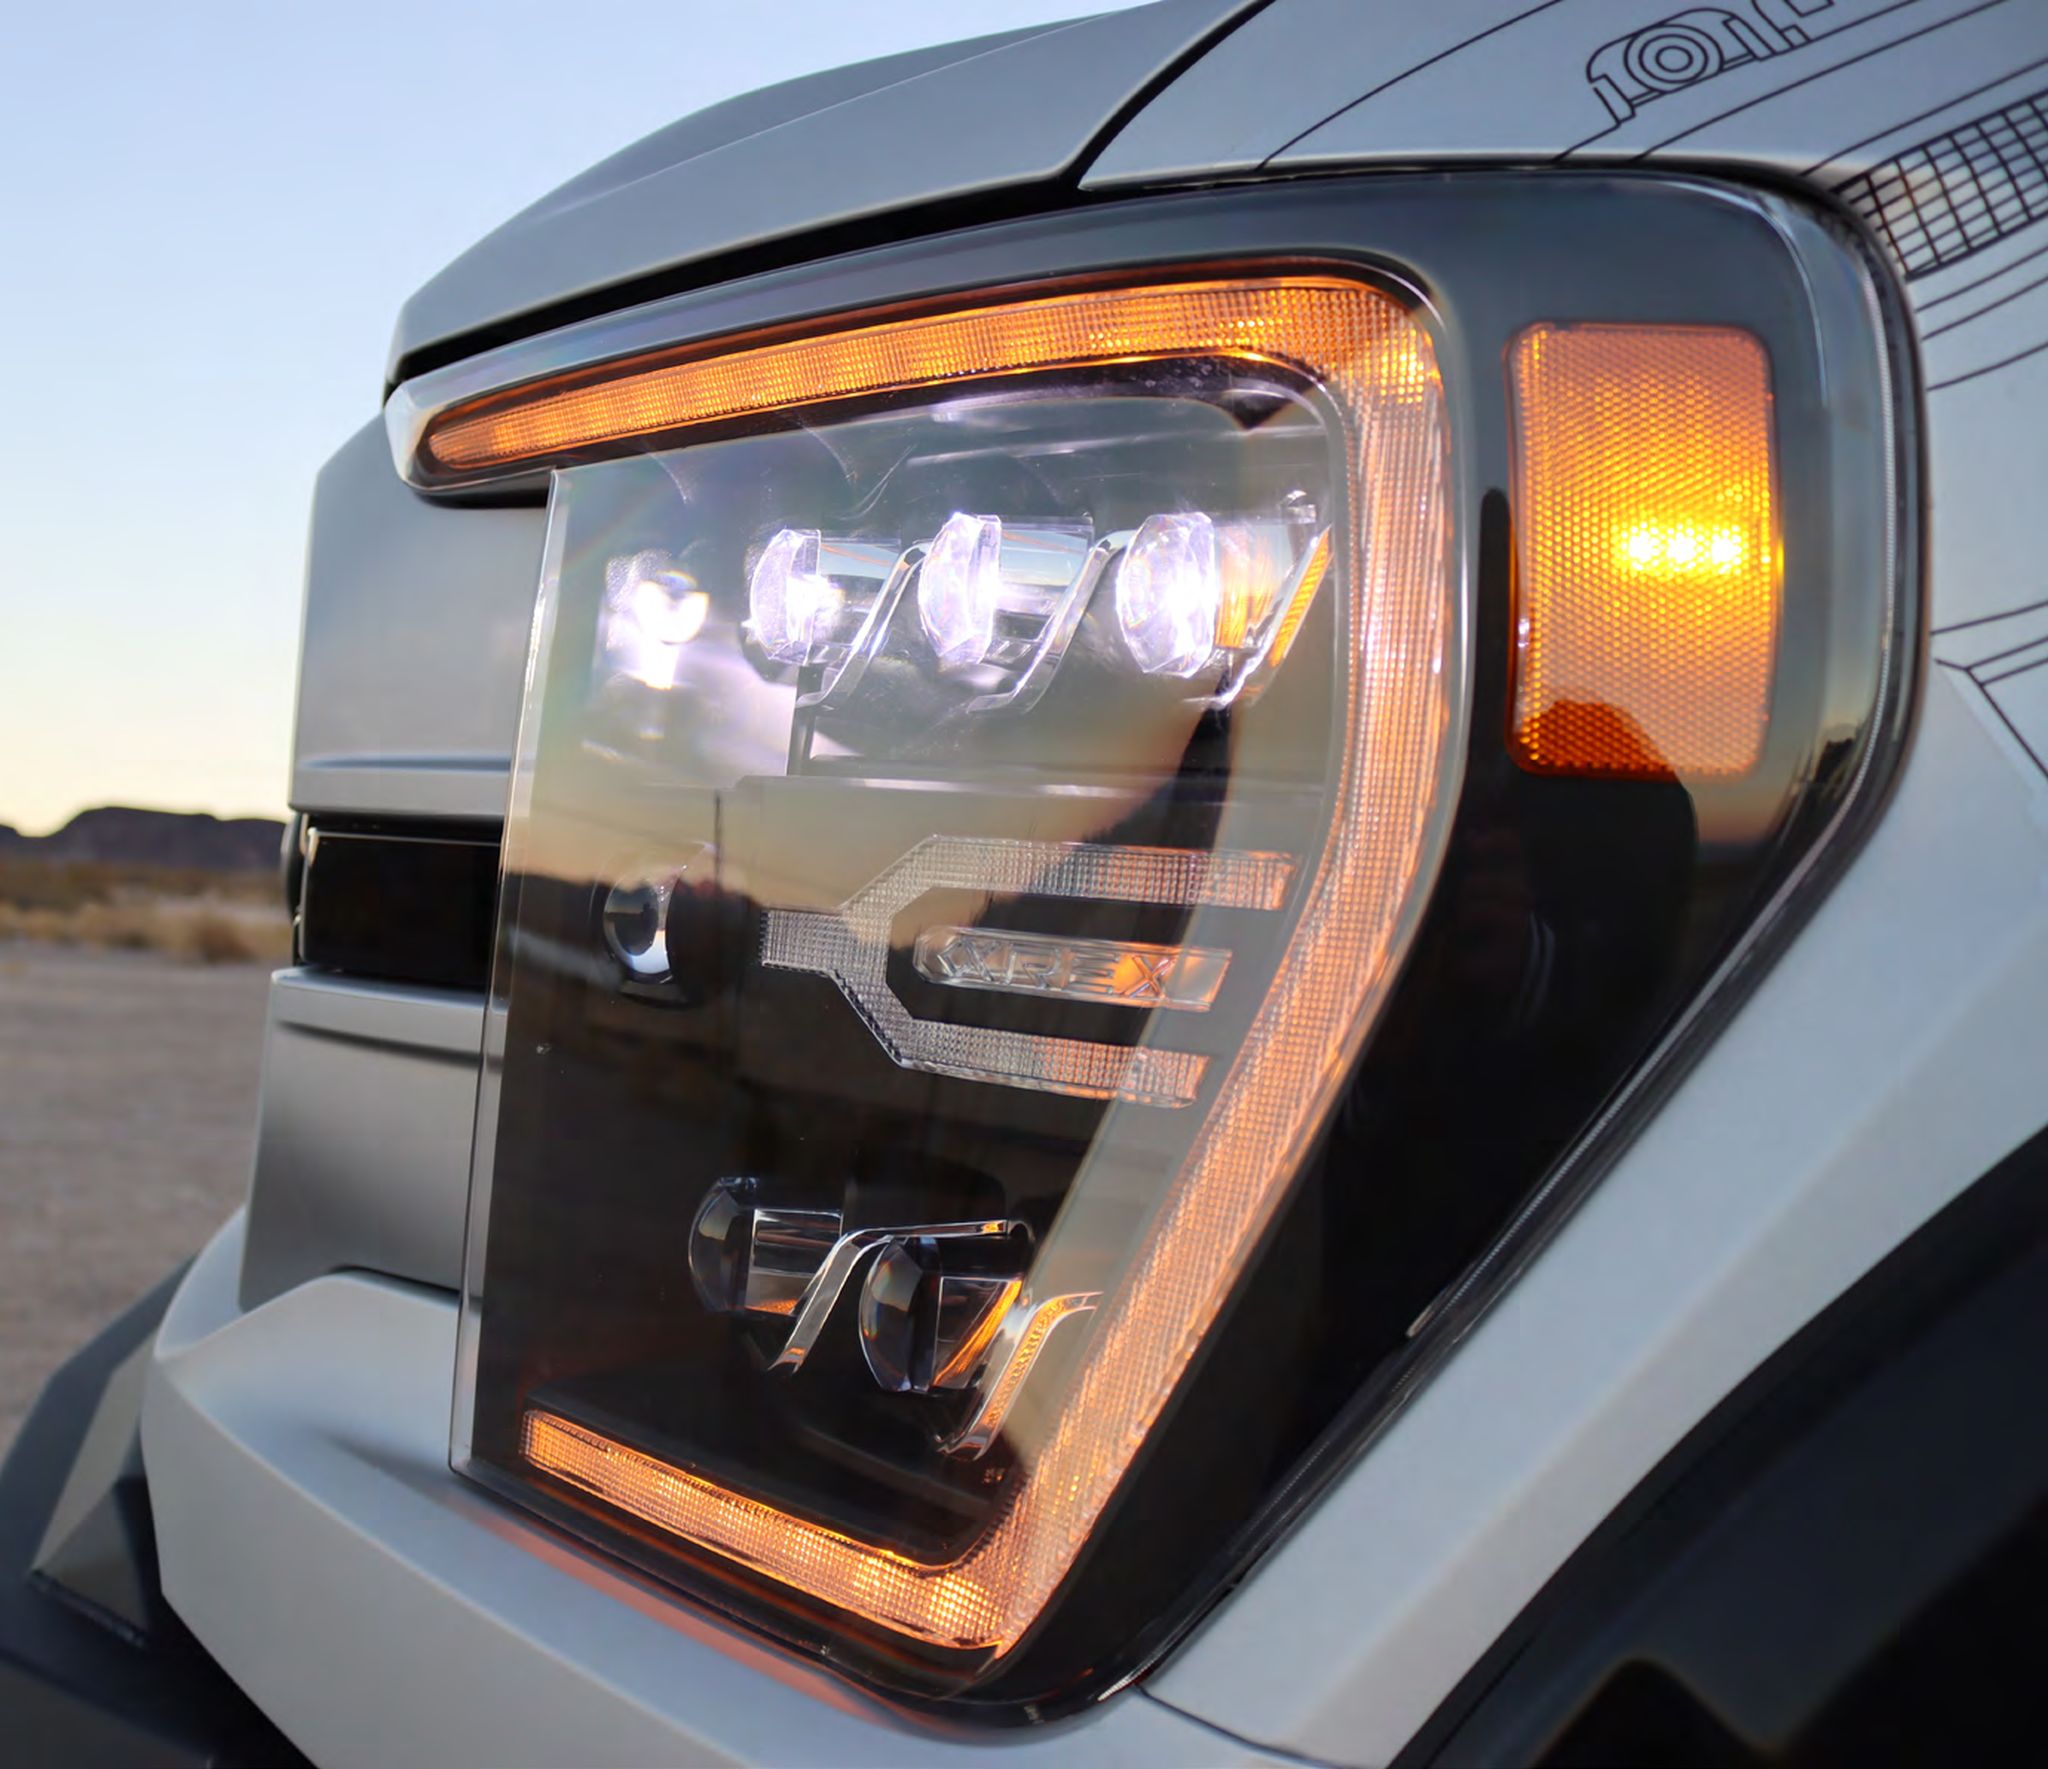
Connect the stock headlight connectors and the daytime running lights connector to the ALPHAREX headlight and install the headlight onto the truck.
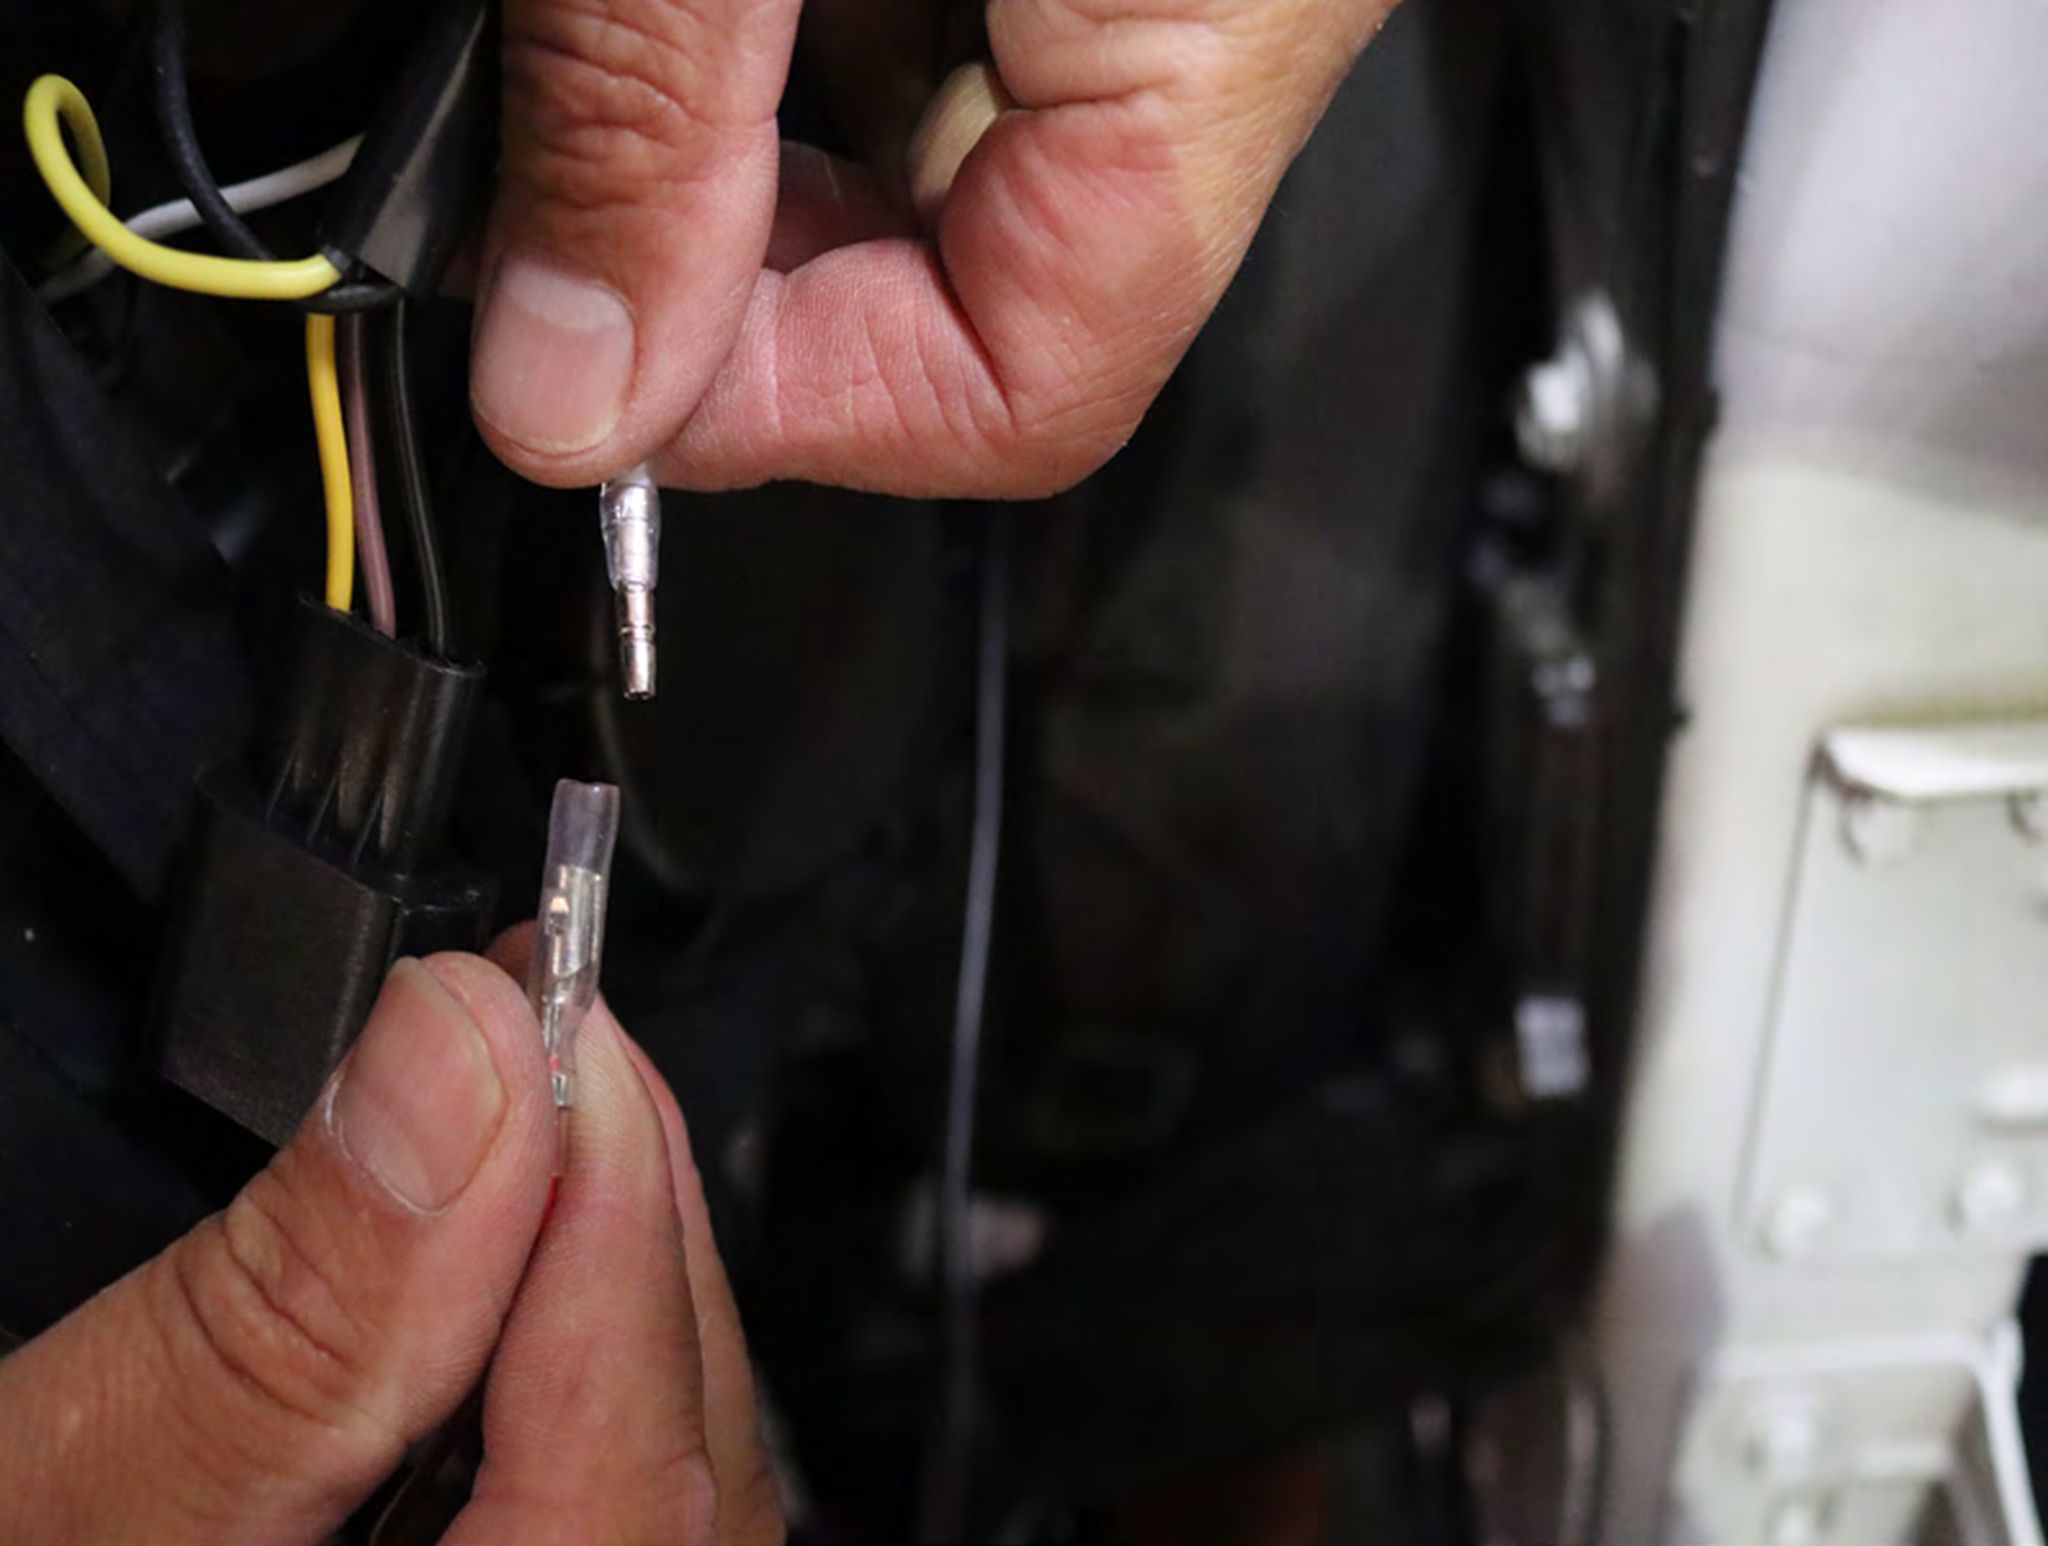
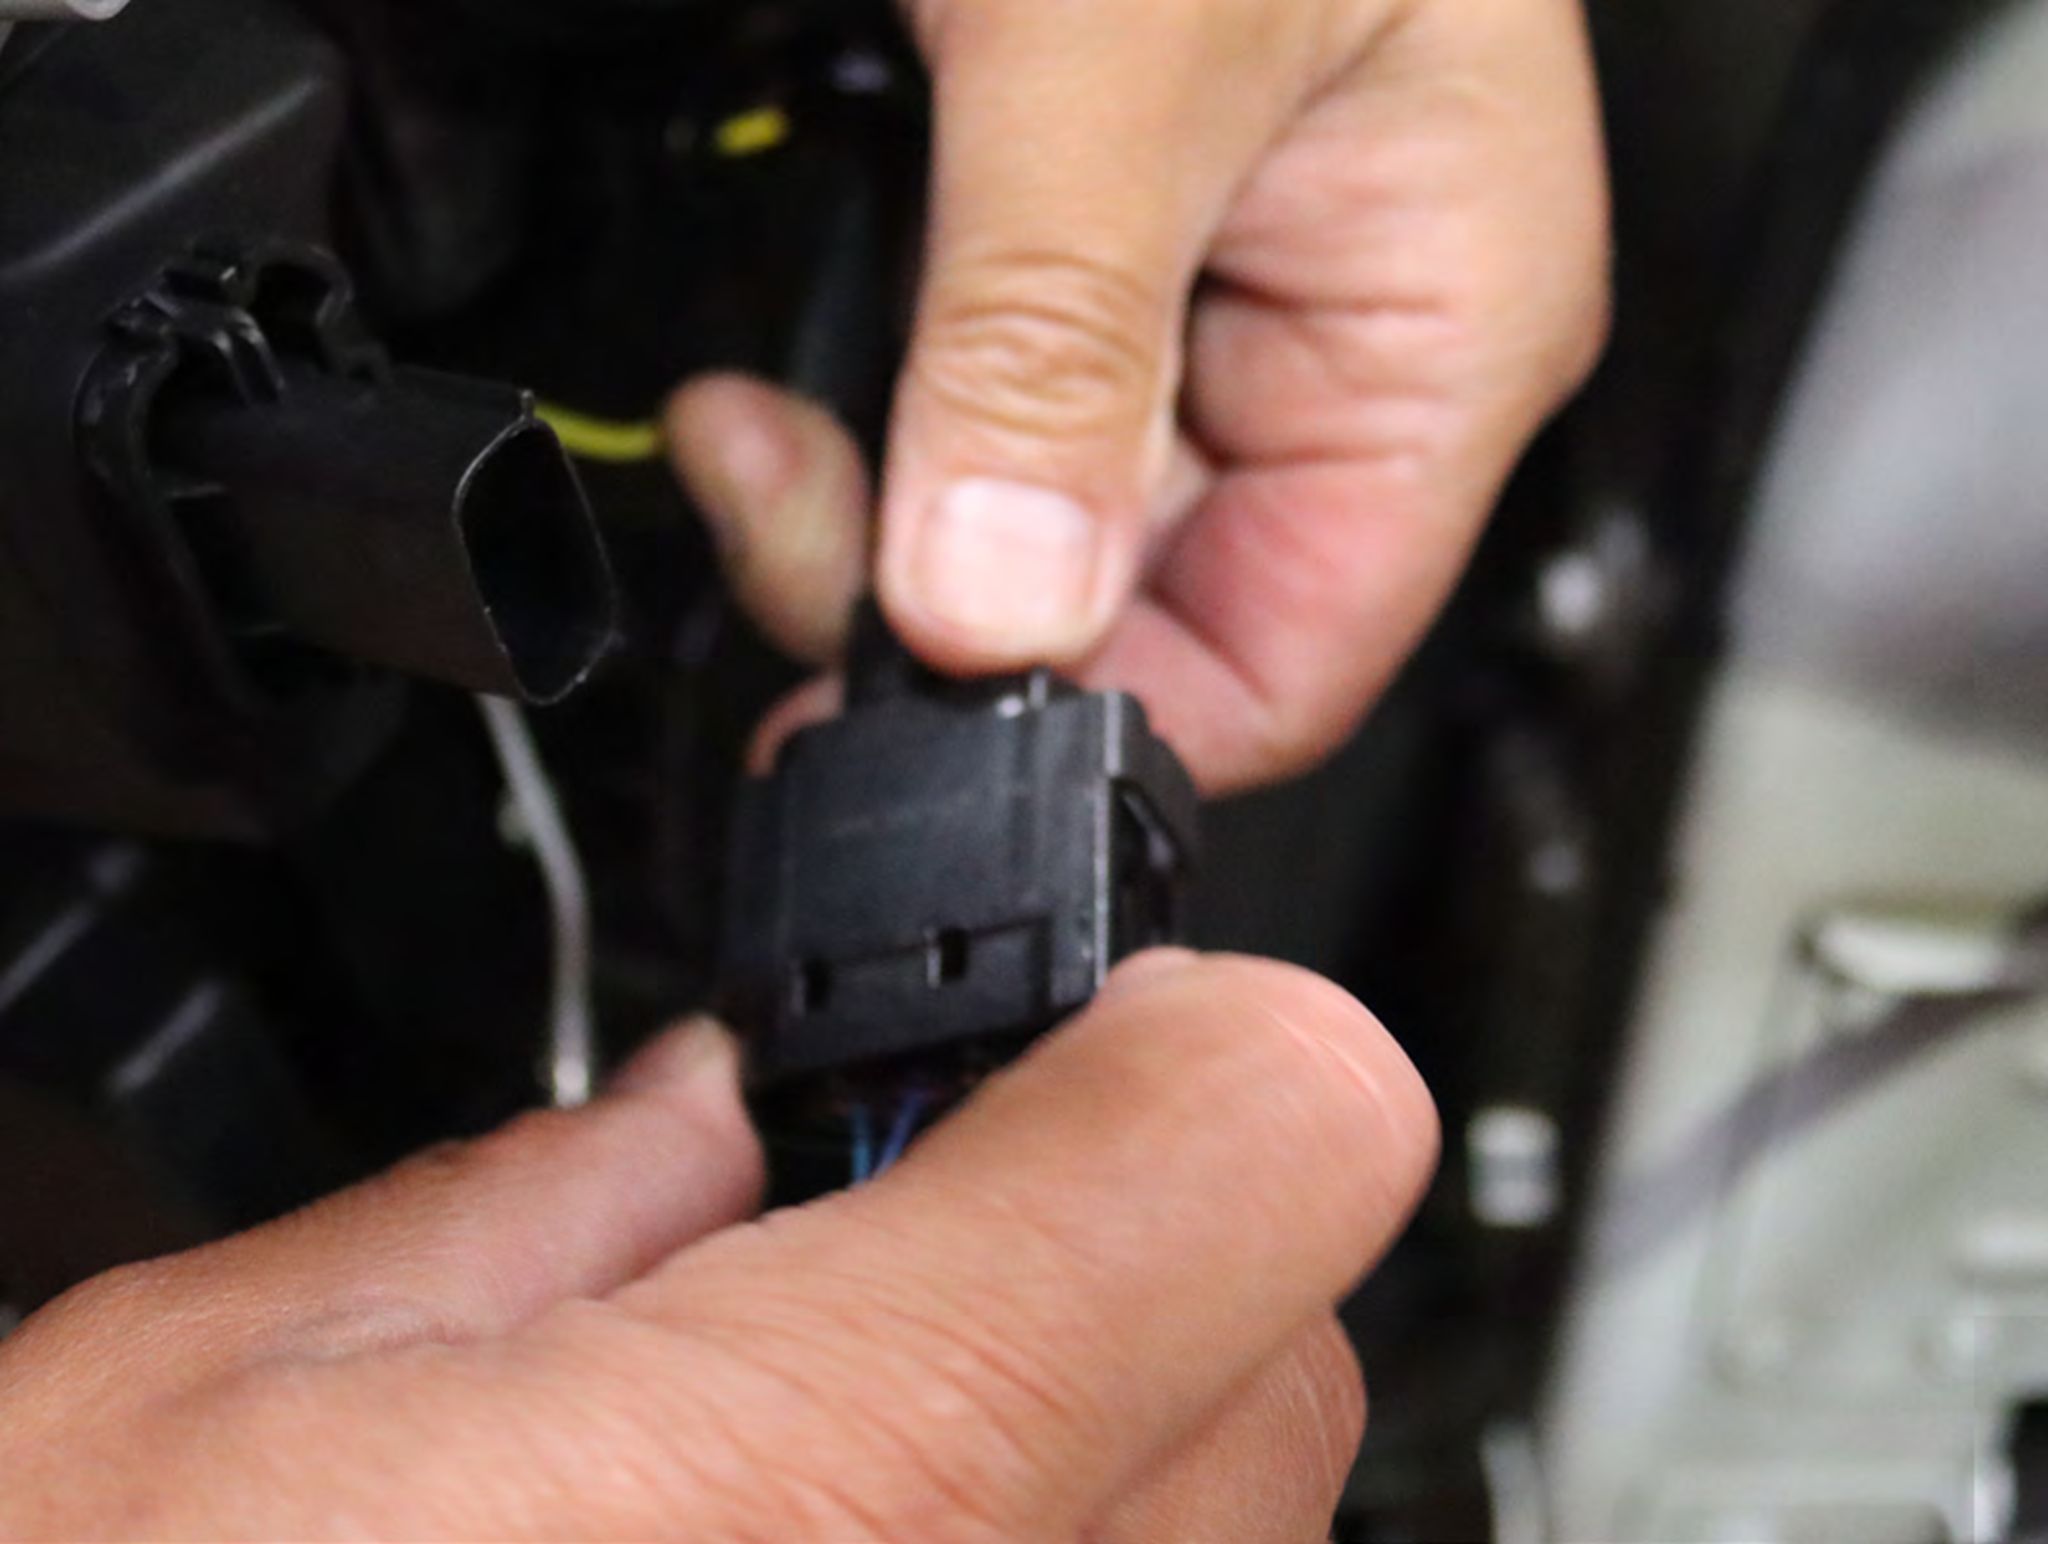
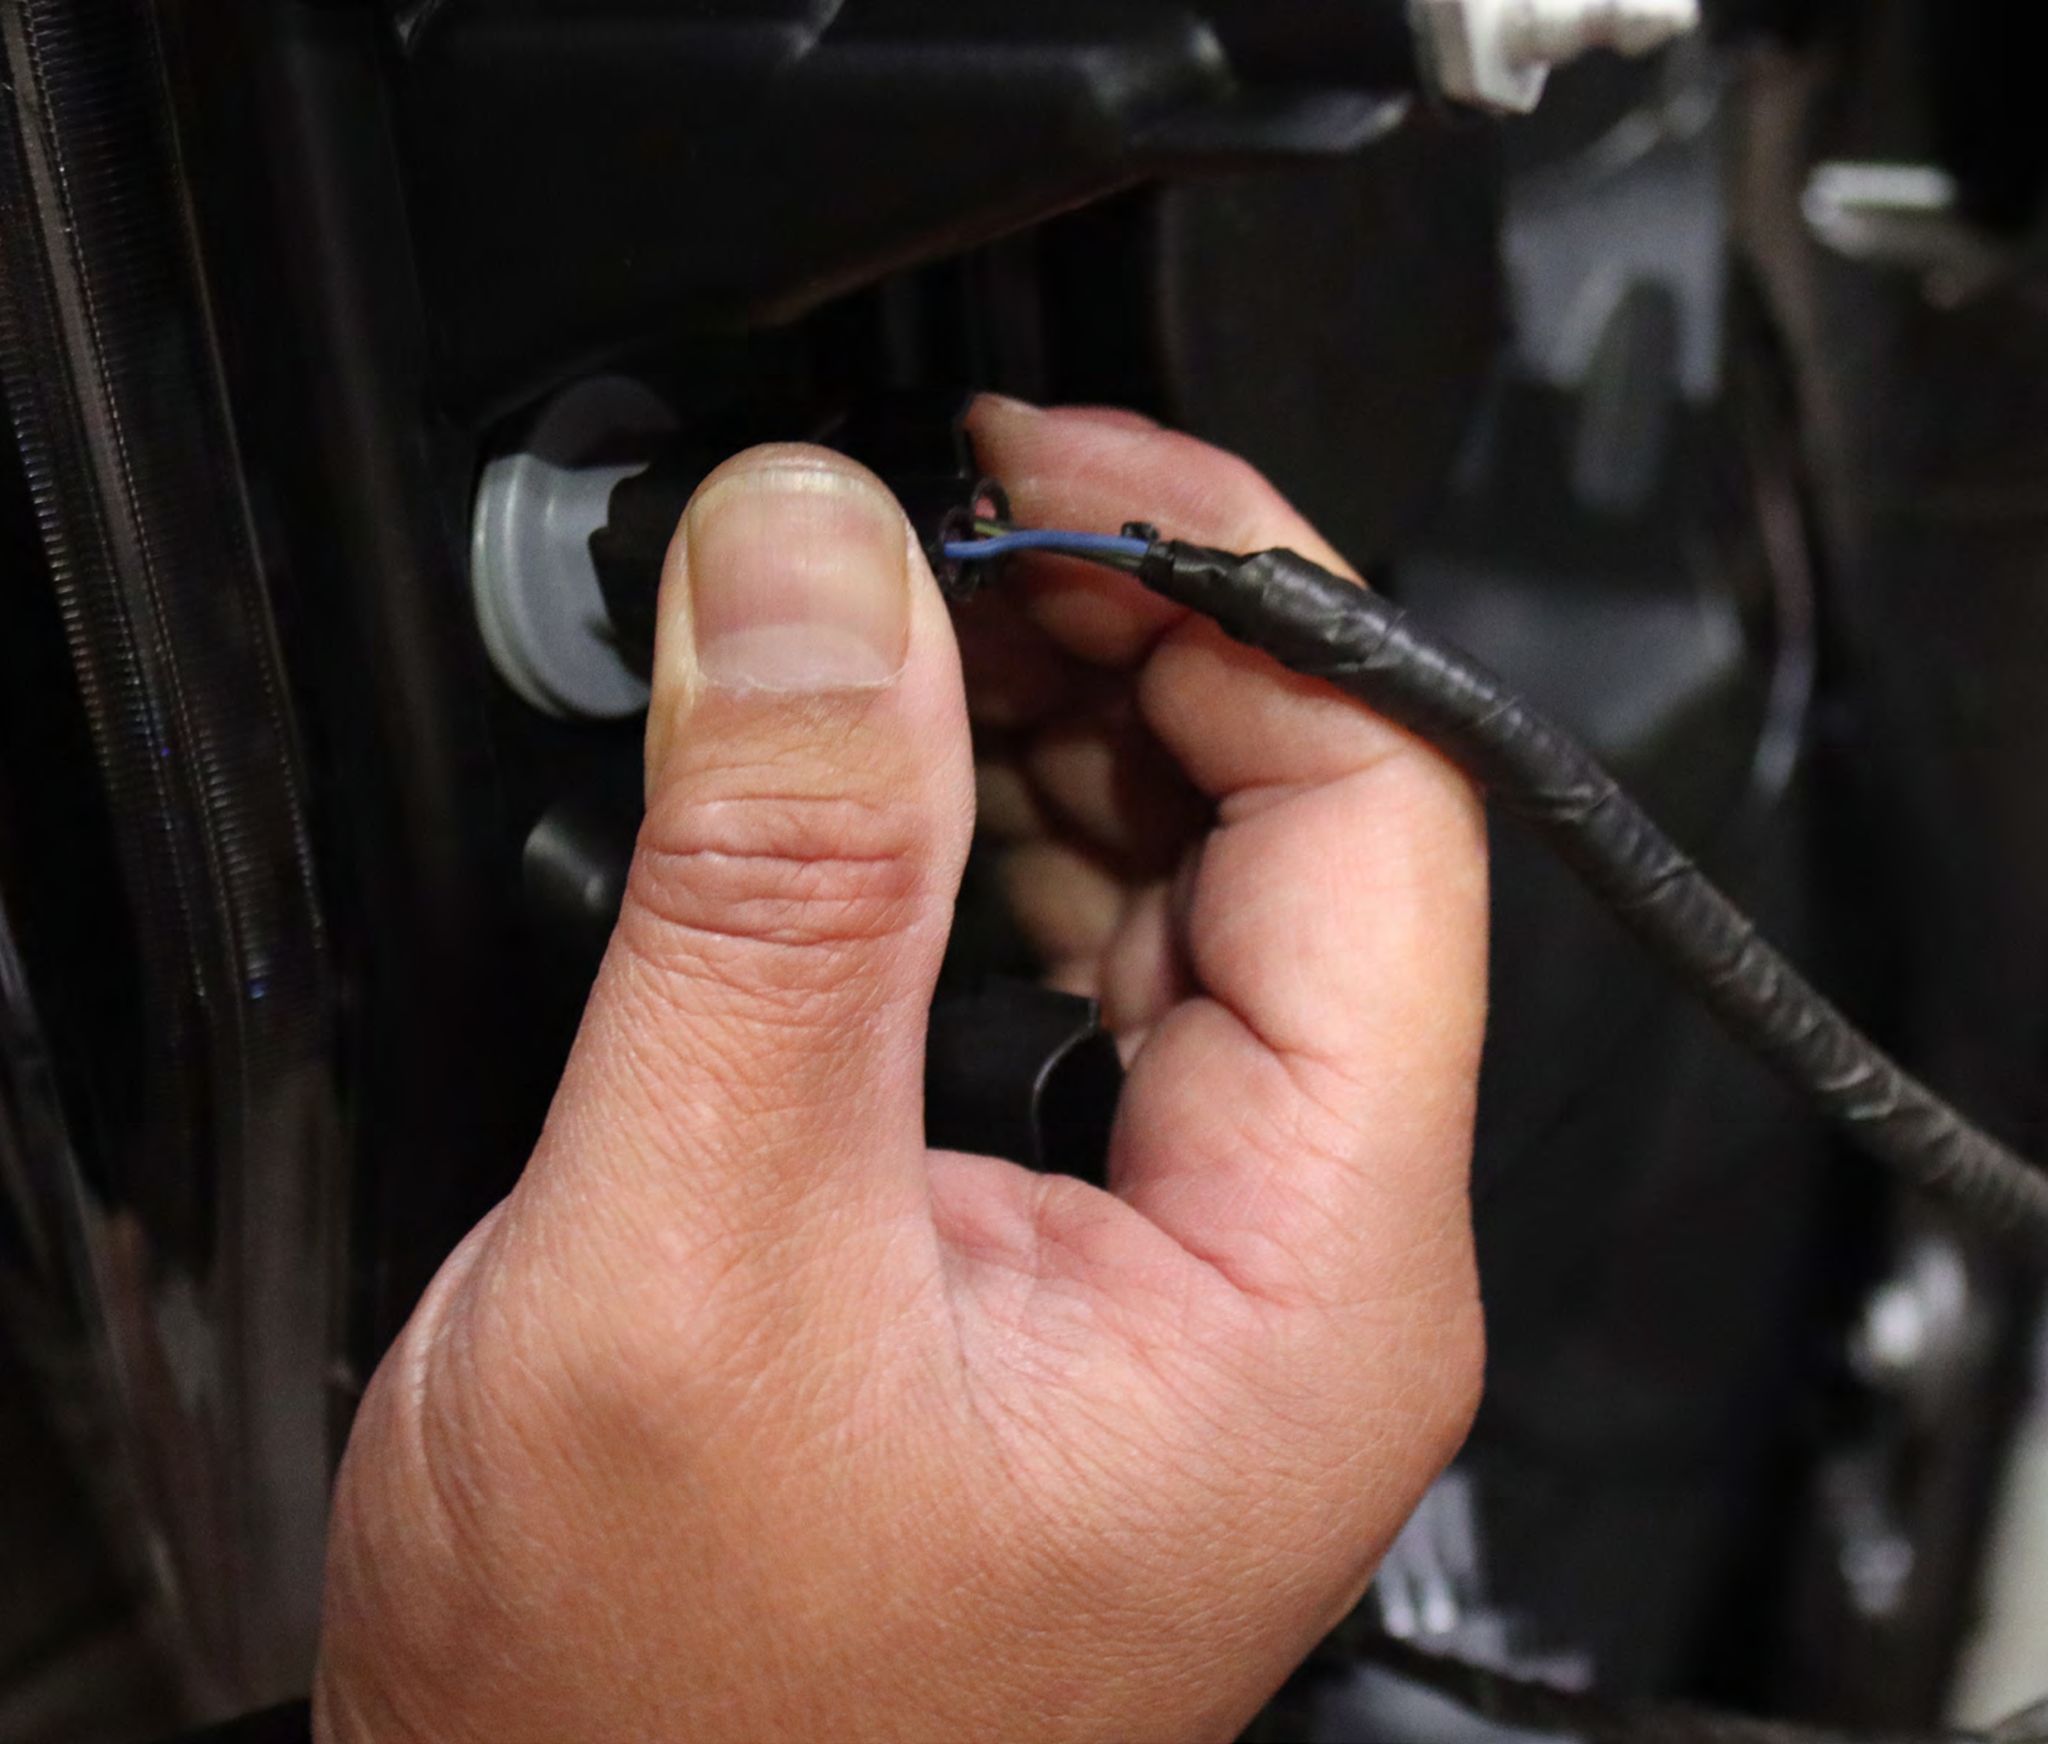
Repeat the previous steps from the opposite side headlight for removal and installation.
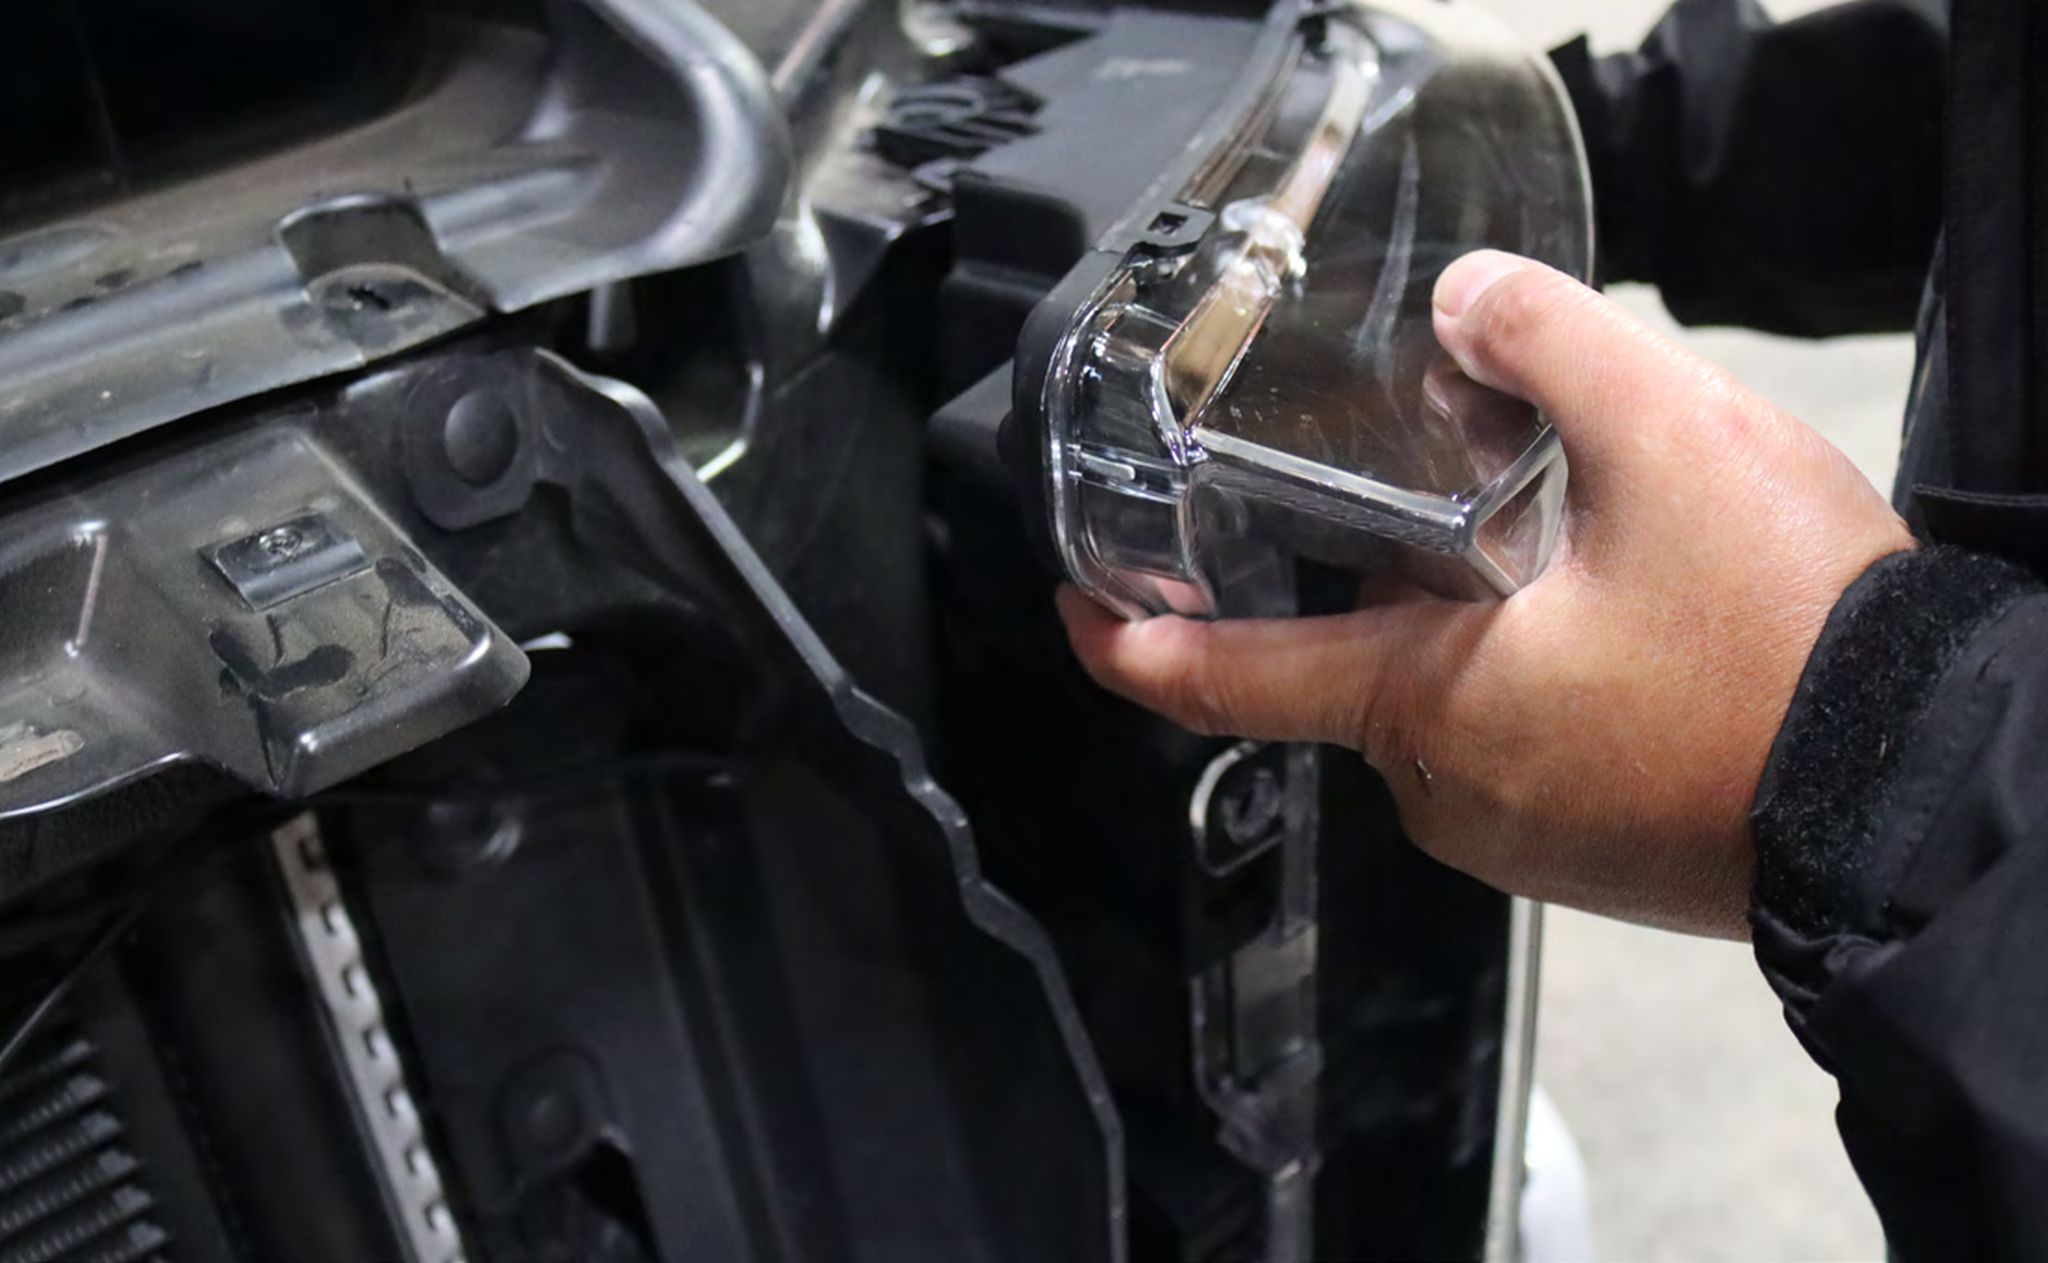
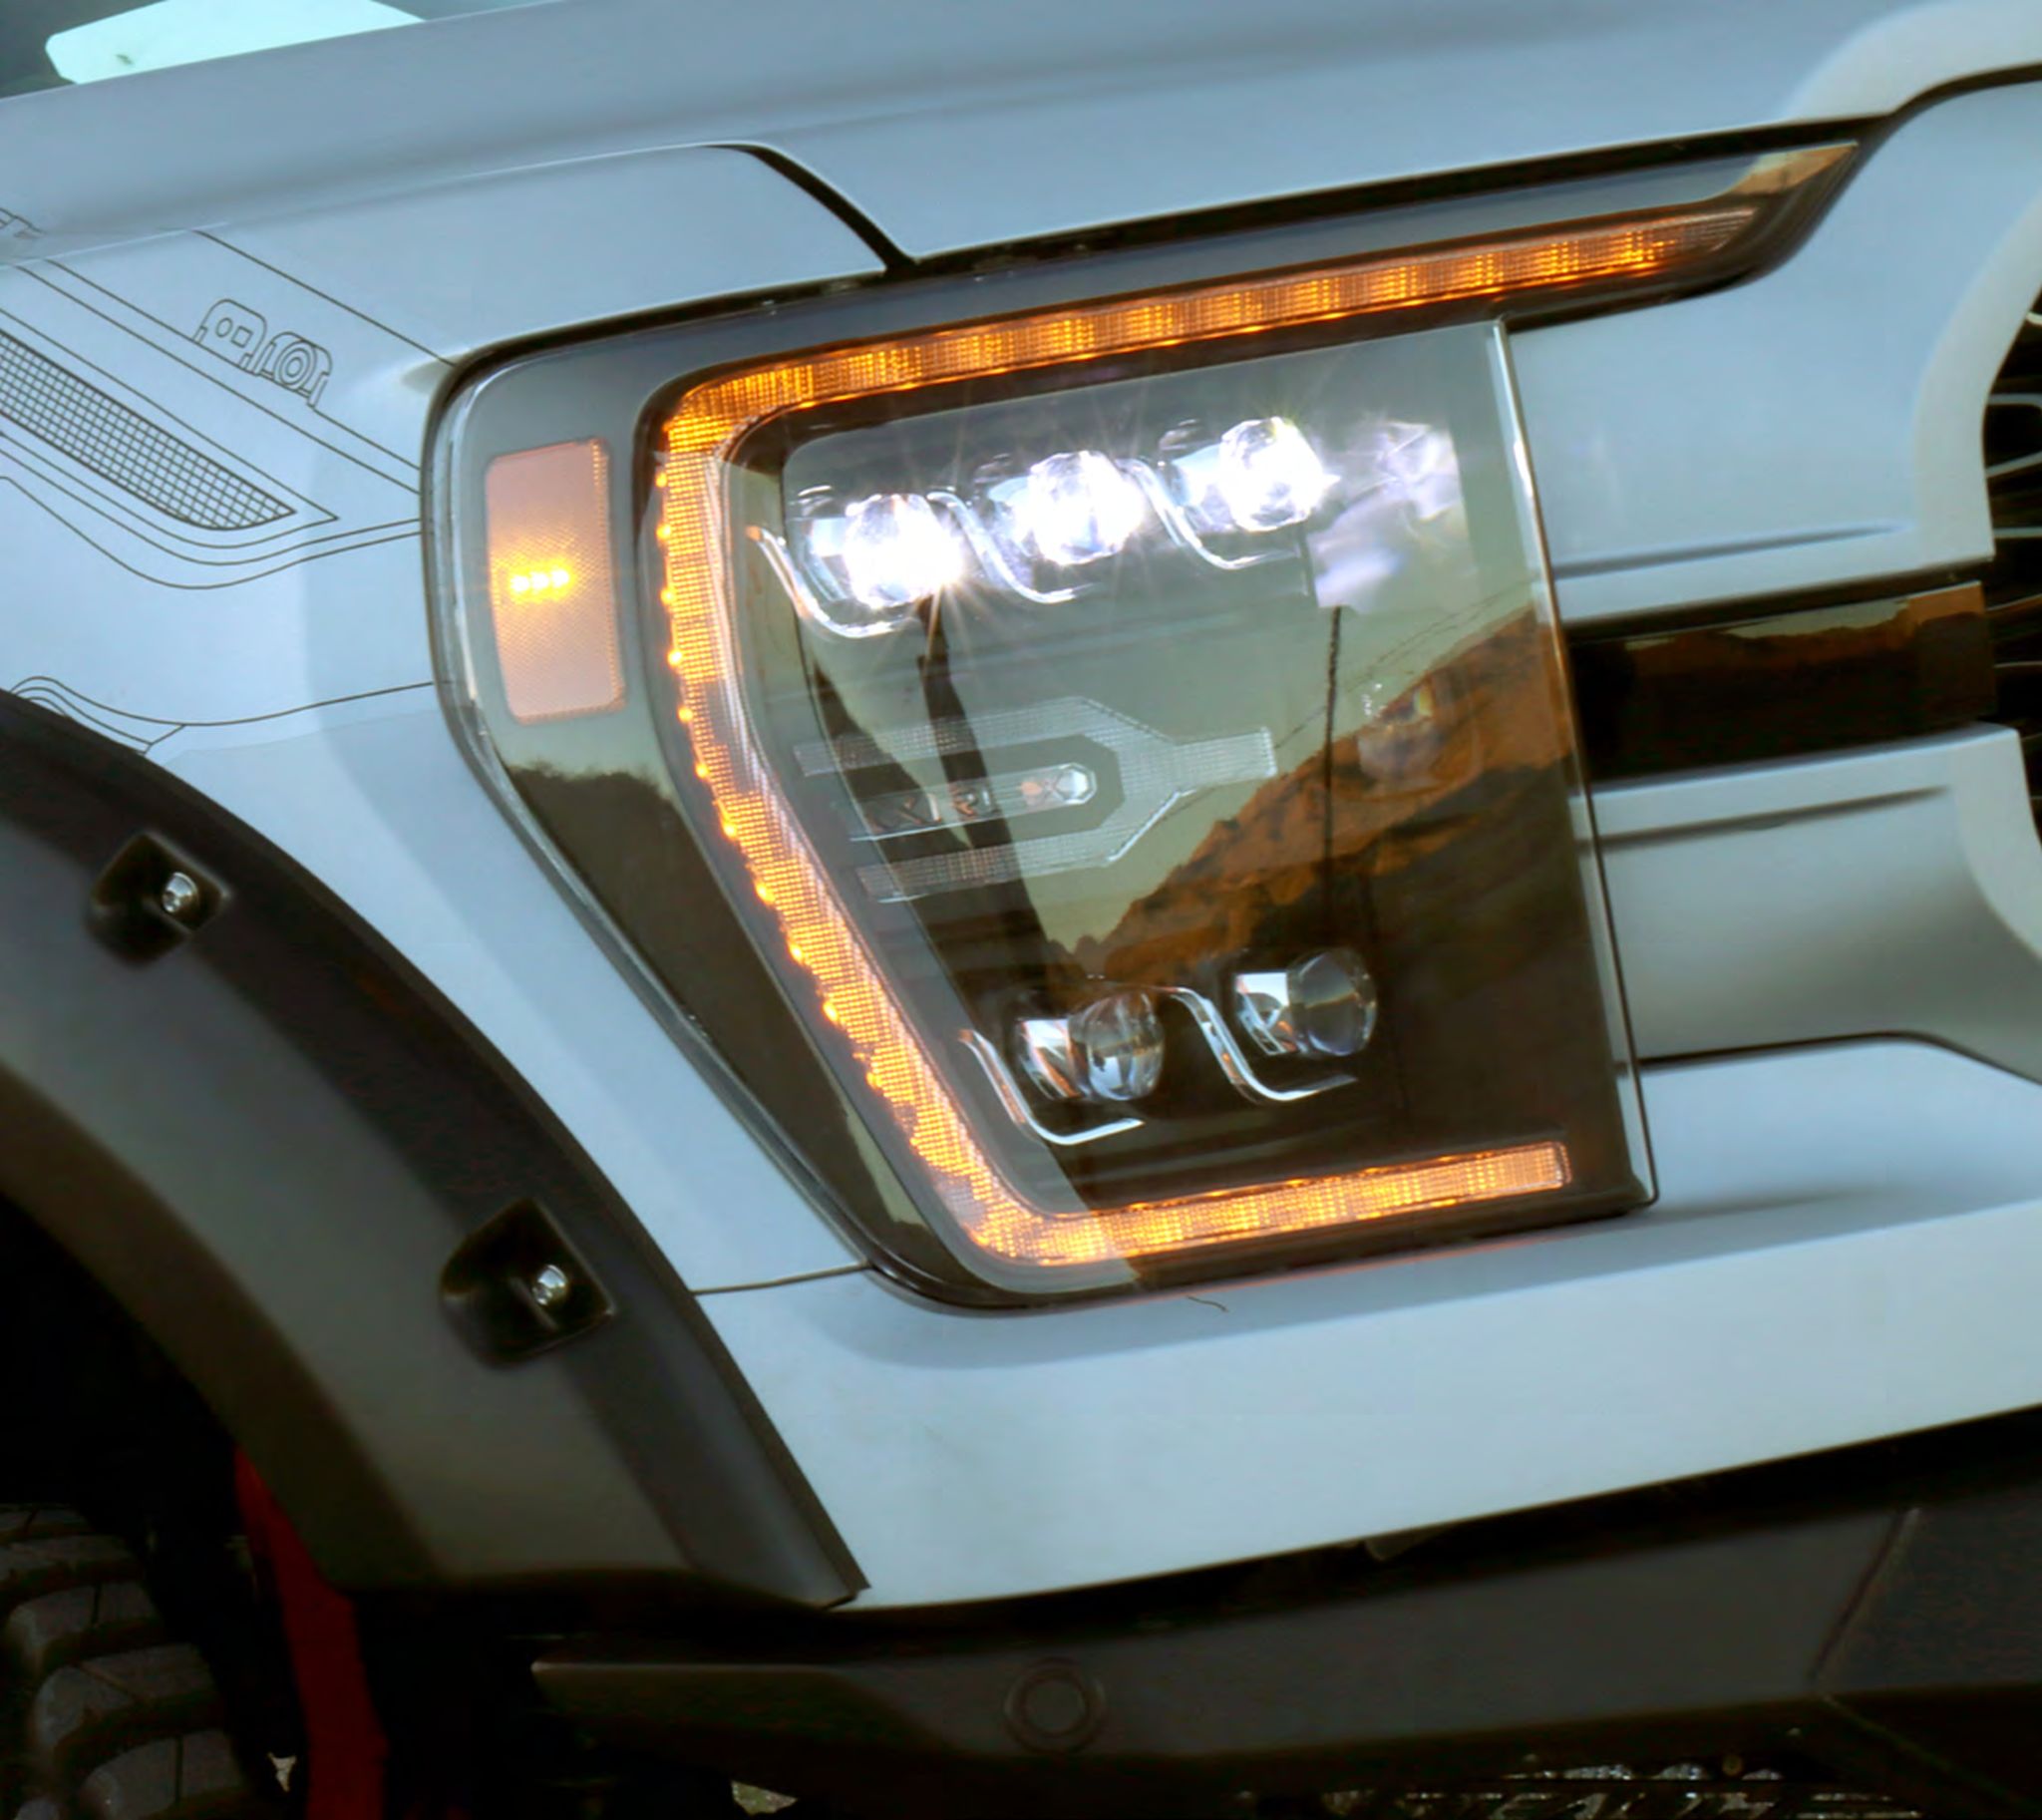
Step 11: TEST THE HEADLIGHT FUNCTIONS
Test the functions of your ALPHAREX headlights to ensure everything works properly.
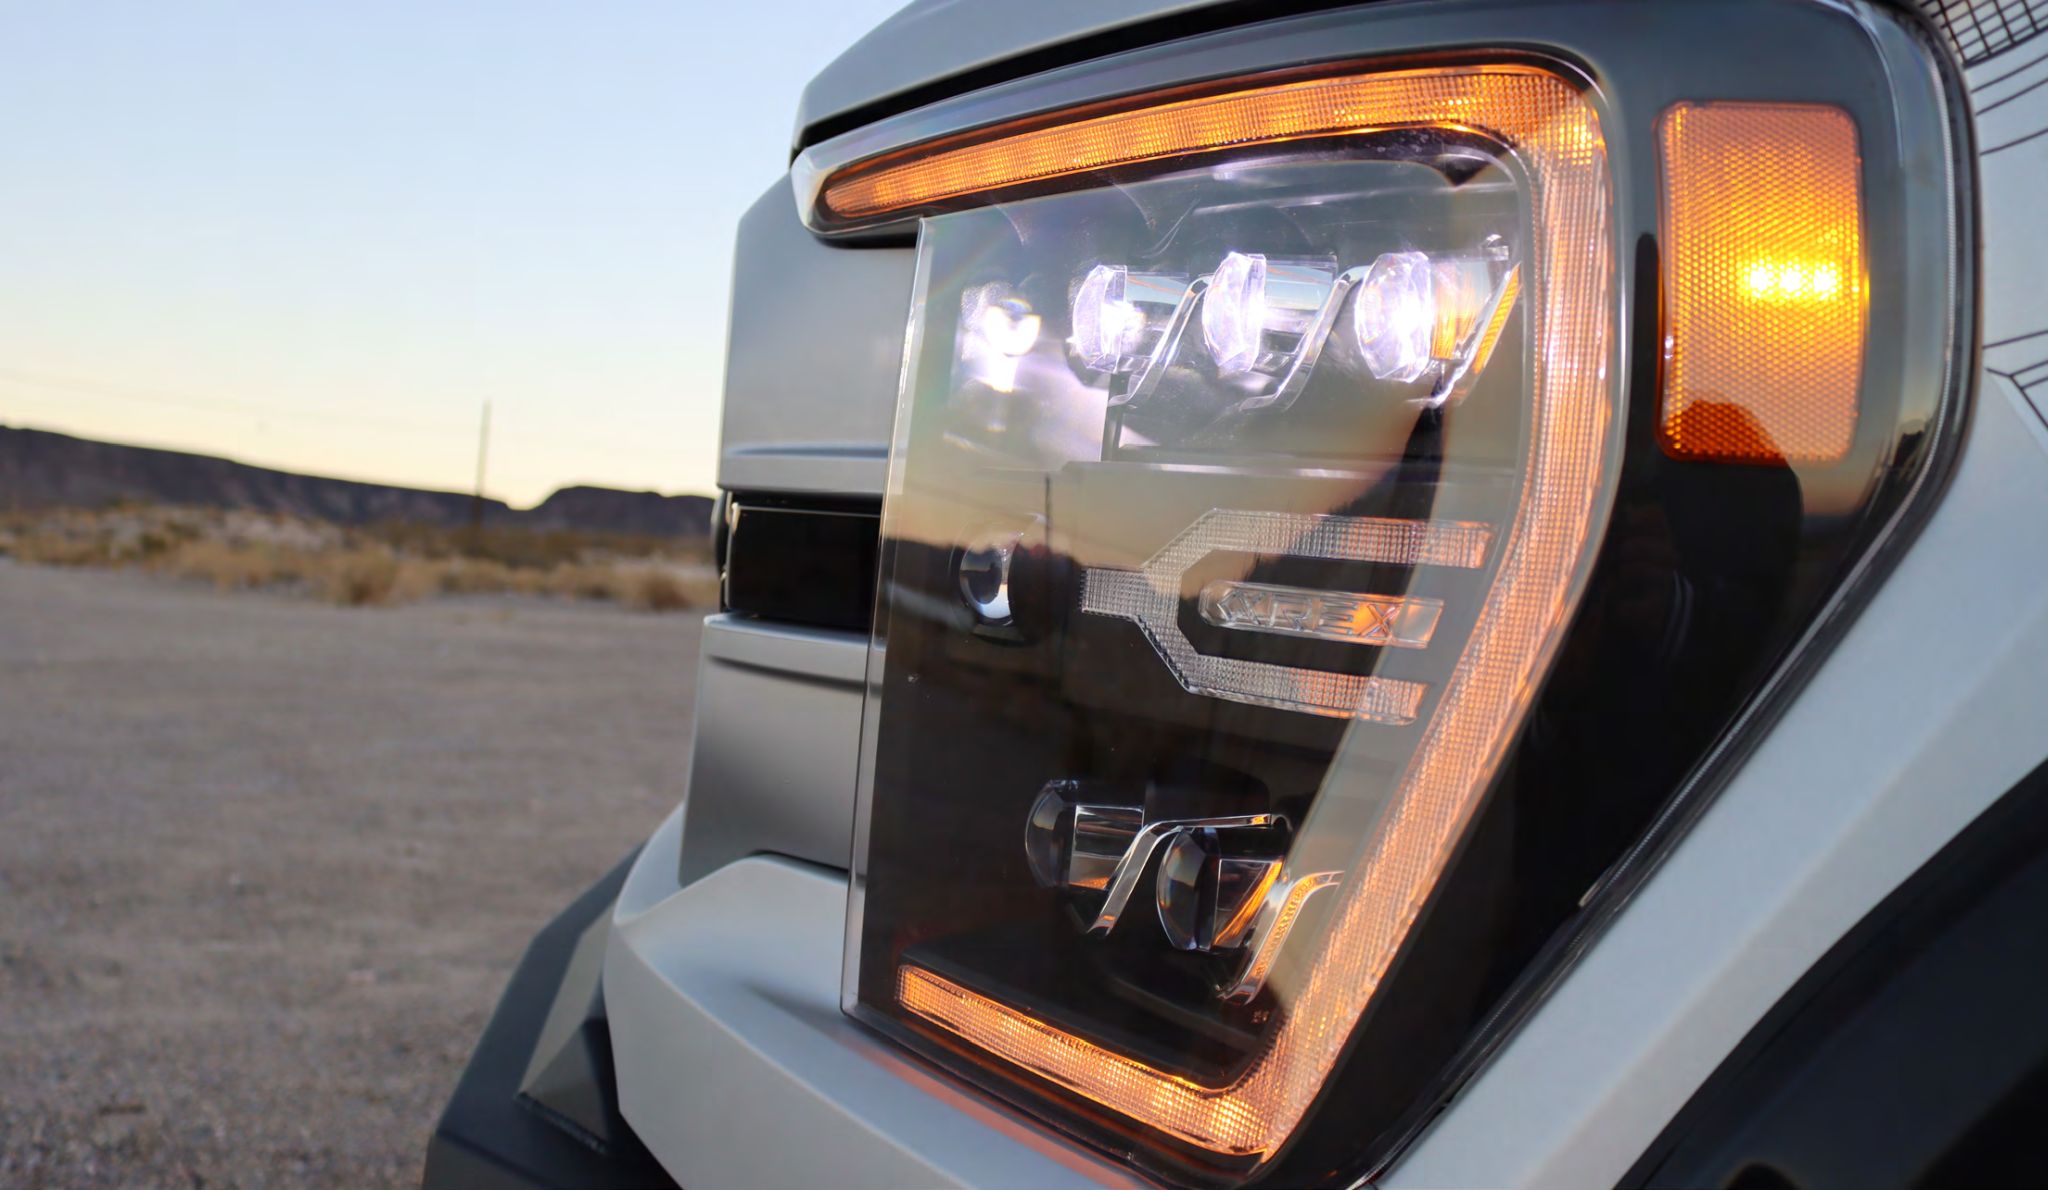
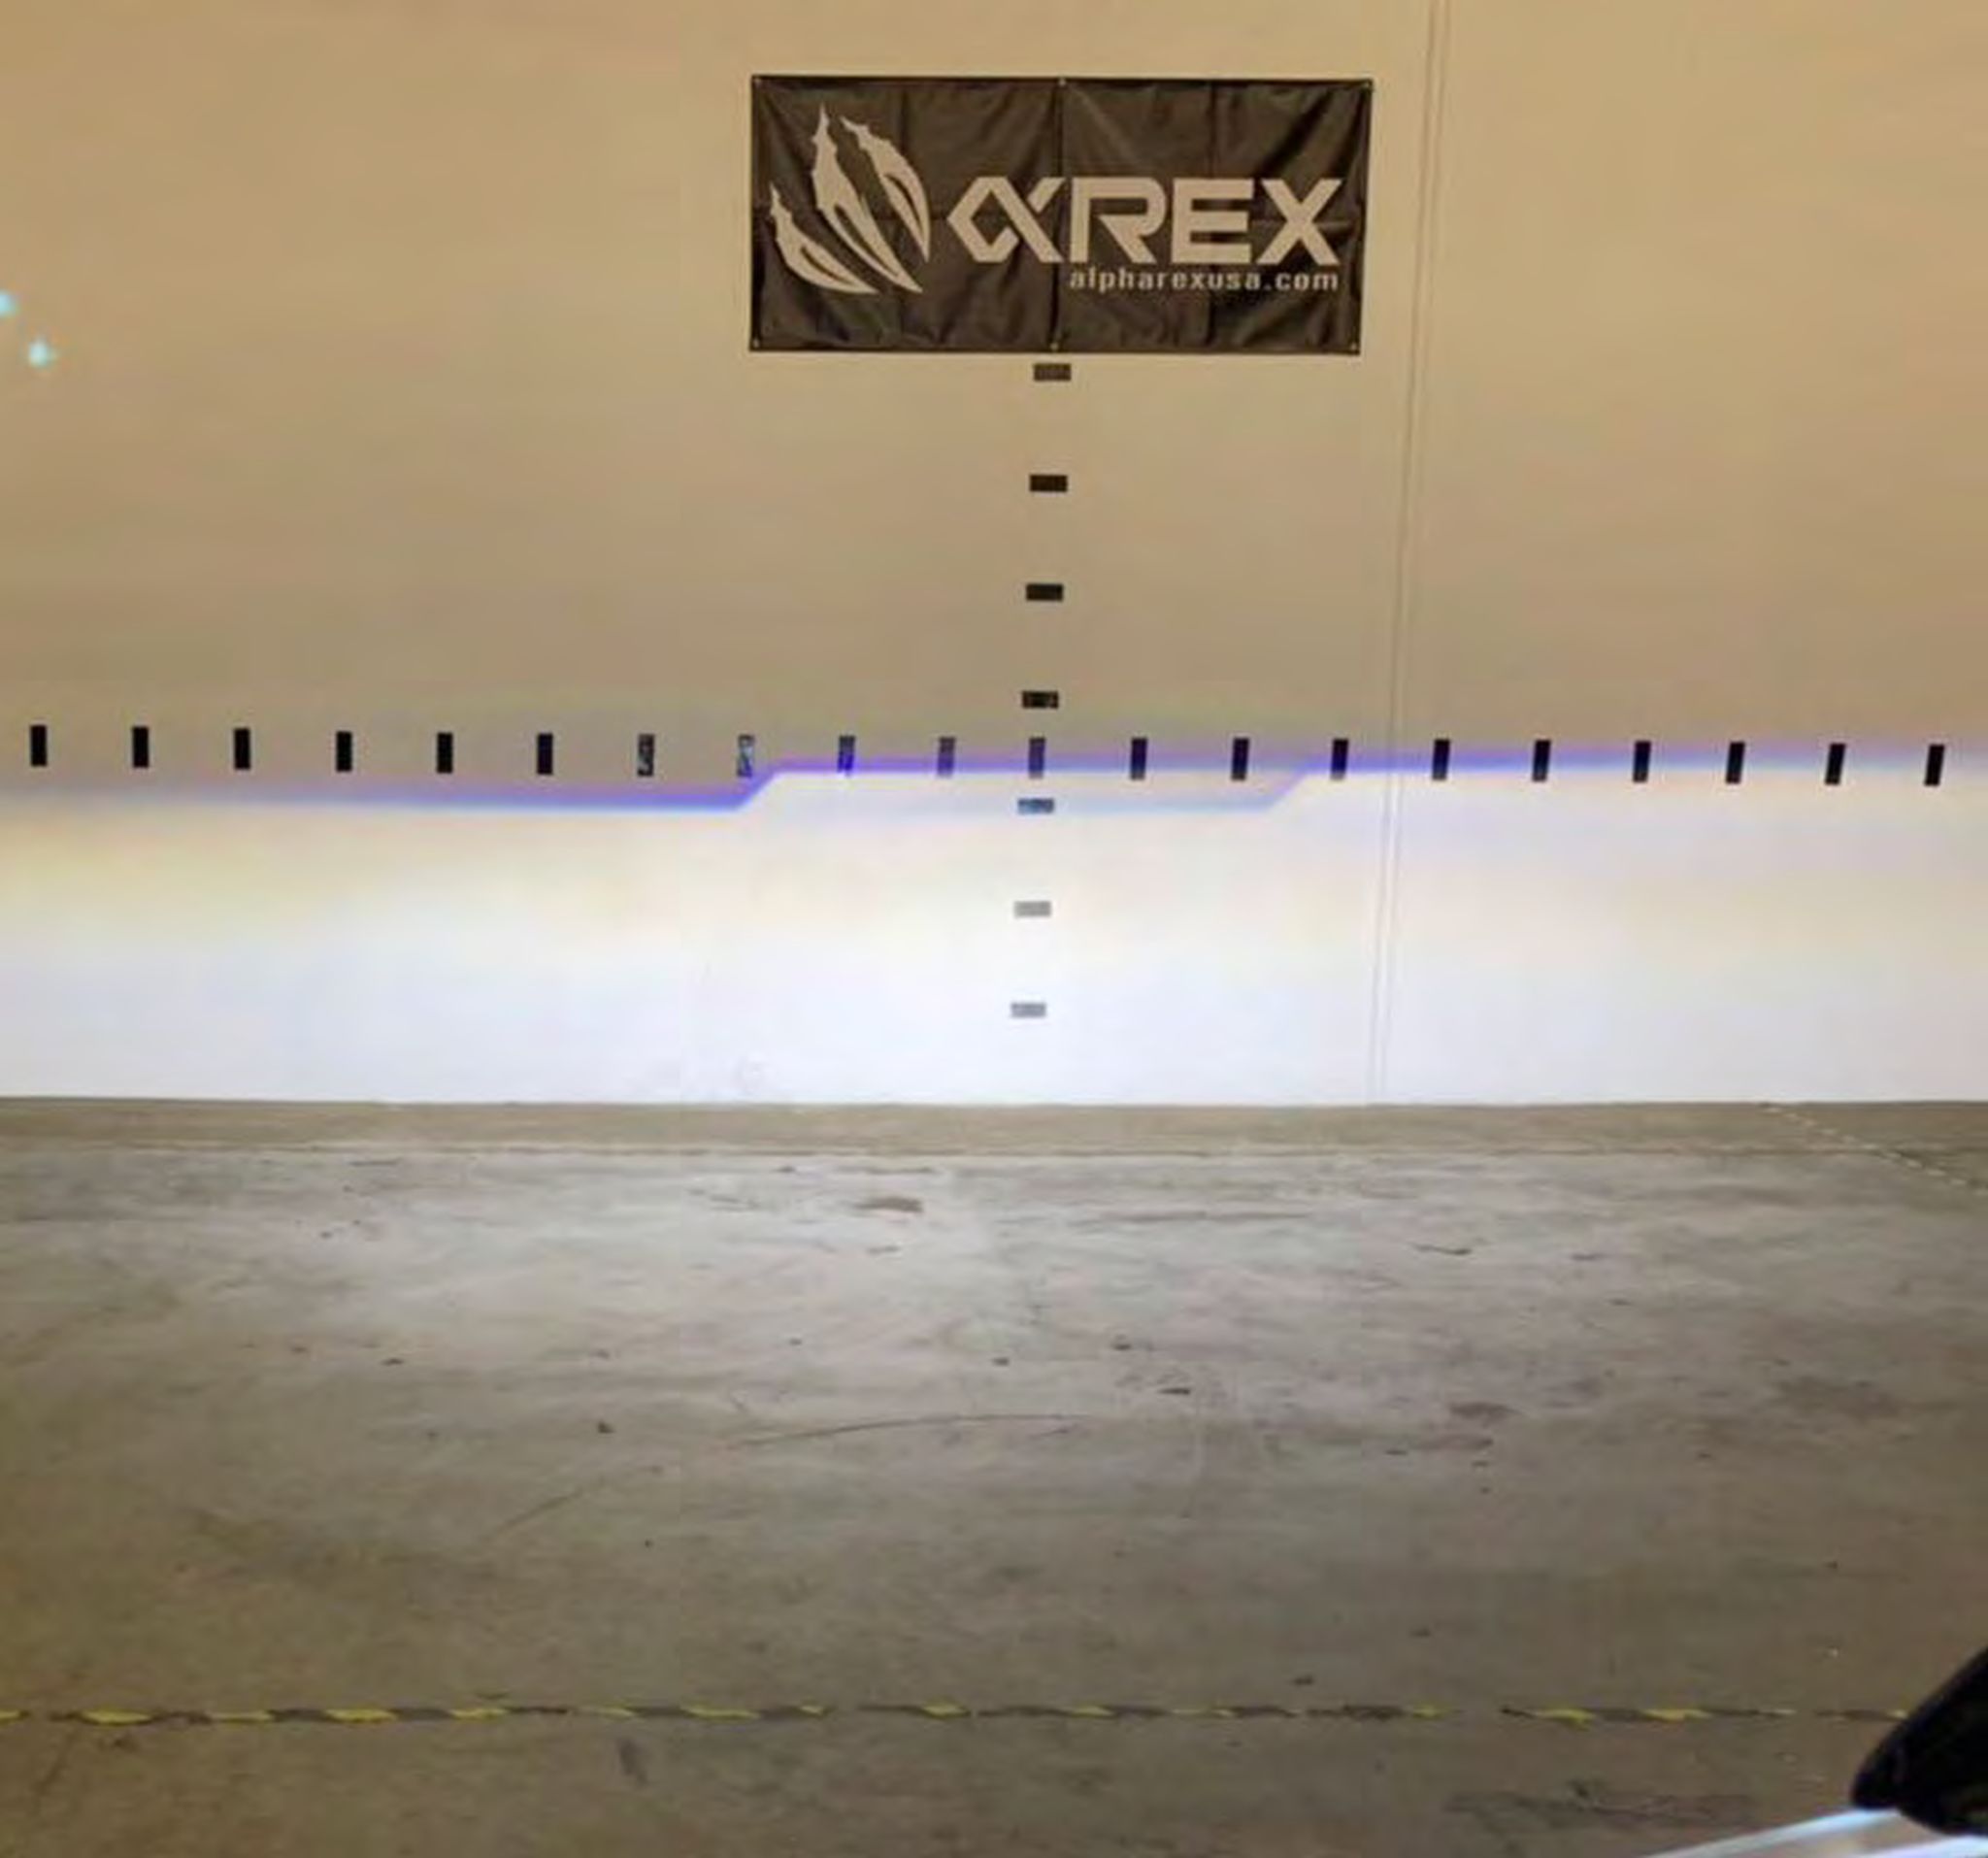
Step 12: ADJUST HEADLIGHT LEVEL
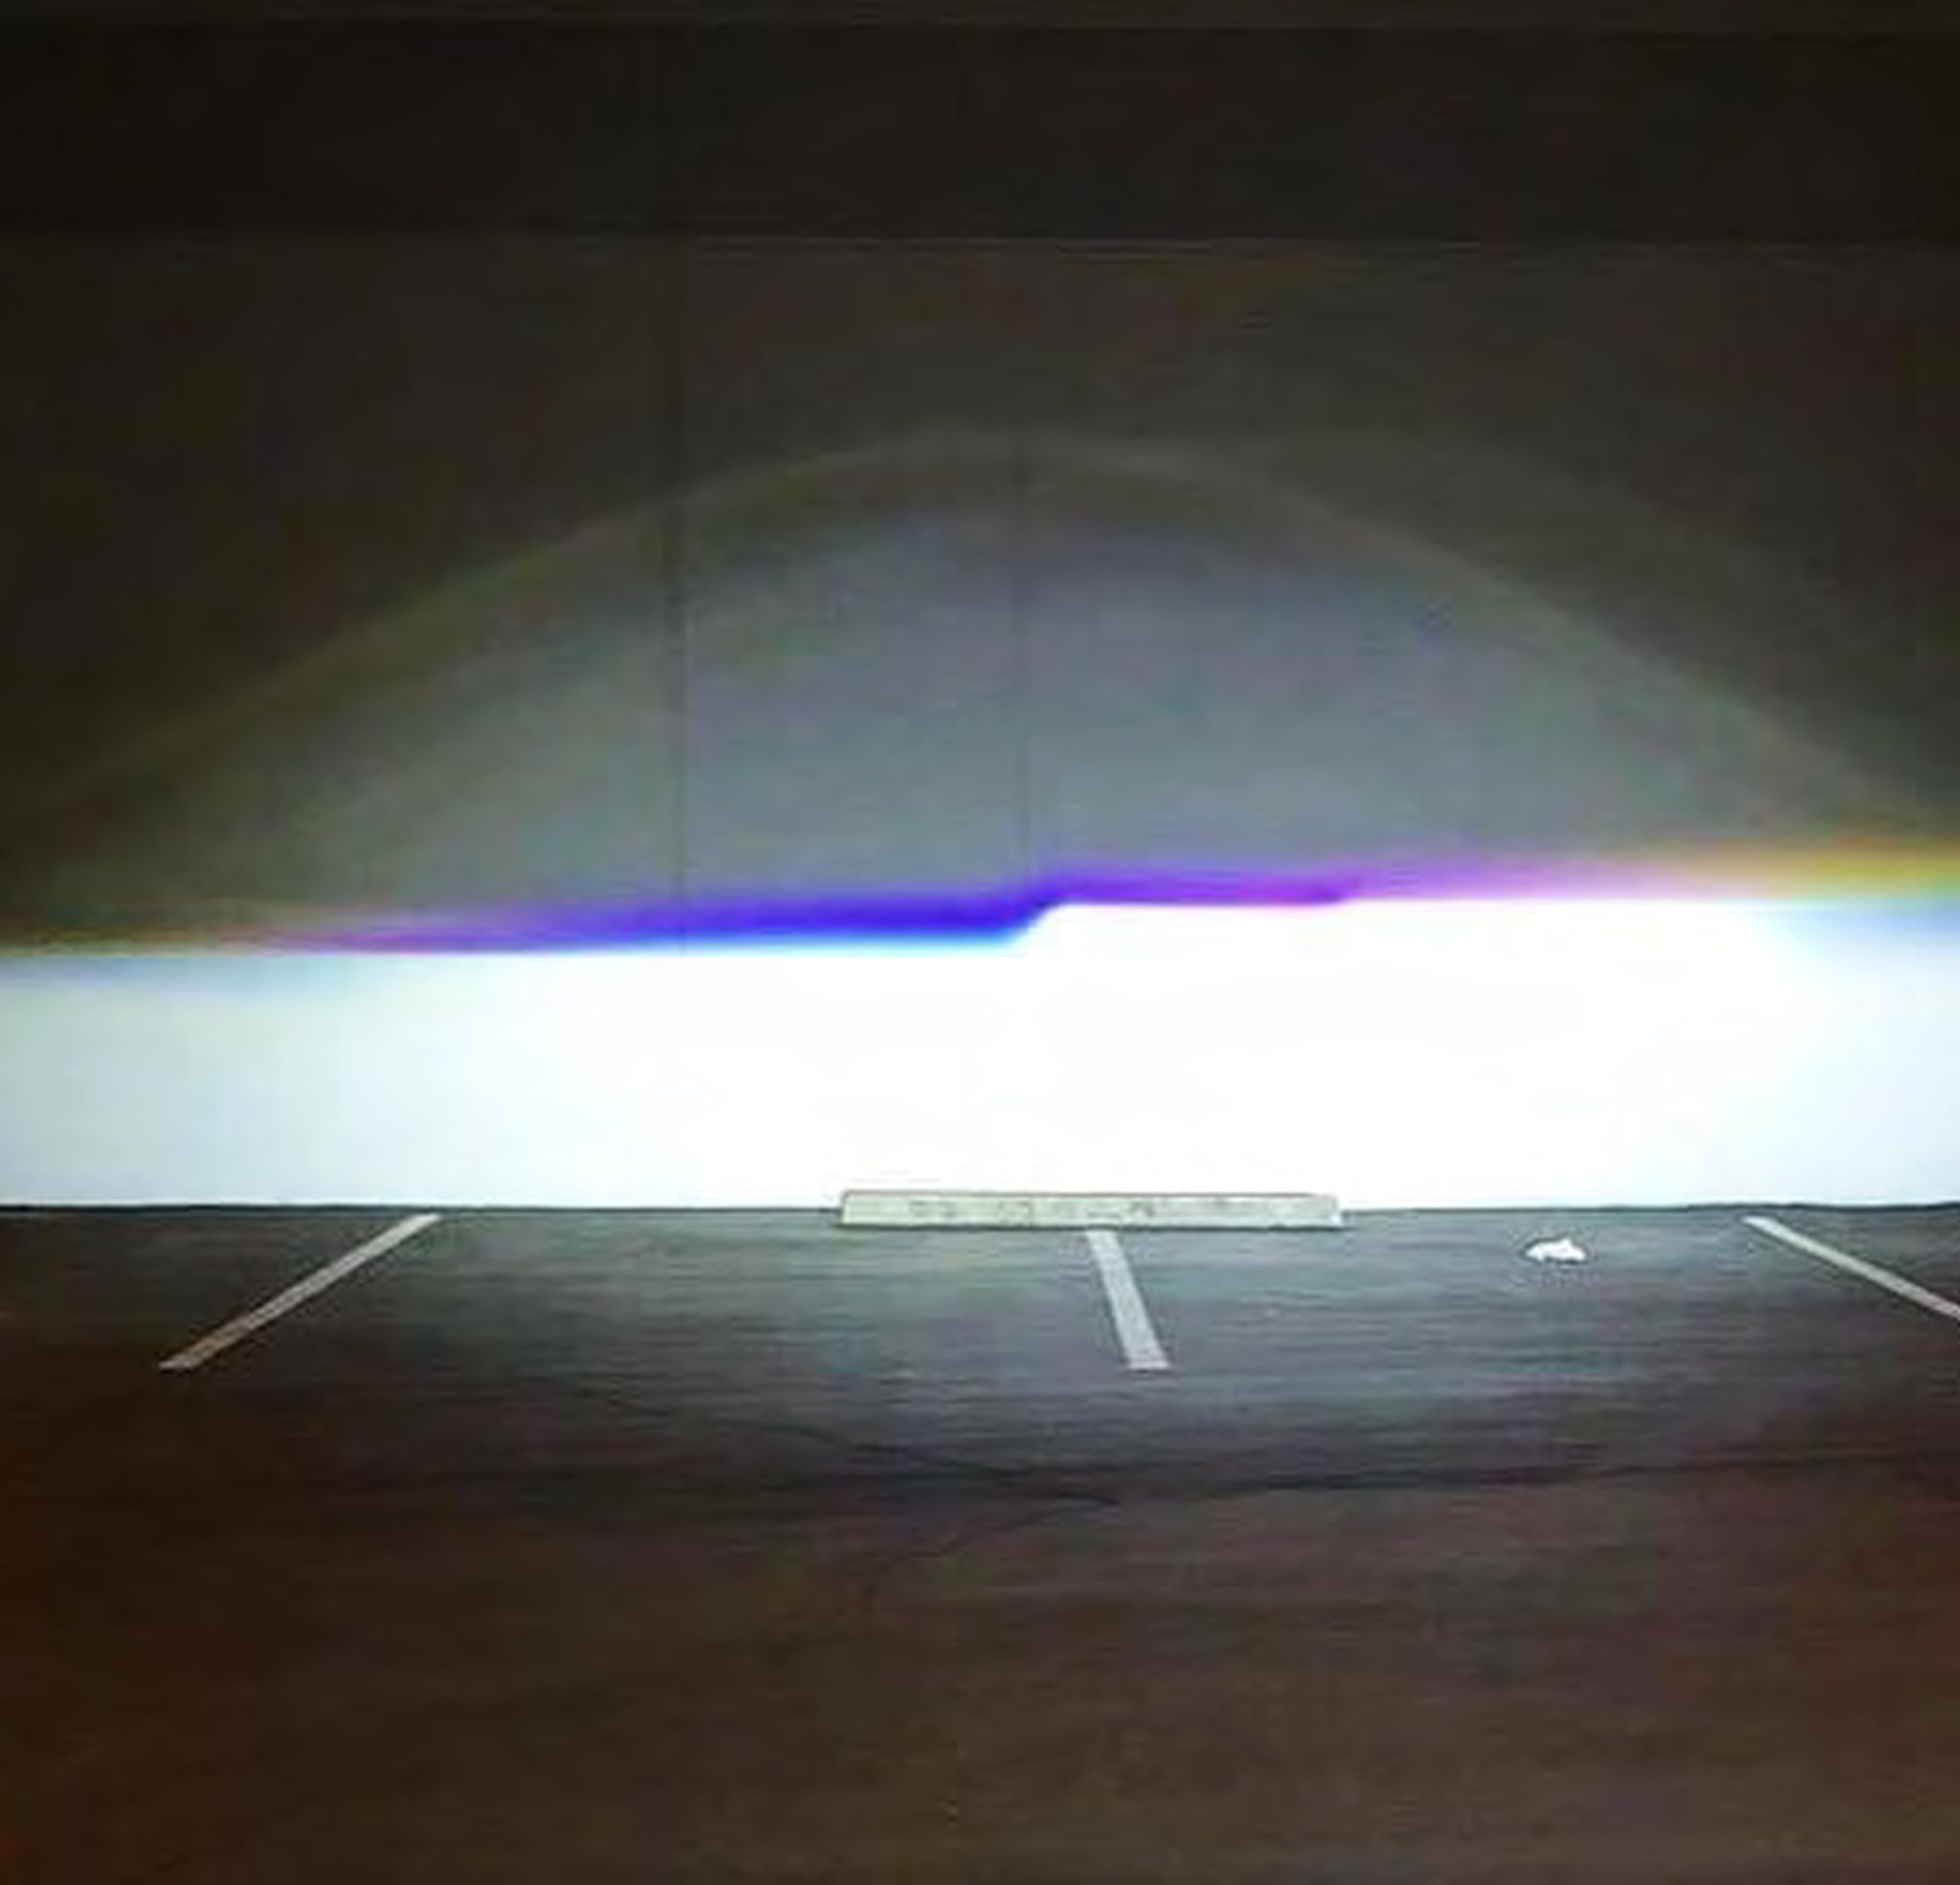
Once everything has been tested aim your ALPHAREX headlights by parking 25ft from a wall and level the headlight evenly.
Turn clockwise: to lower the light
Turn counterclockwise: to raise the light
Step 13: COMPLETE INSTALLATION
Congratulations! you have completed the installation for ALPHAREX 2021+ Ford F-150 Headlights
